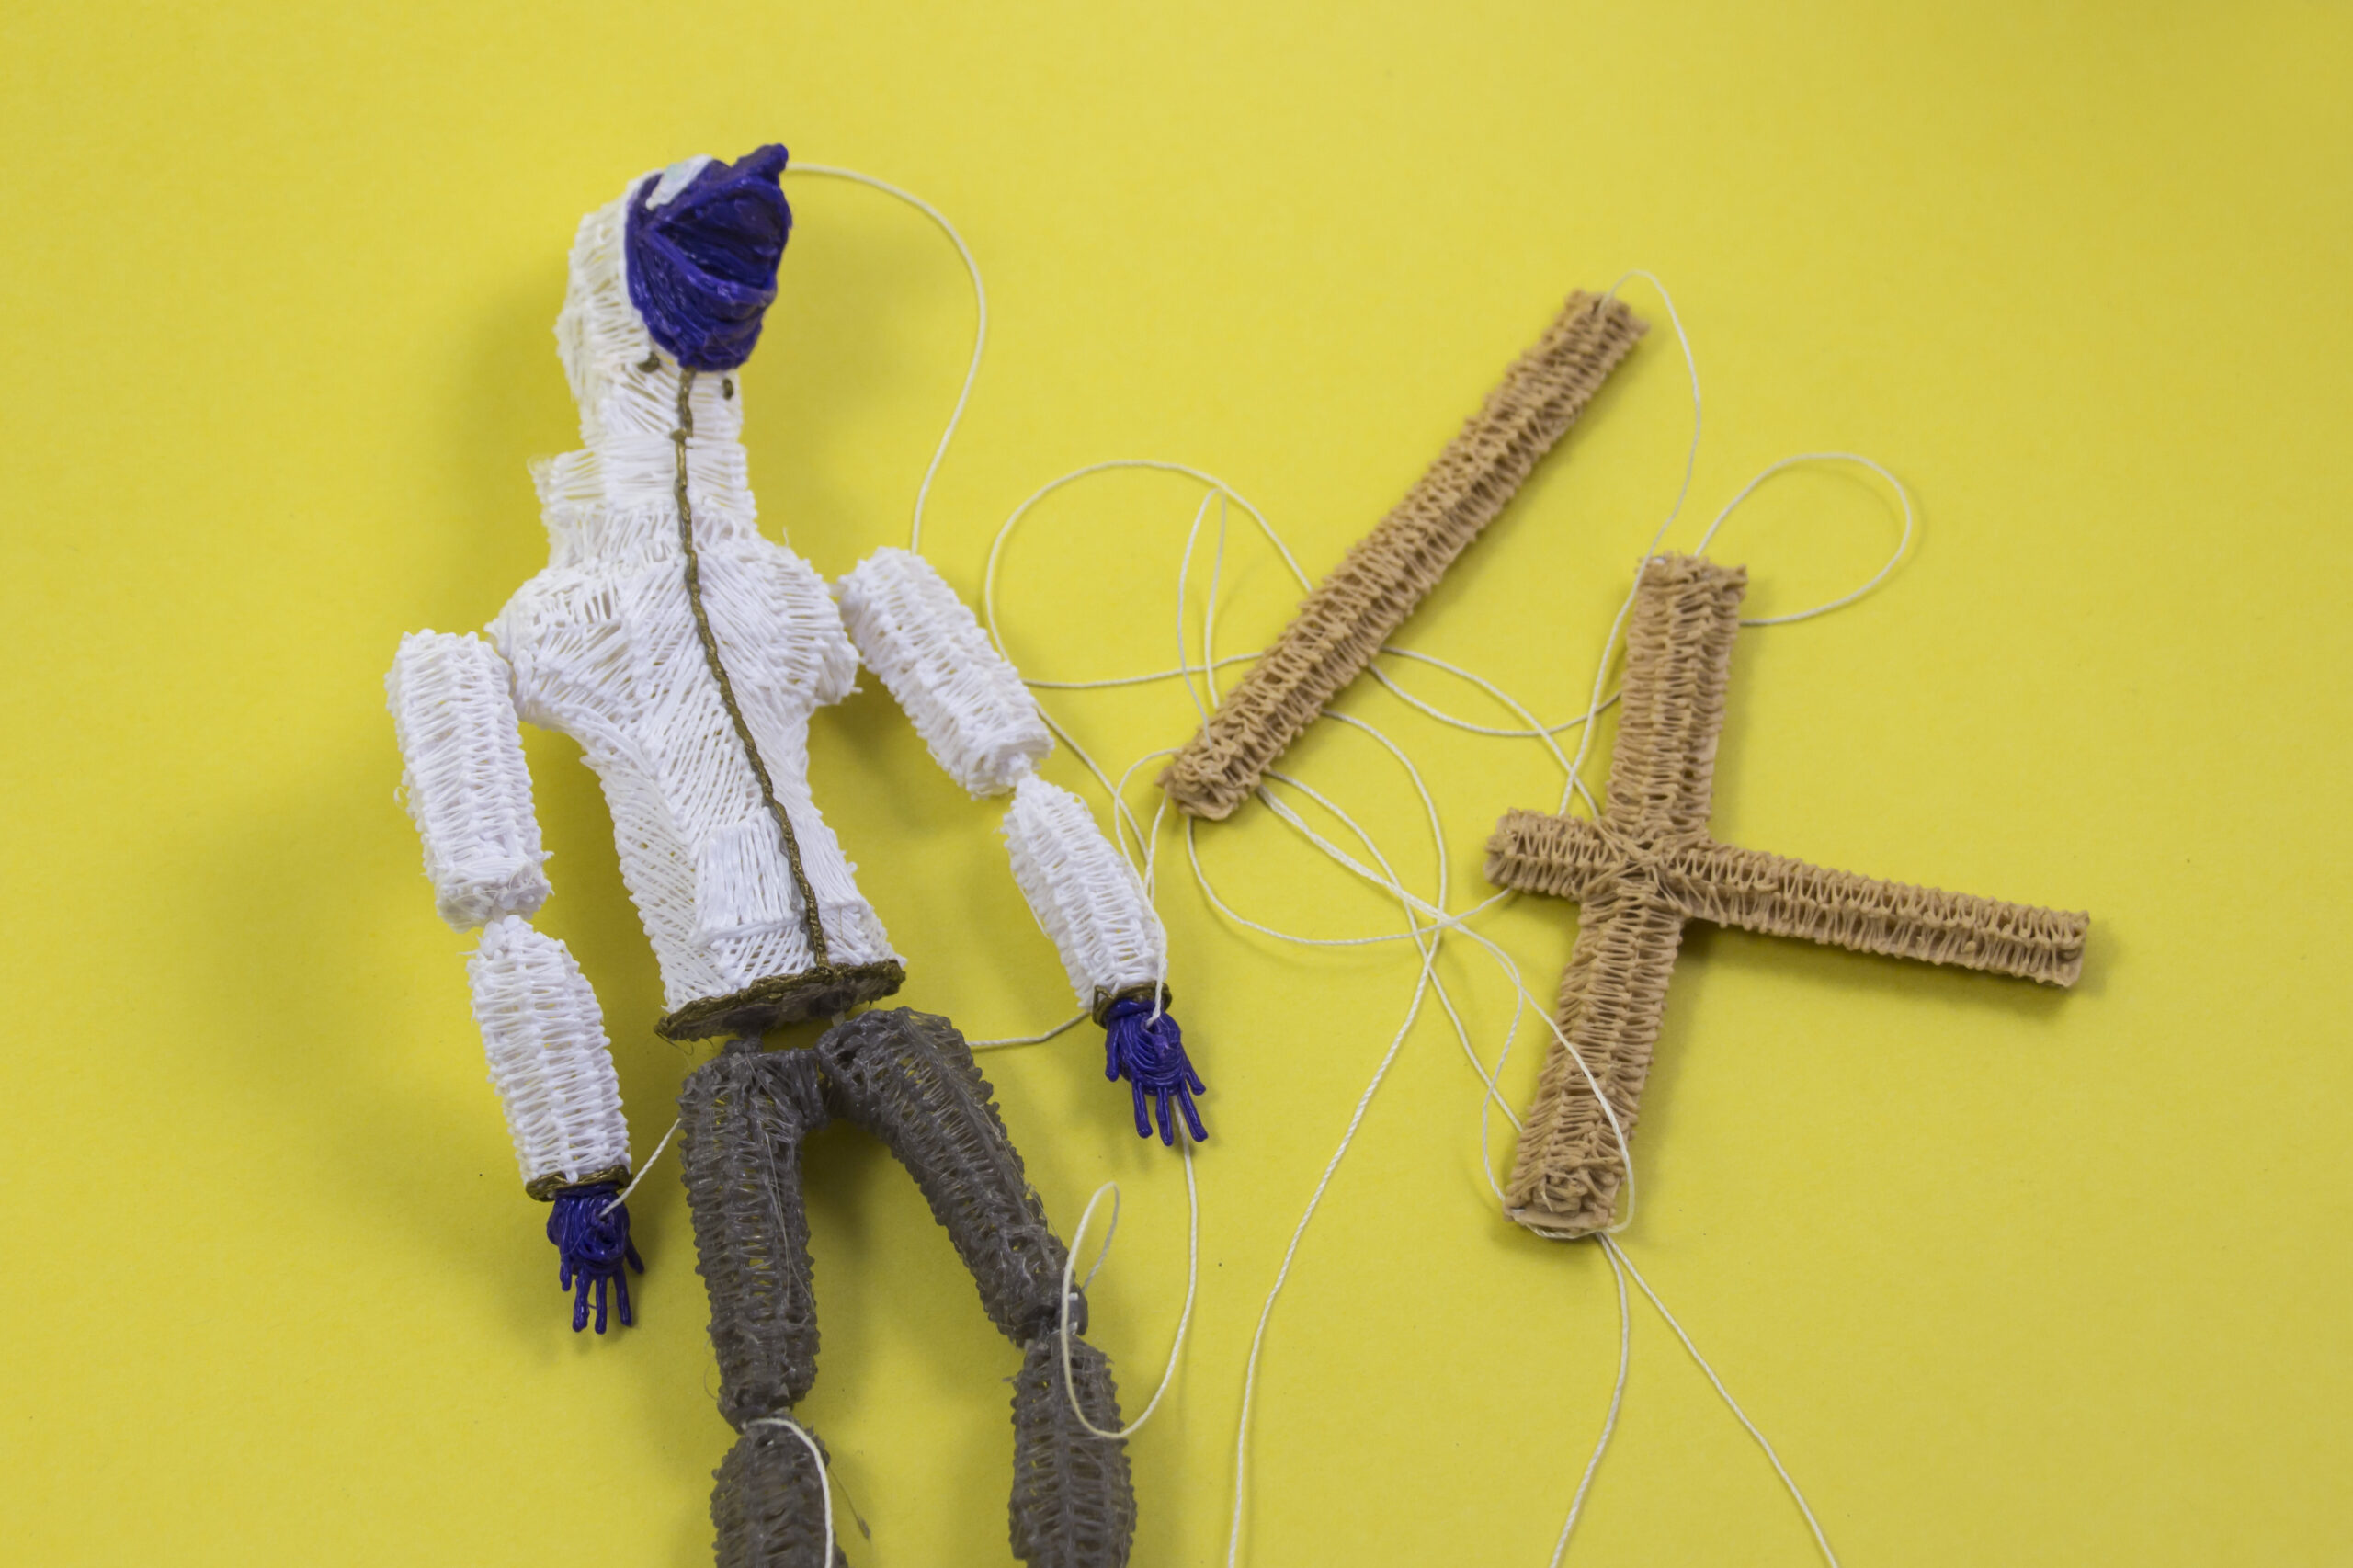
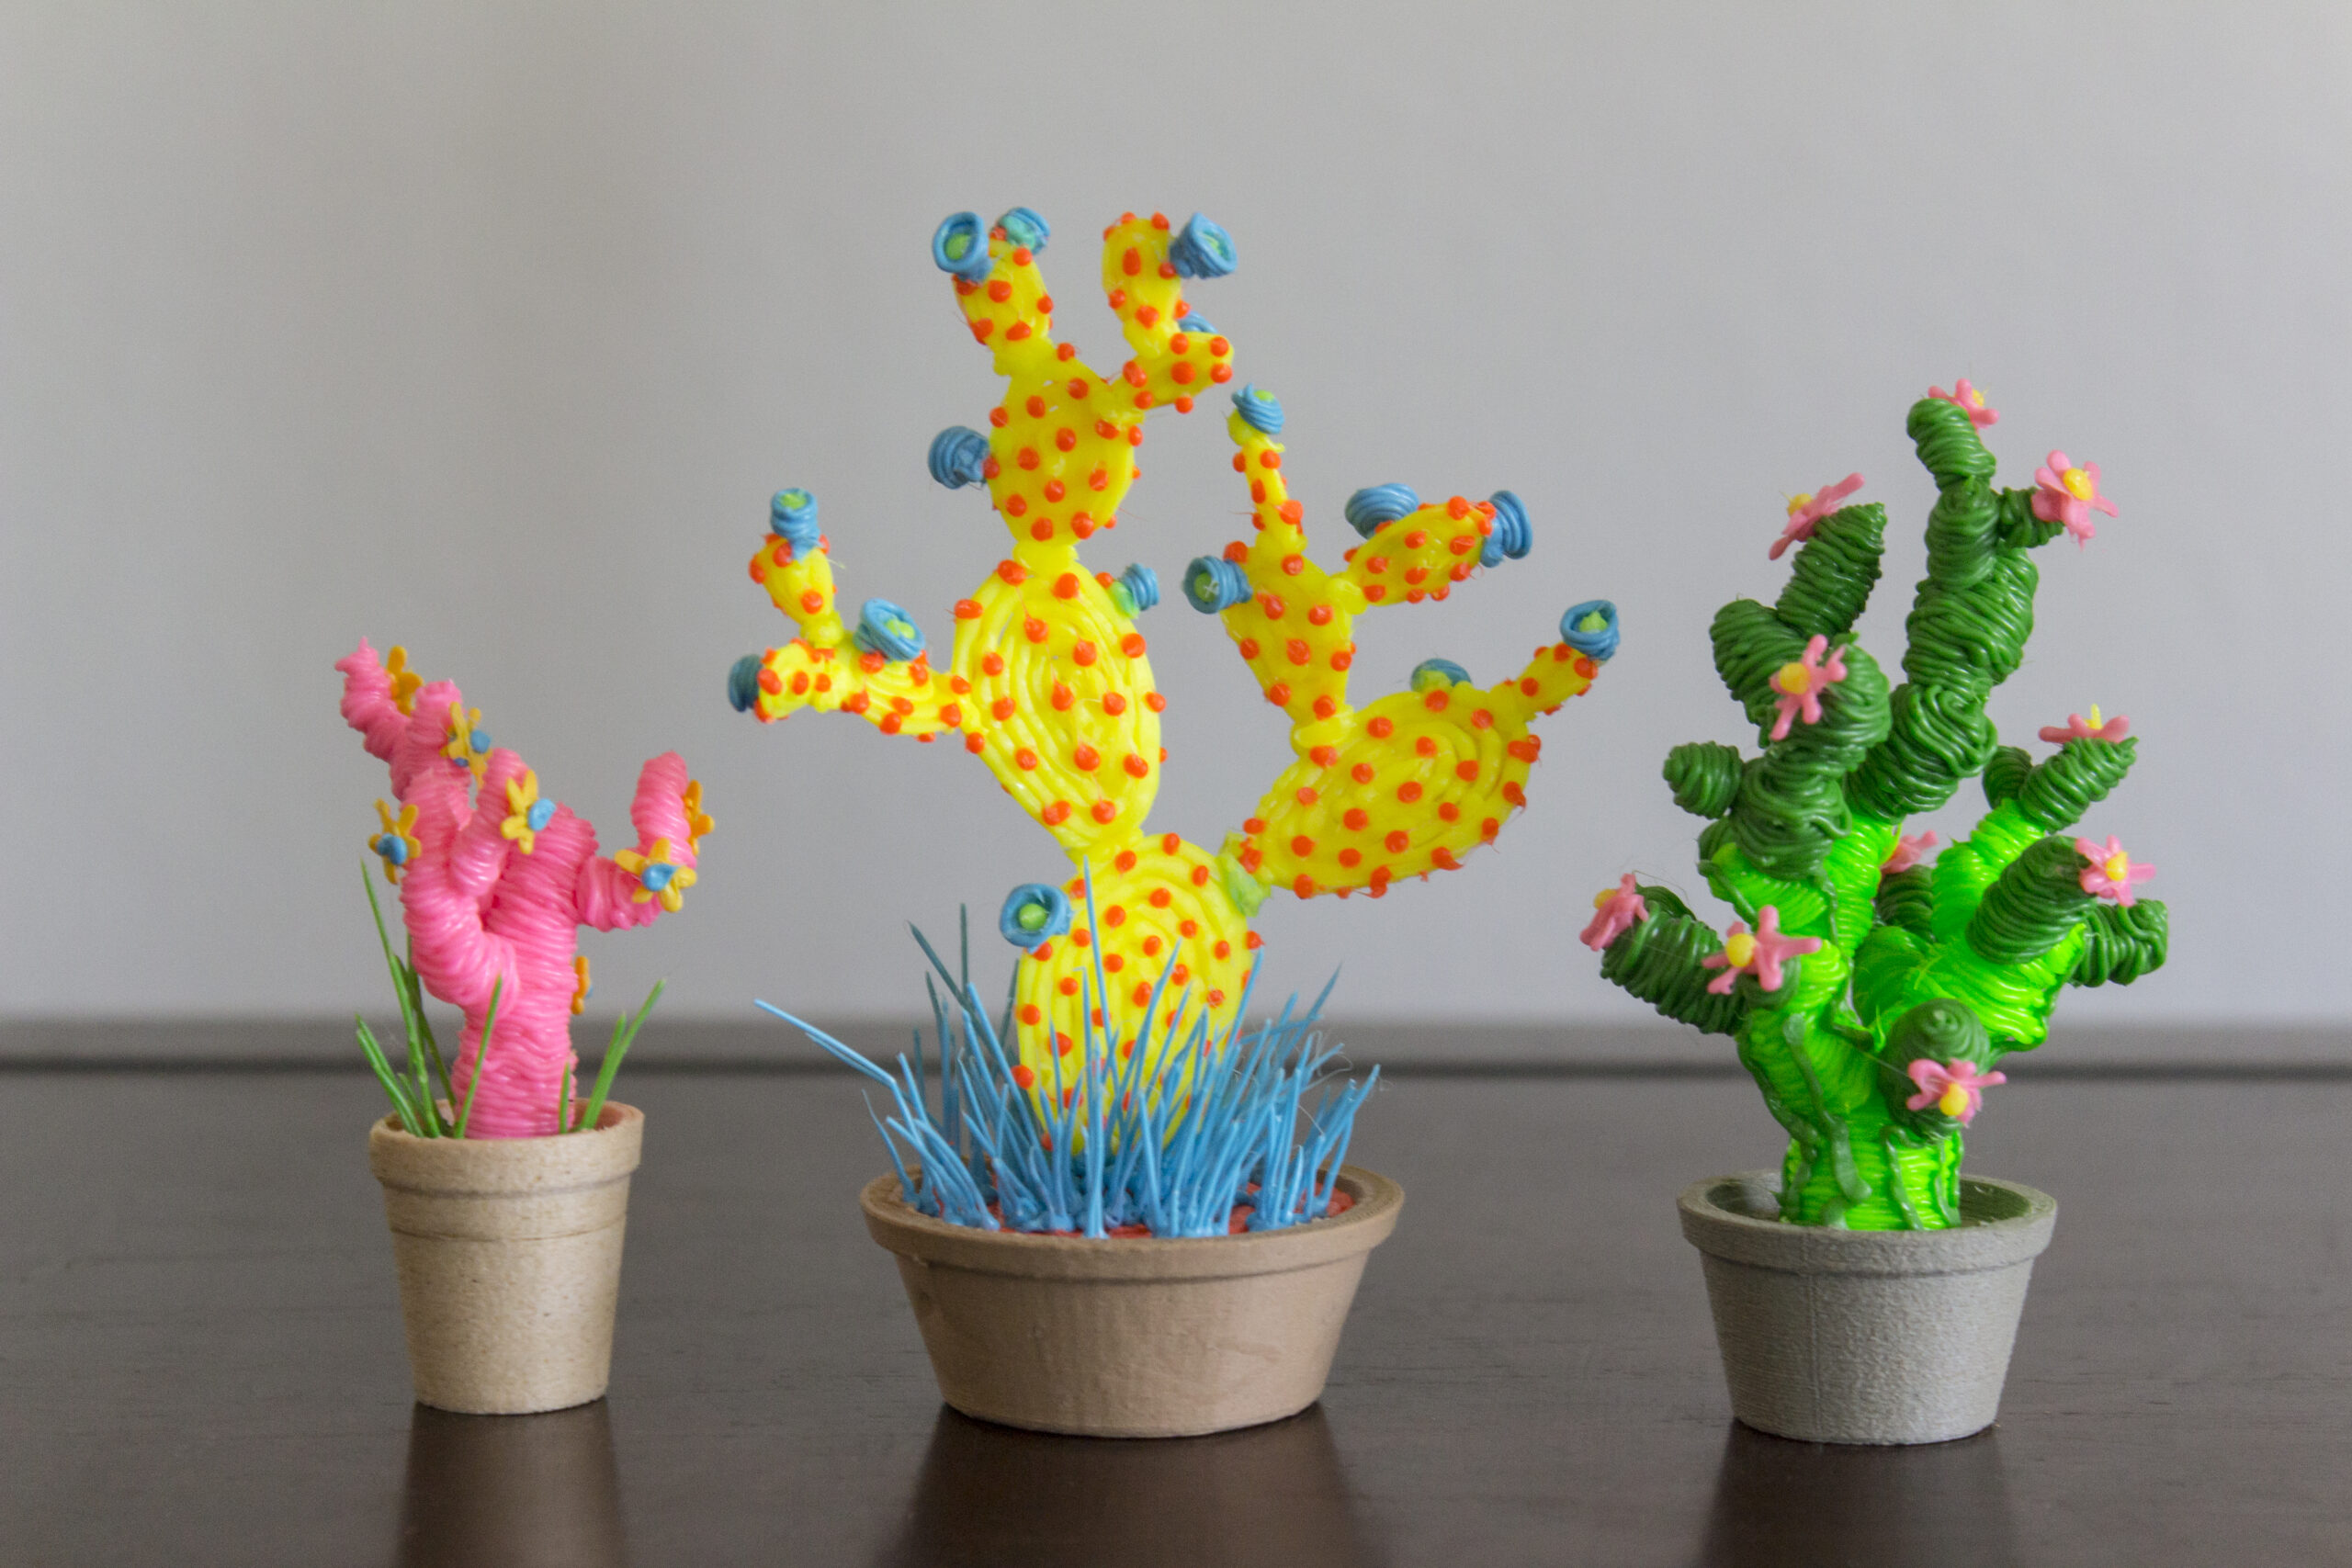
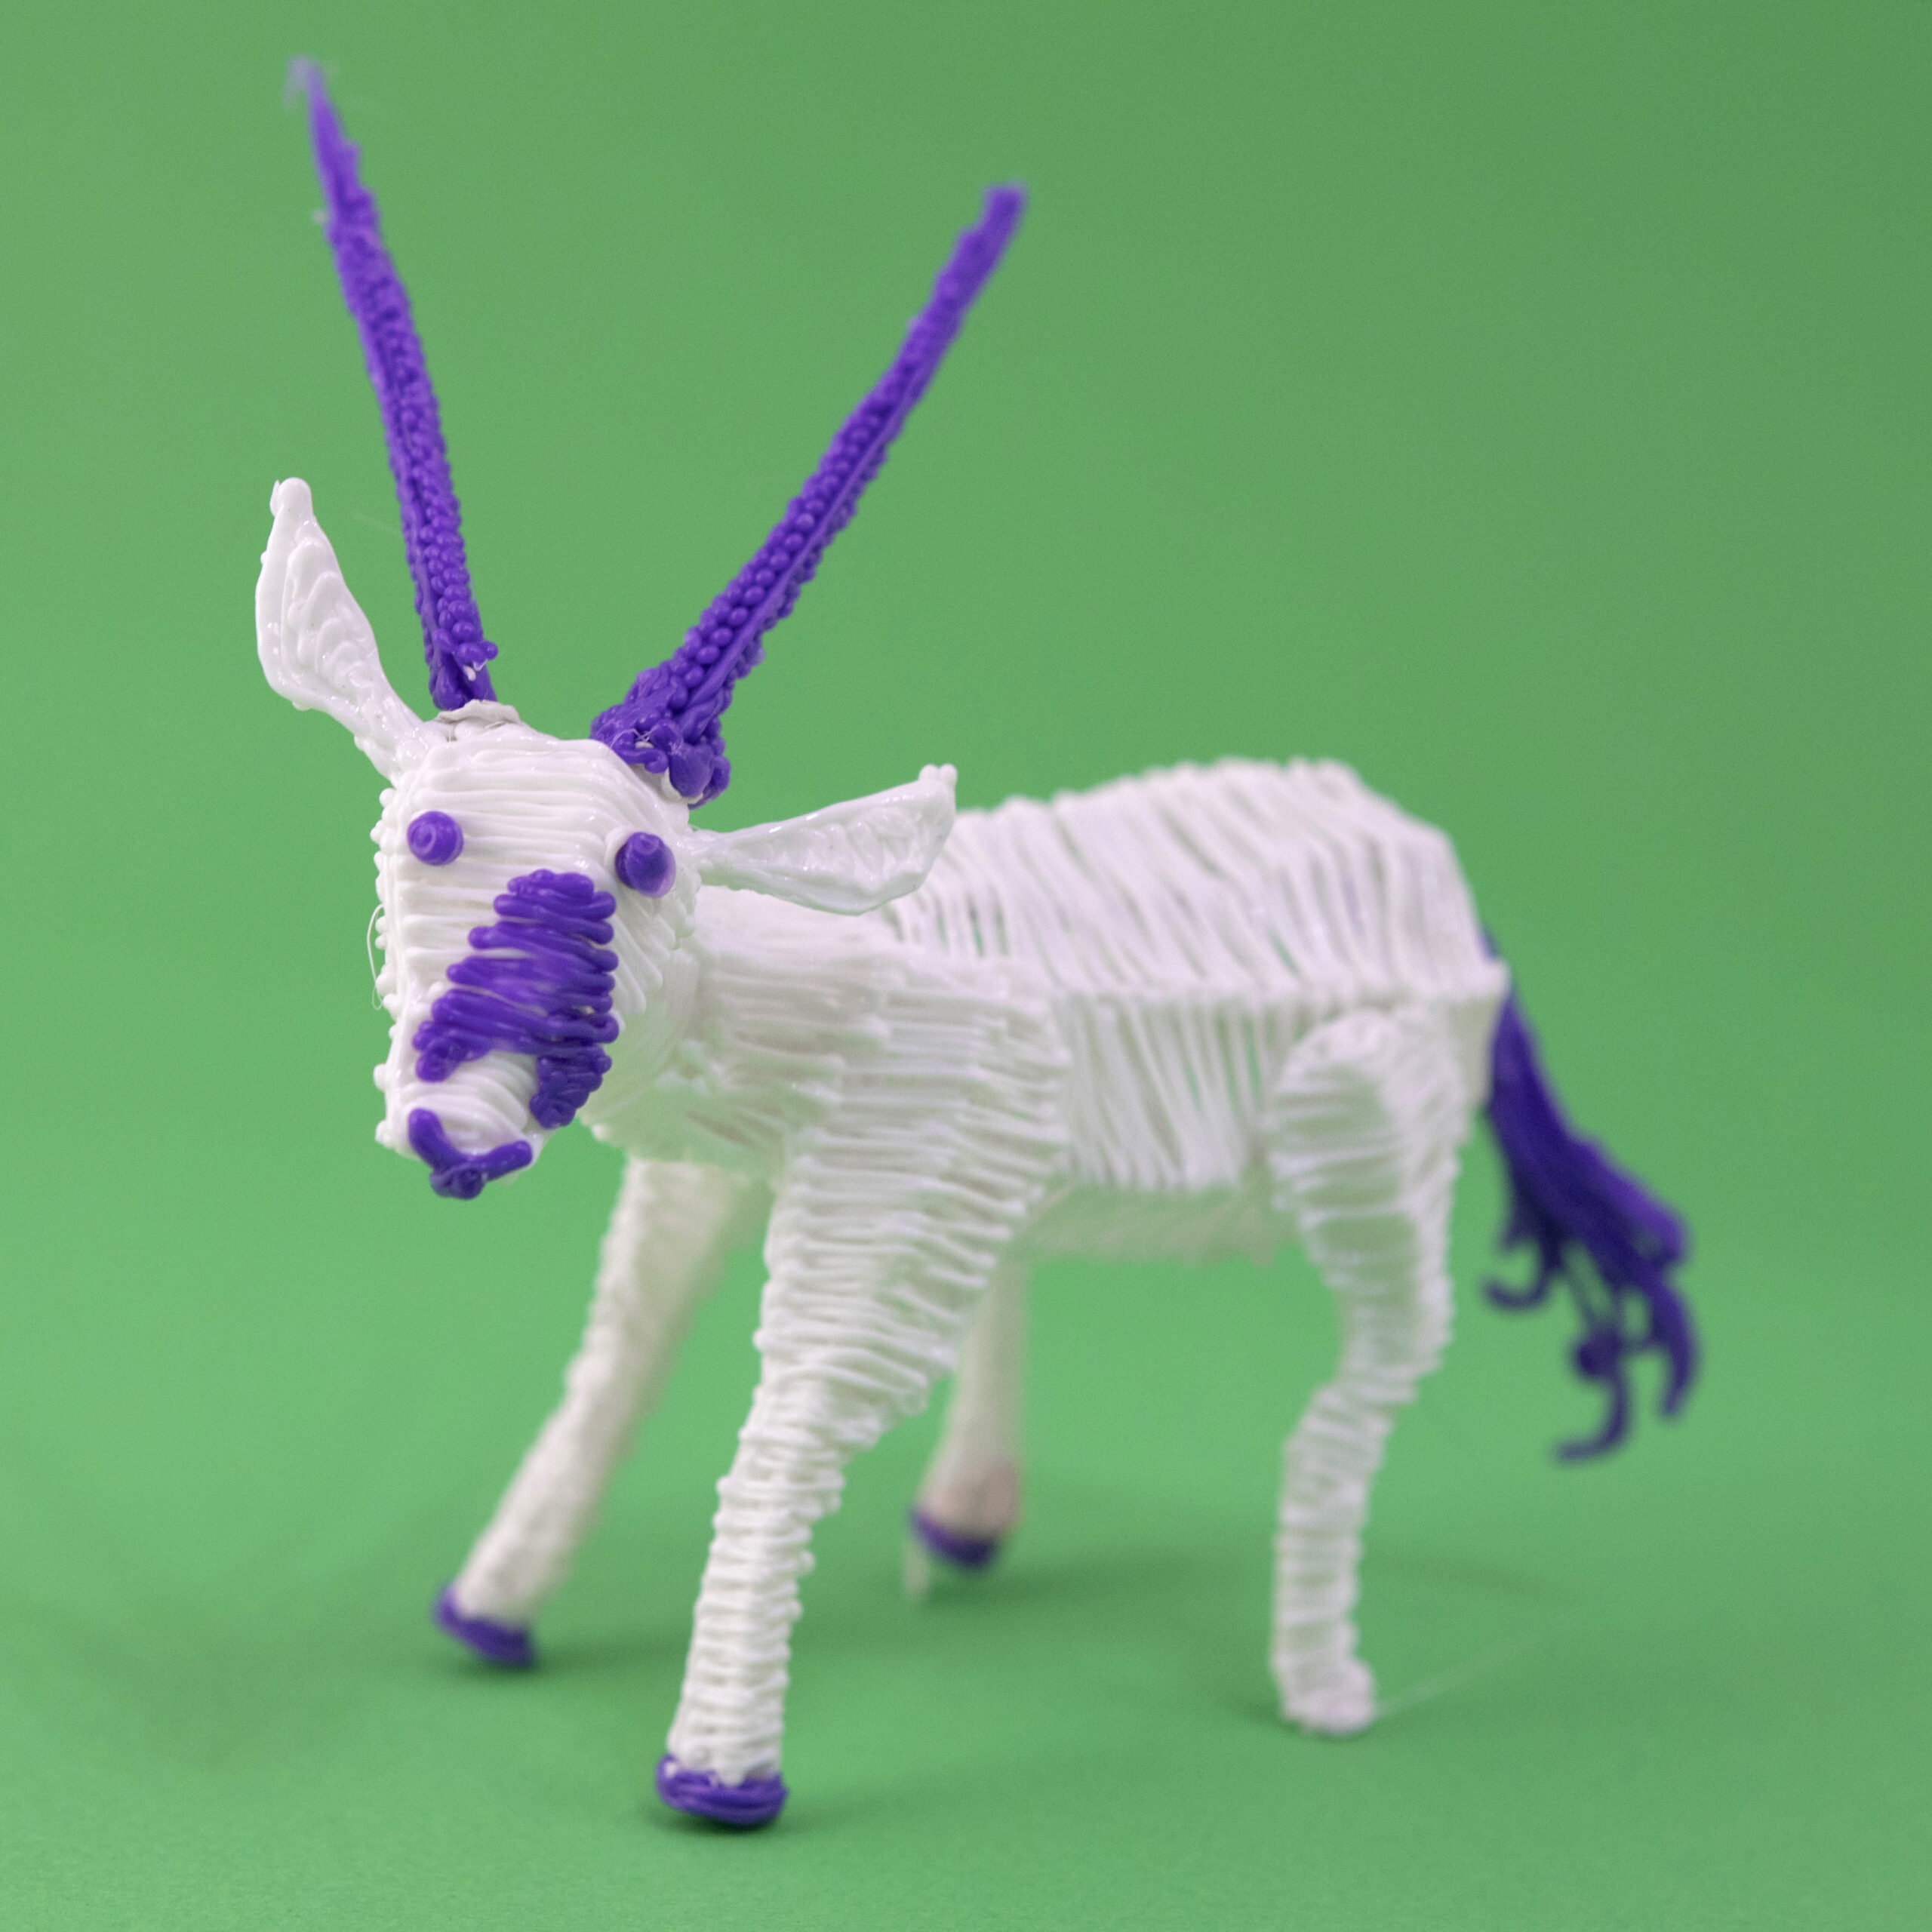
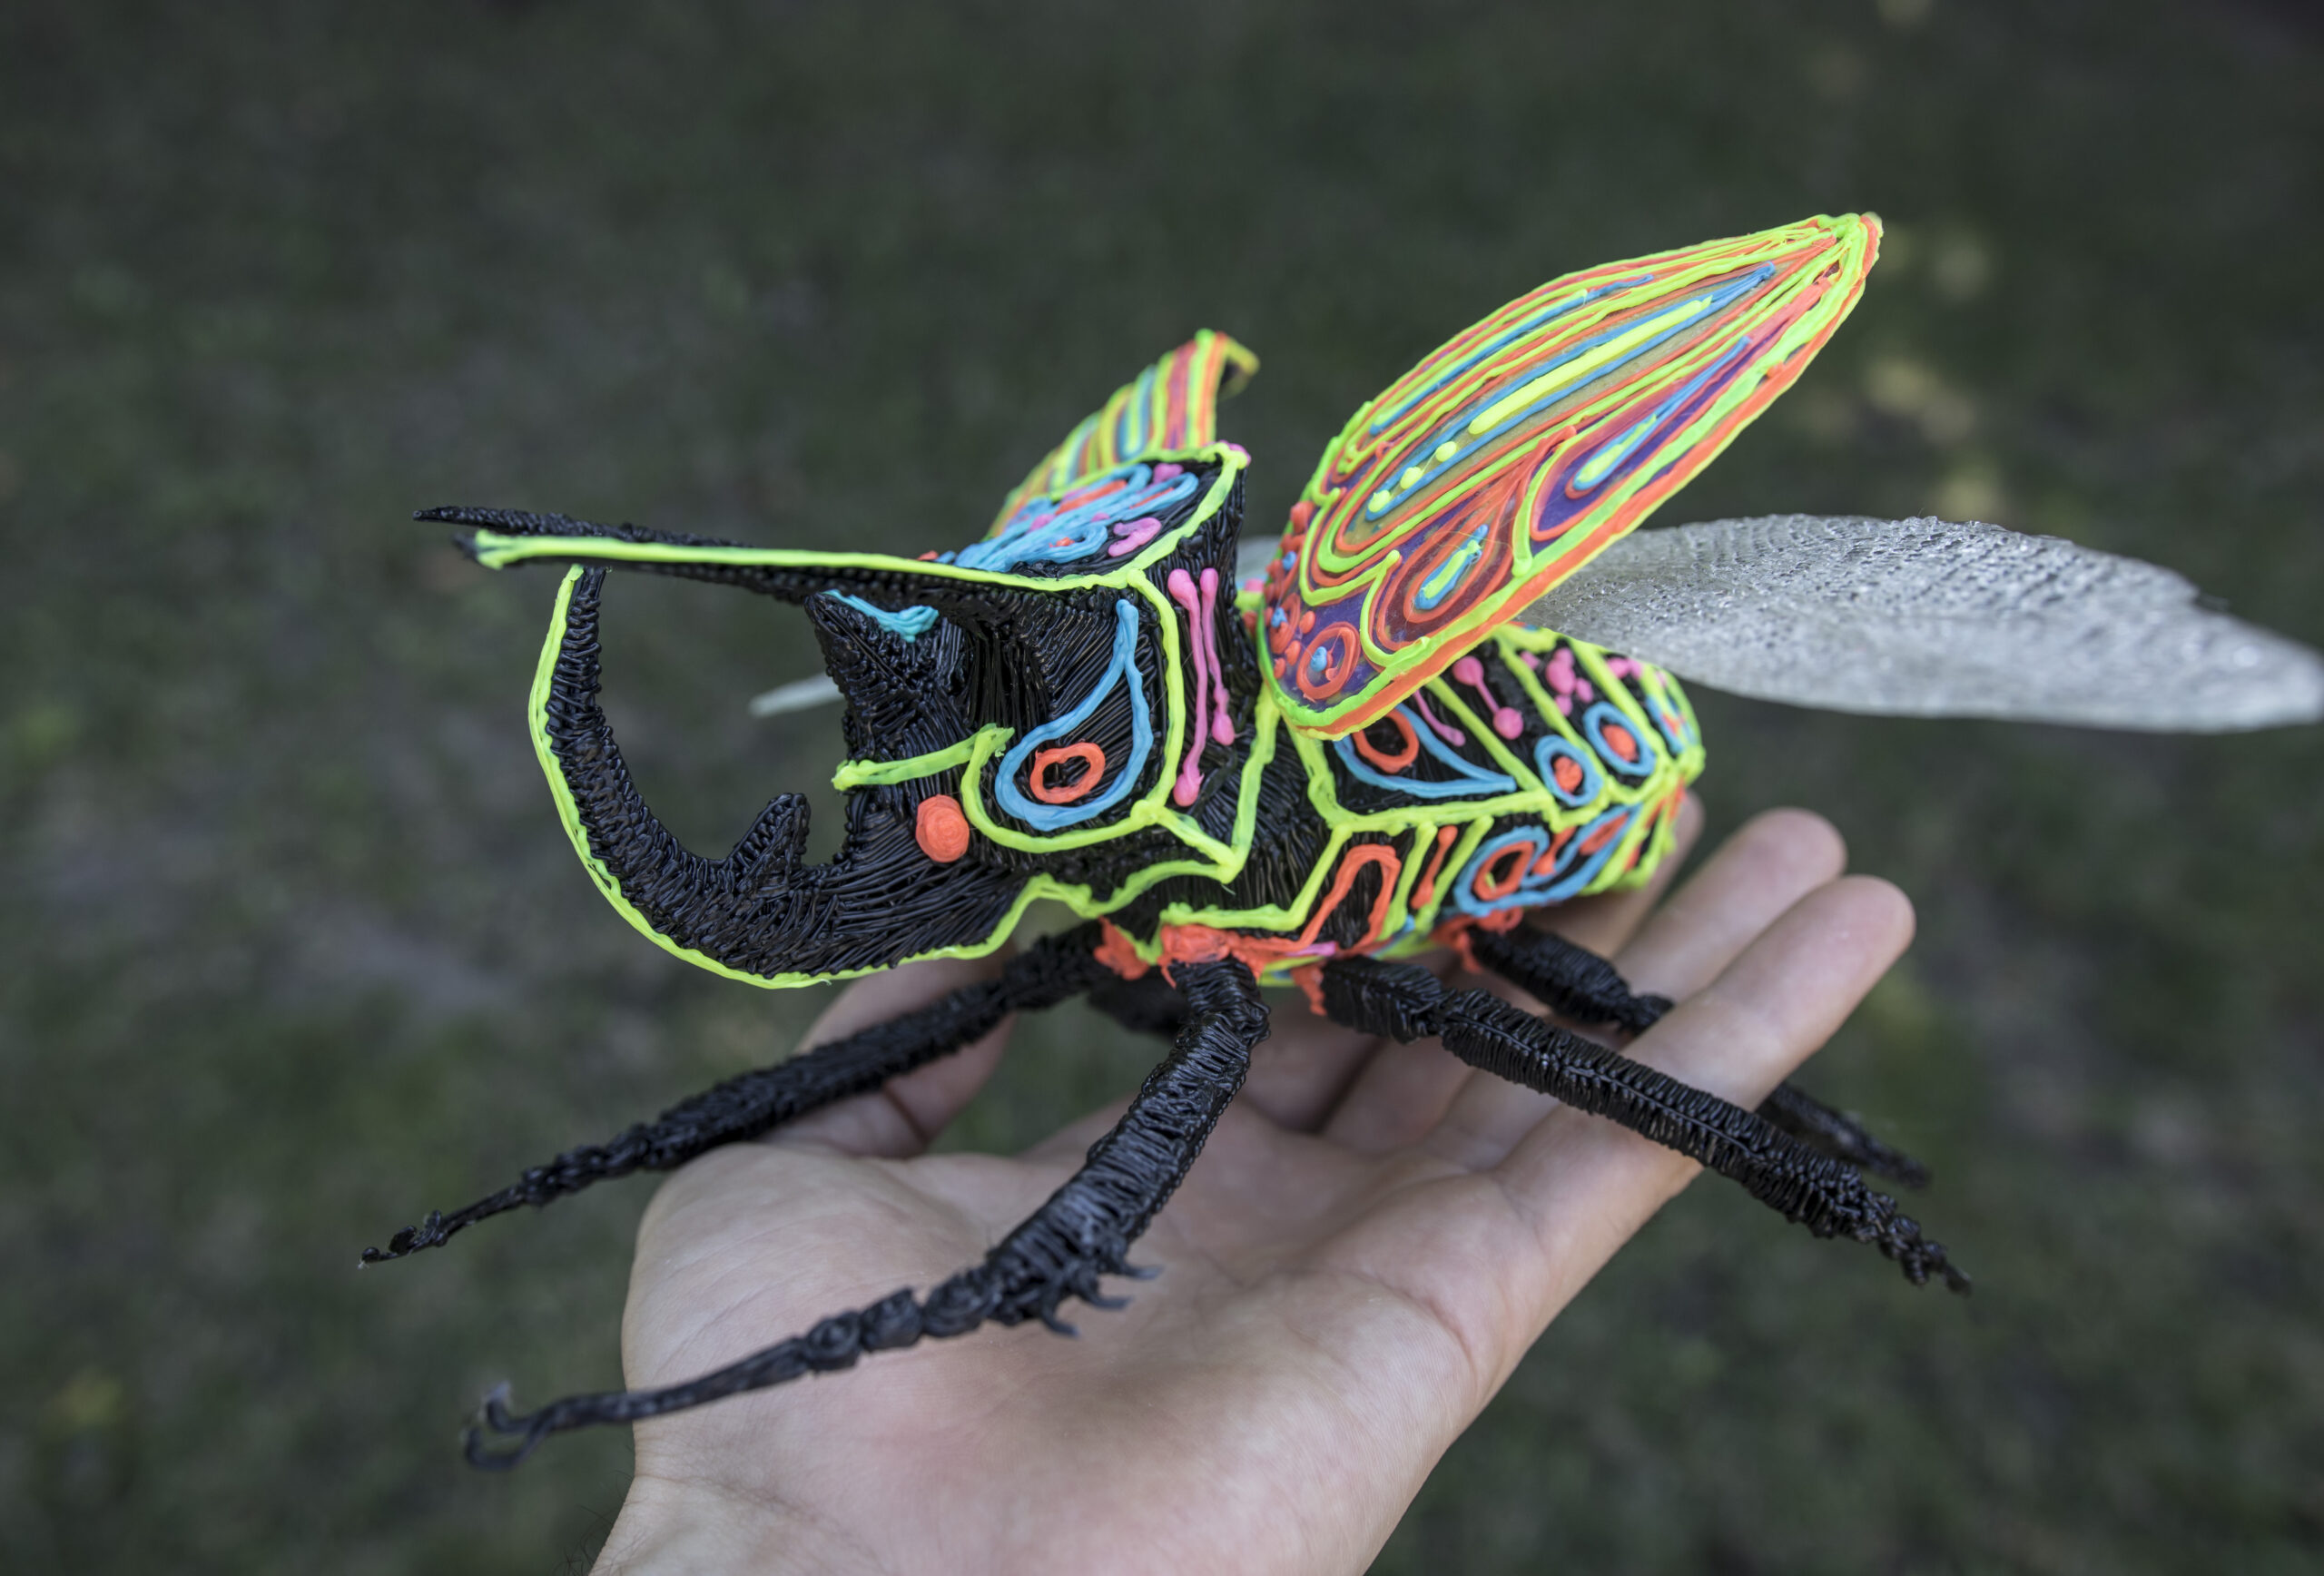
3D pens can be a tricky medium to master. The hot goopy plastic might seem impossible to control at first, but with practice and proper technique, you can make just about anything using the techniques outlined in this article.
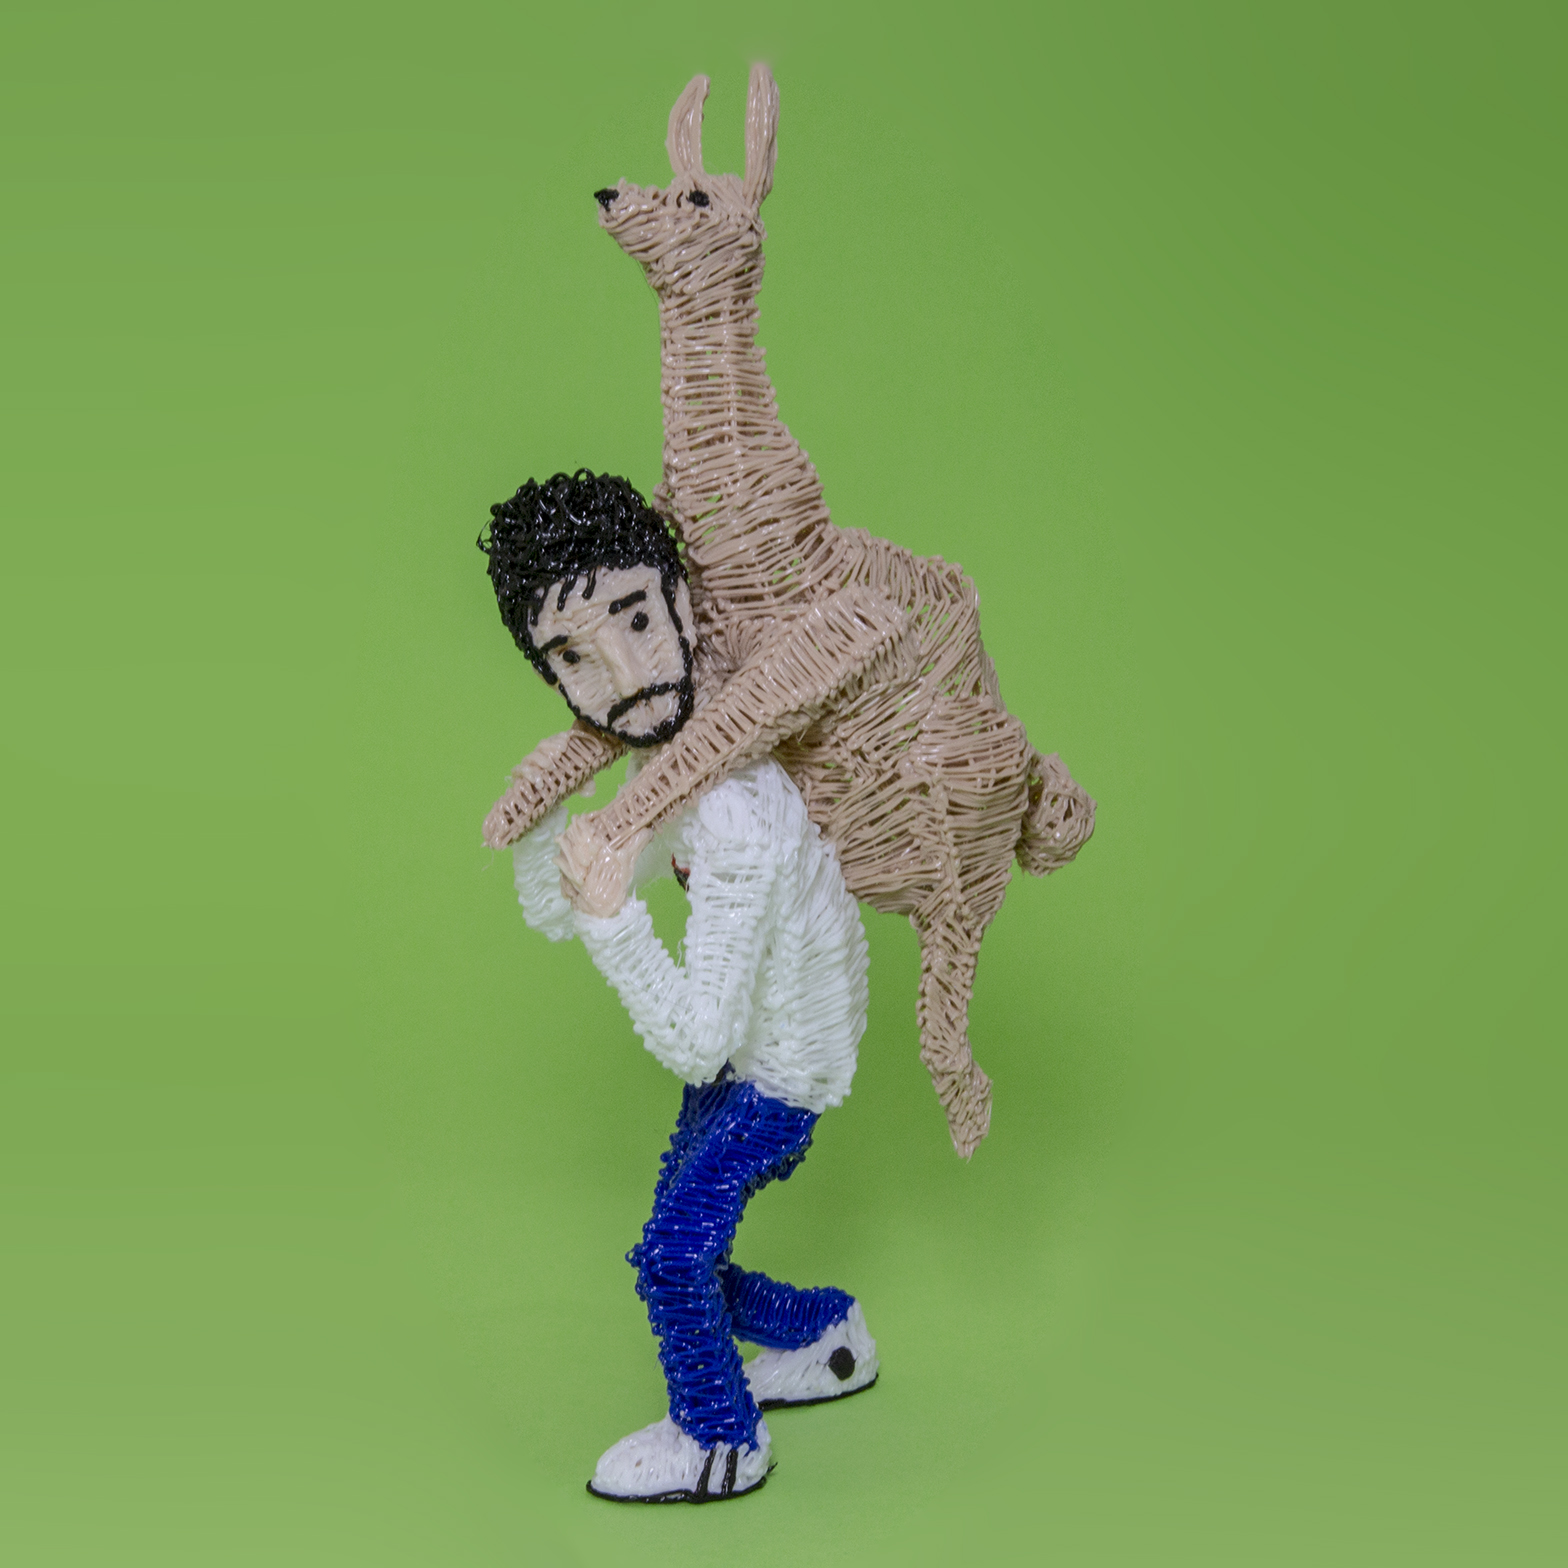
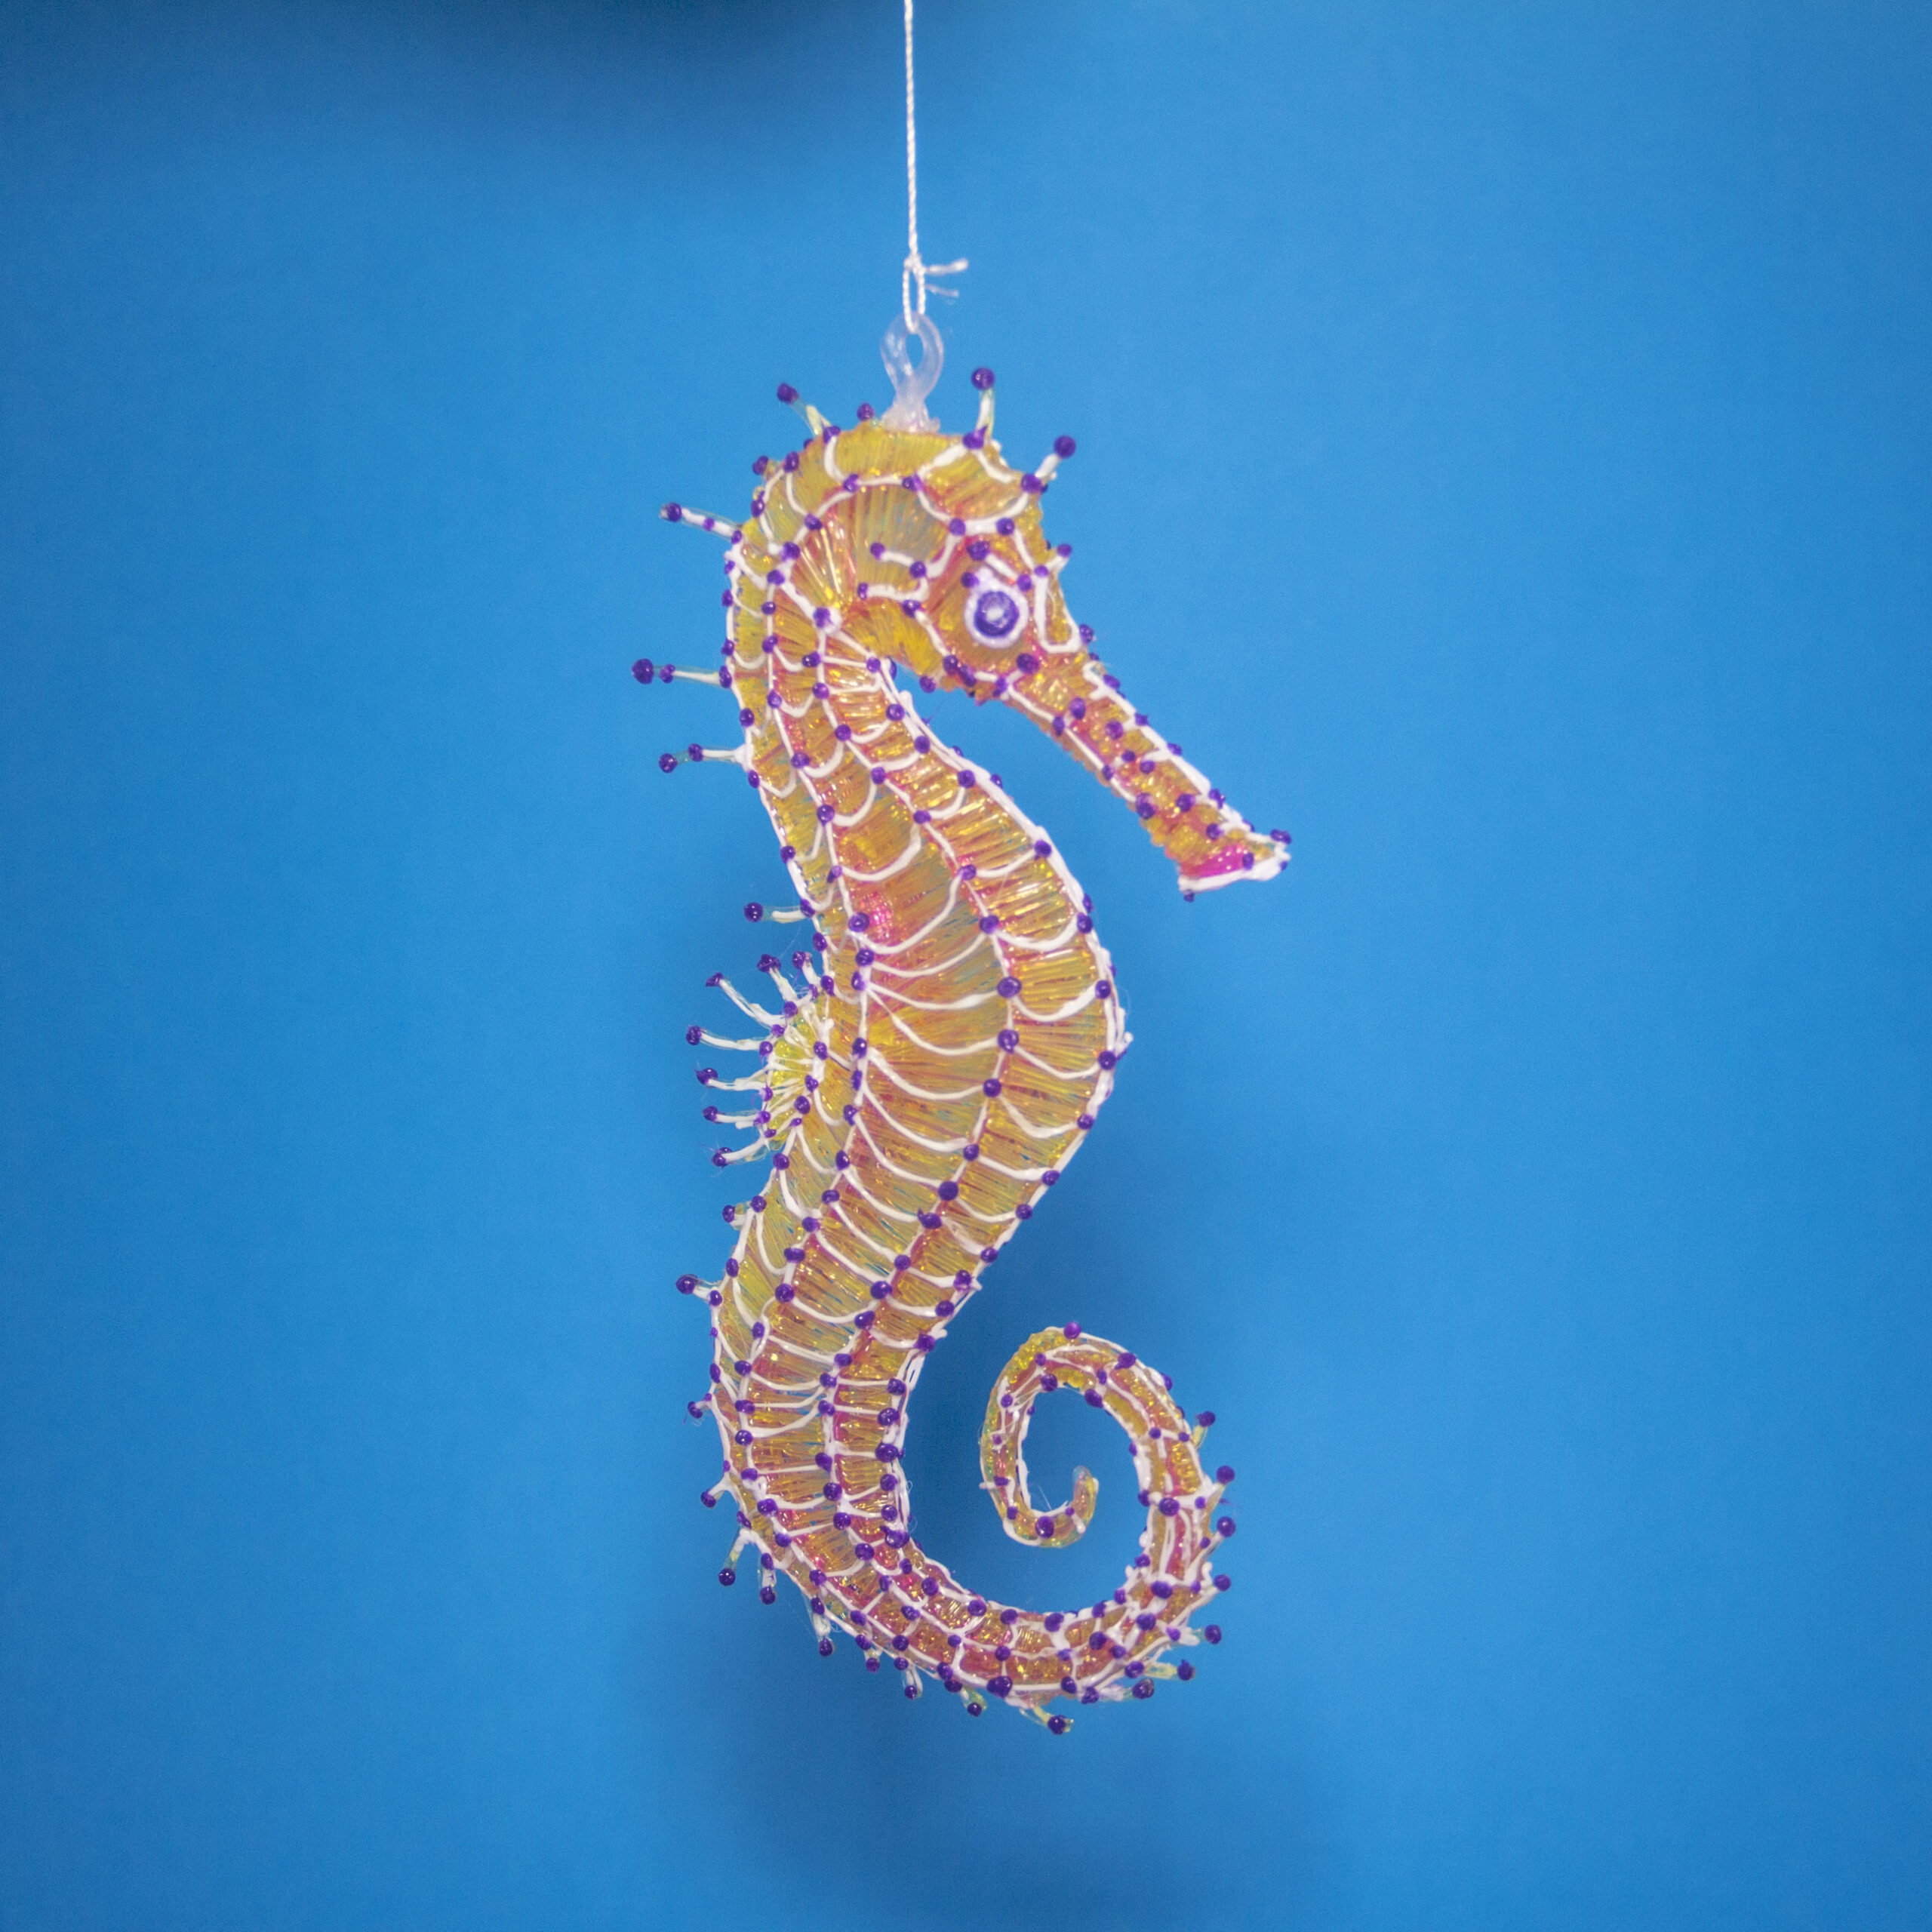
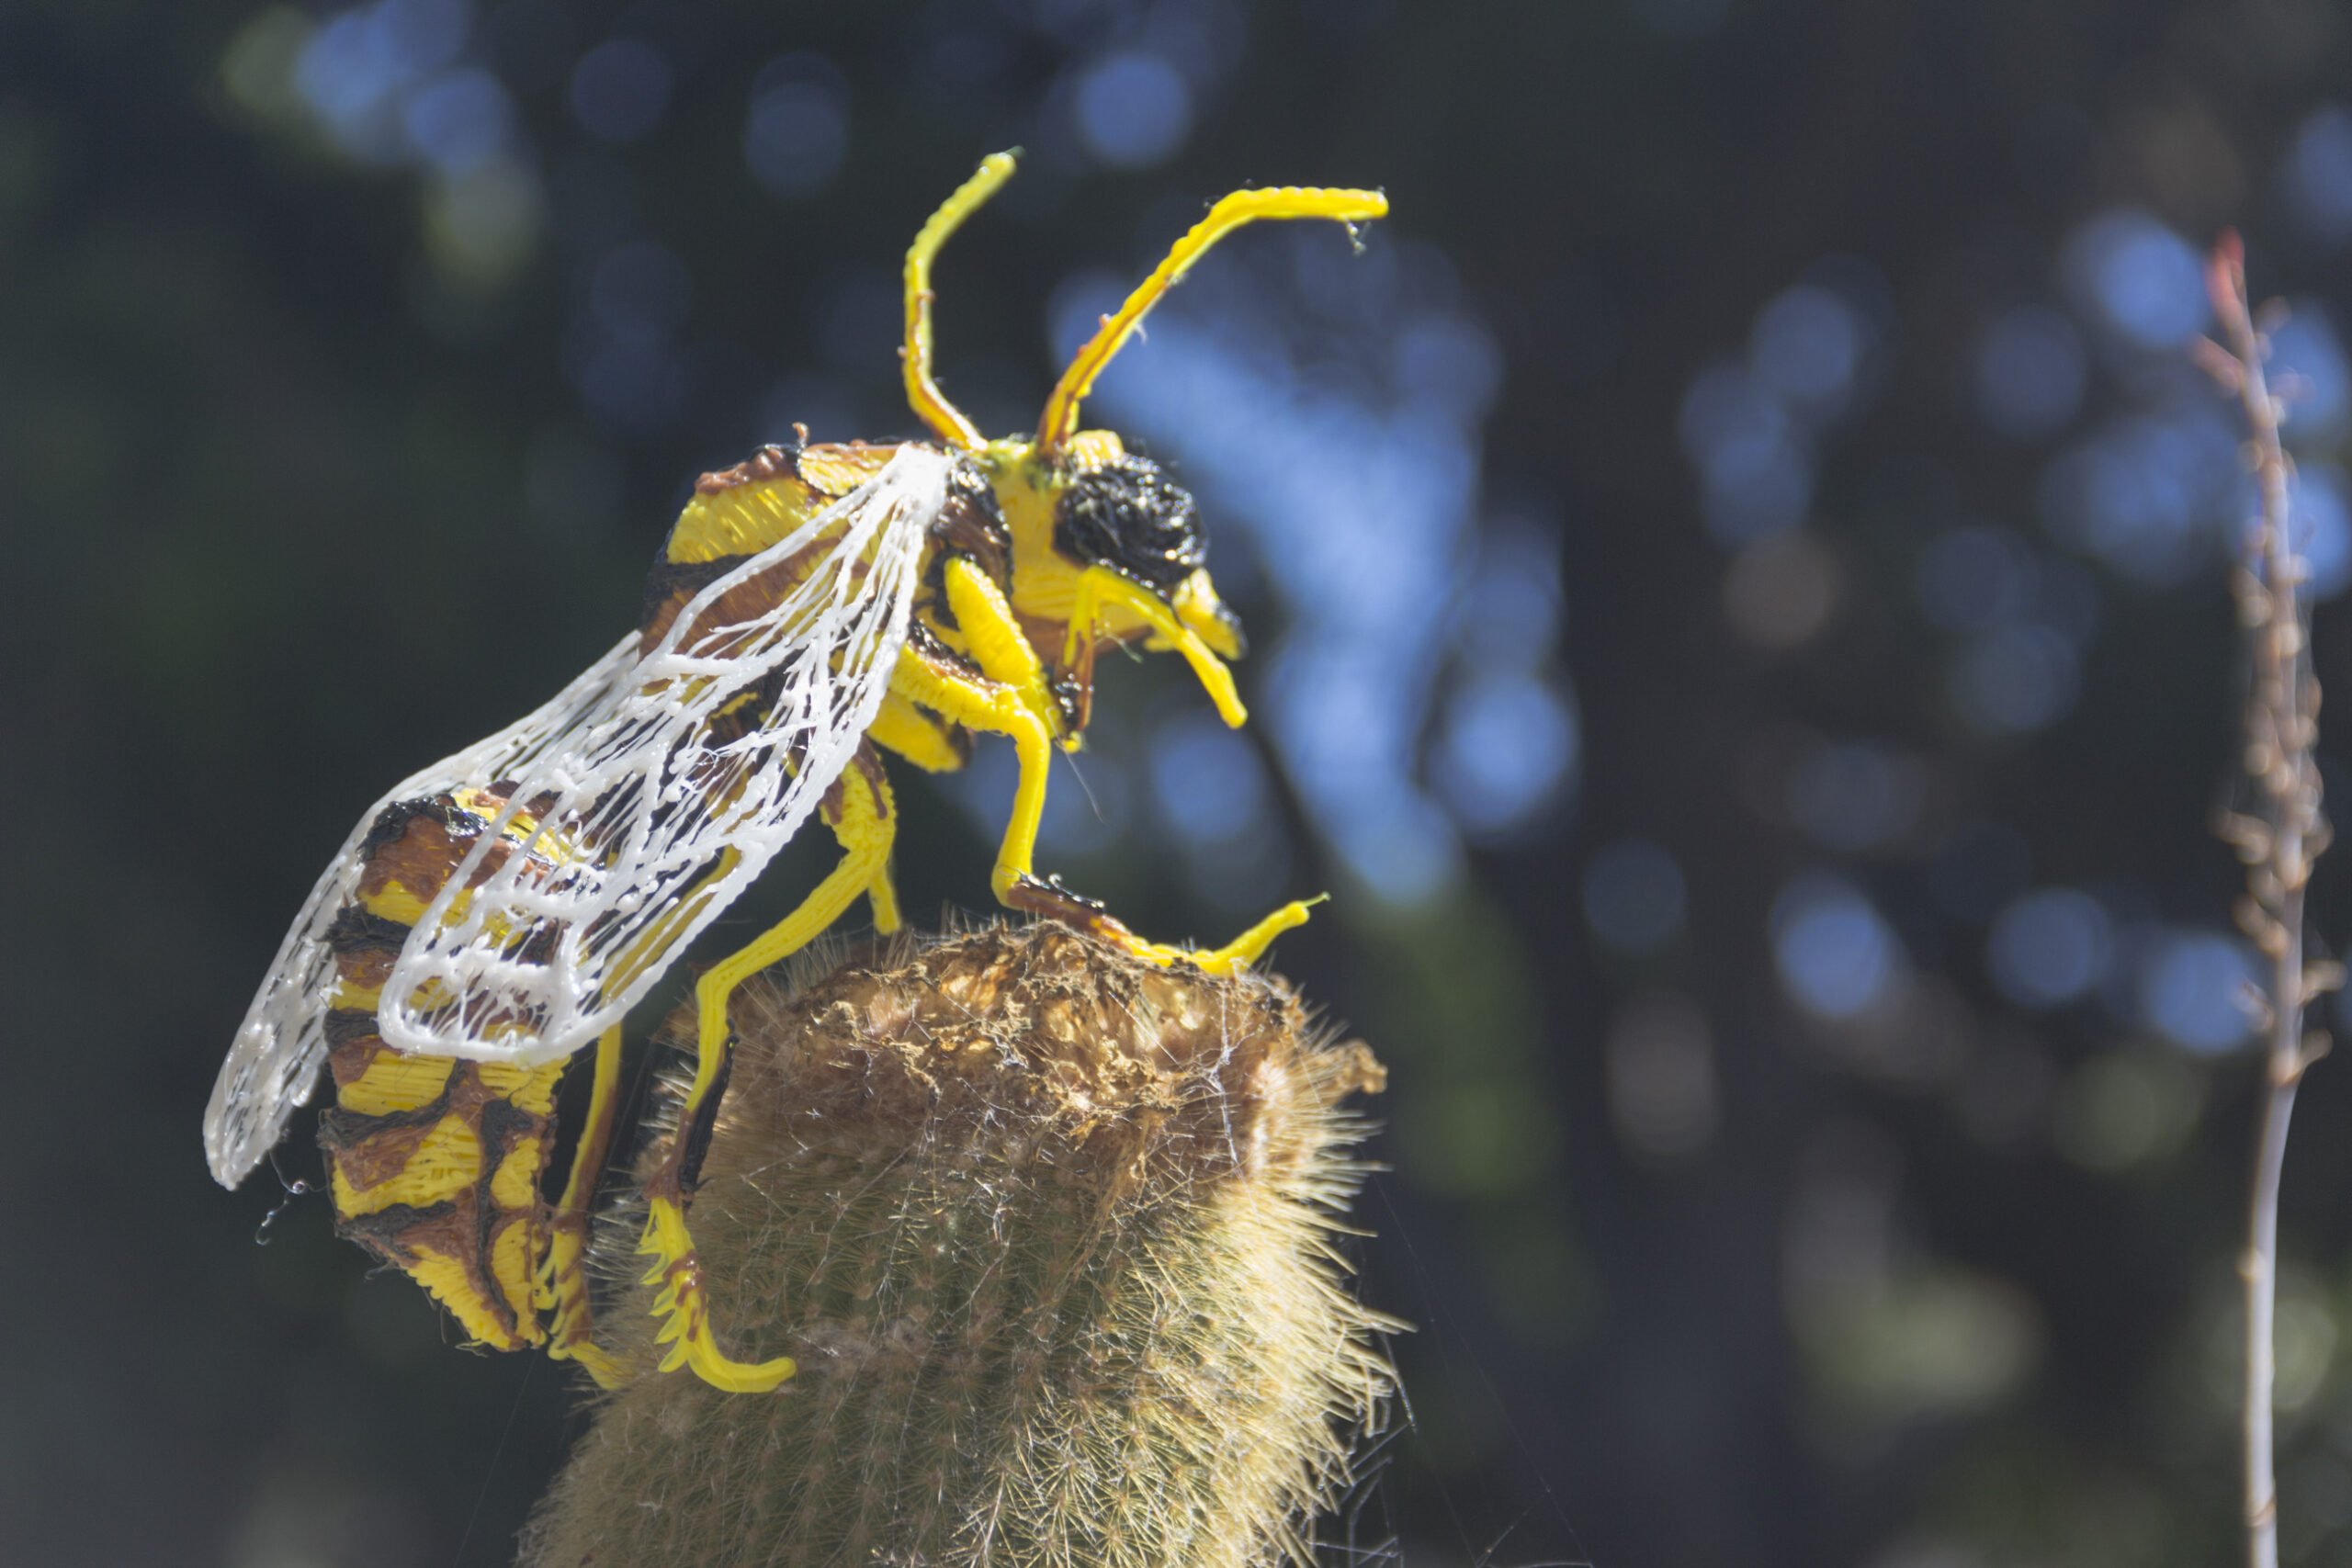
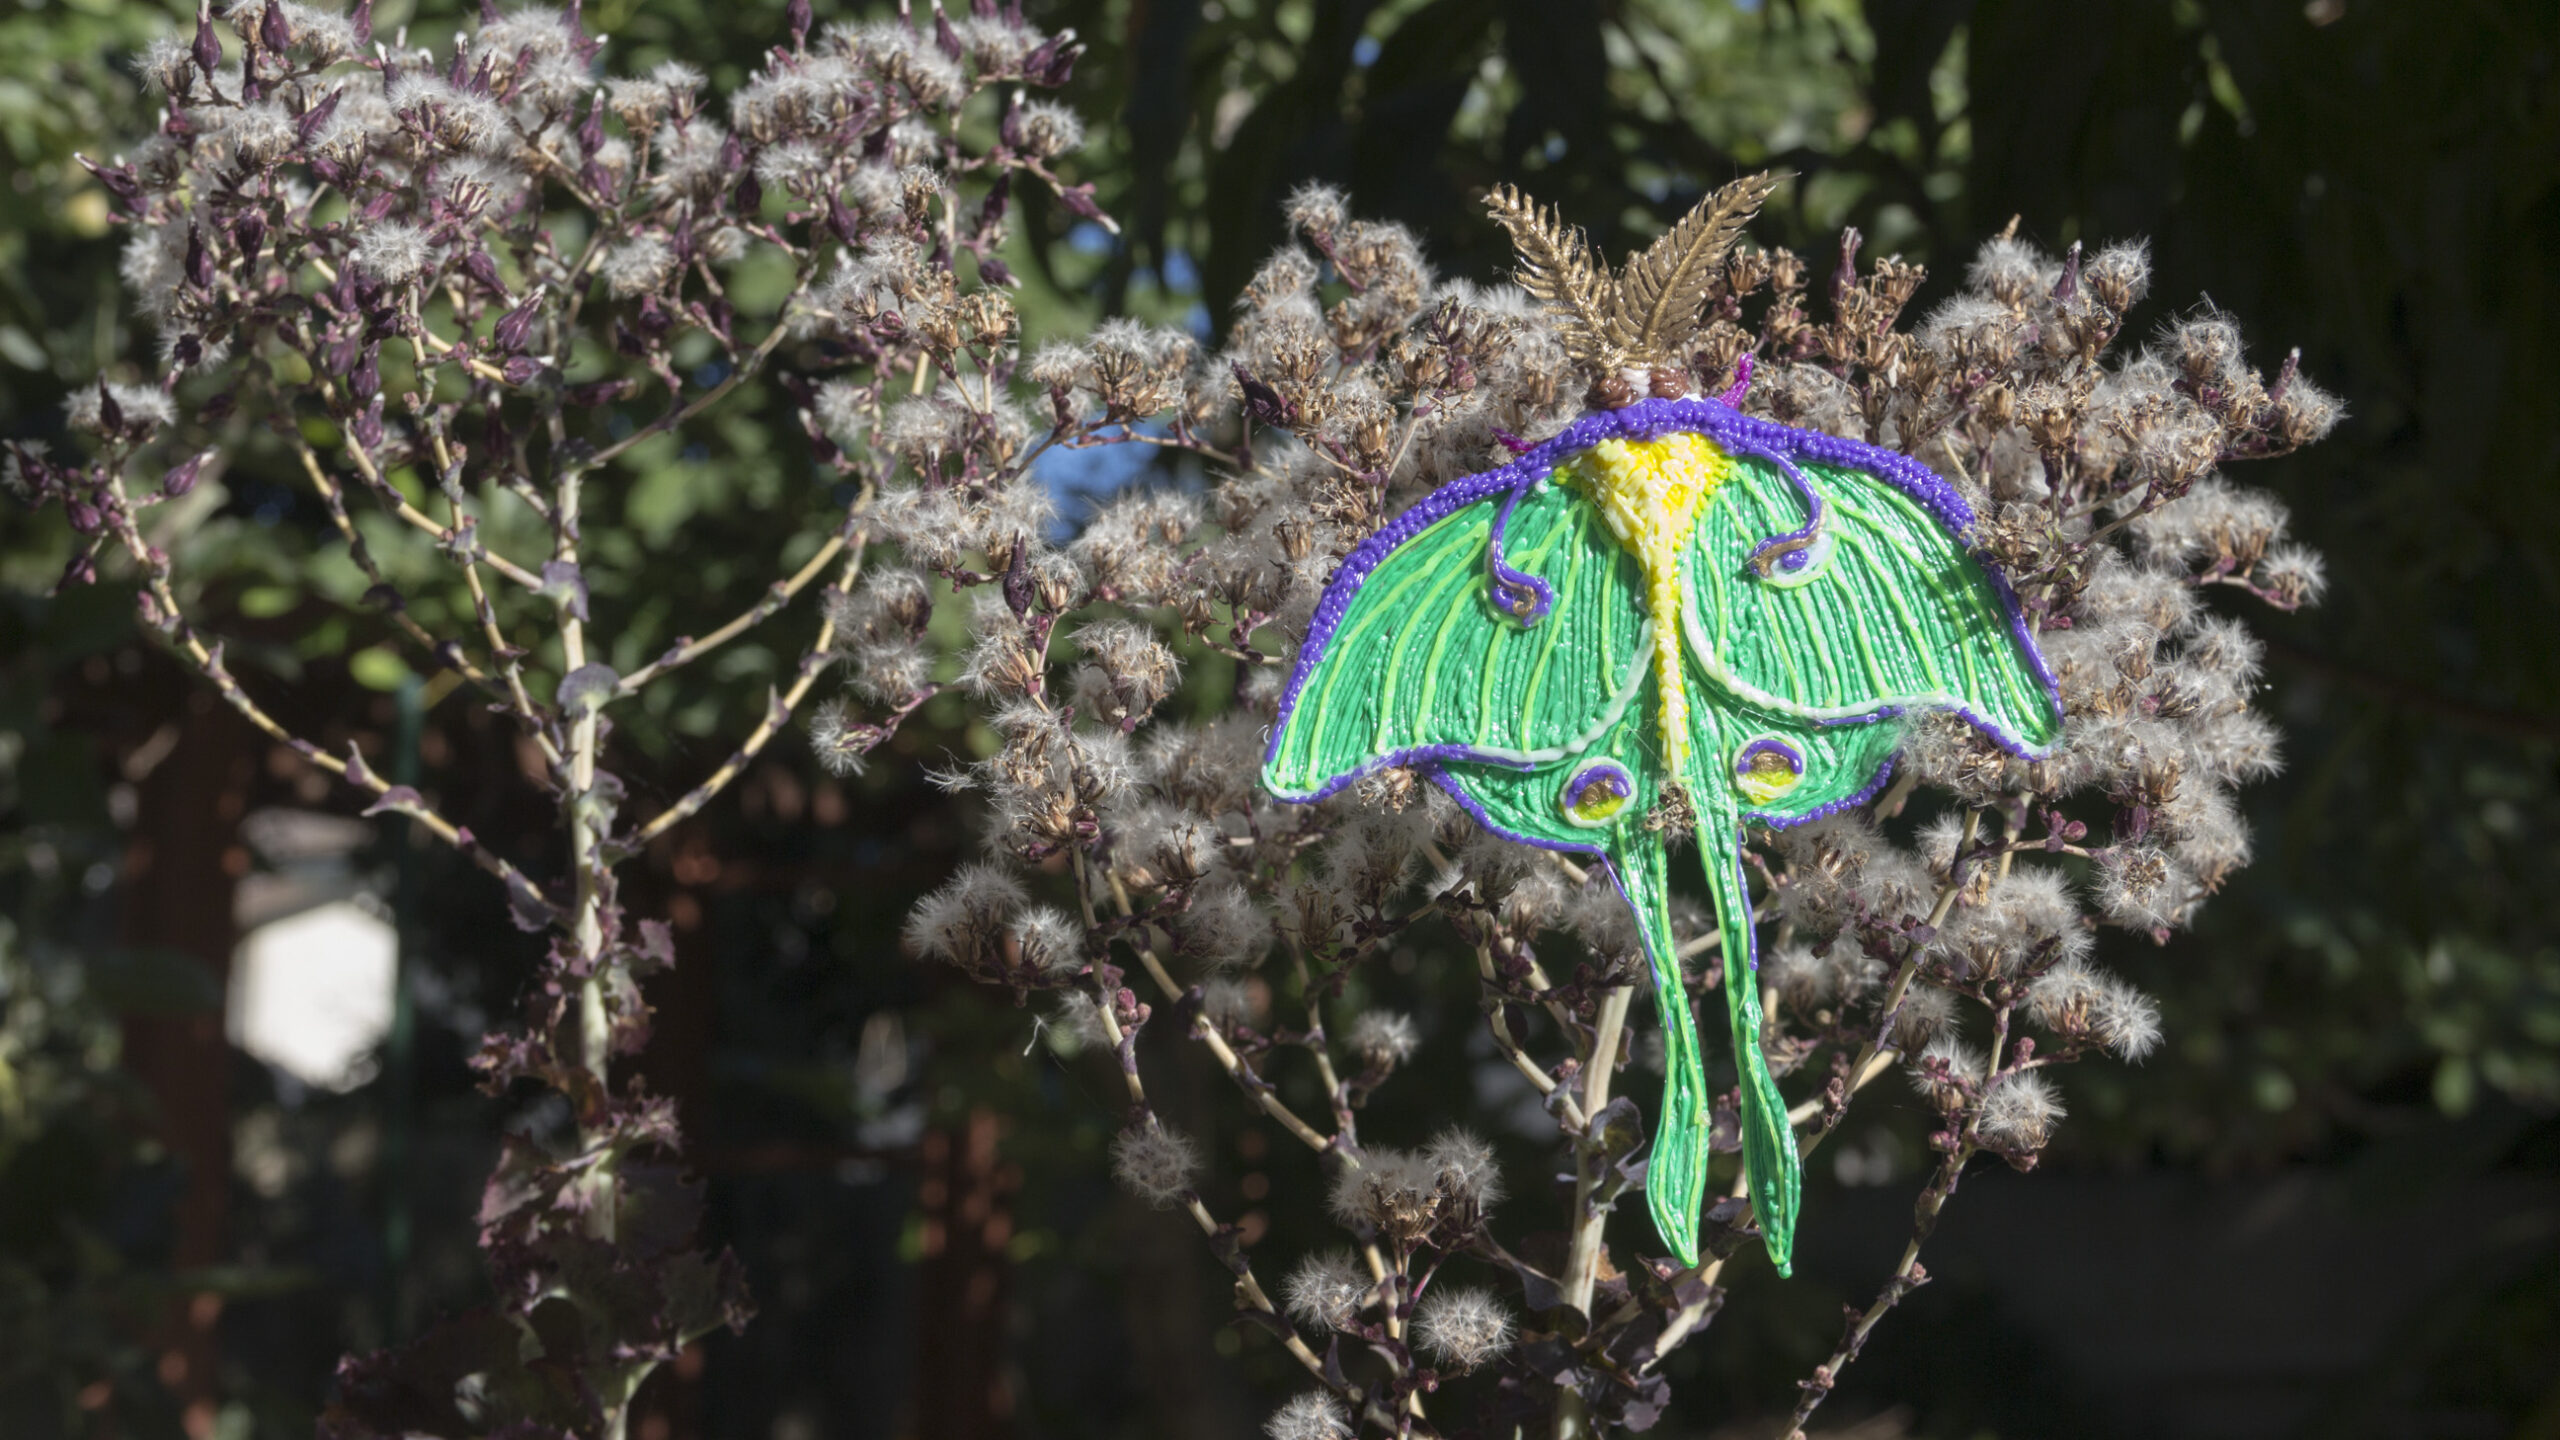
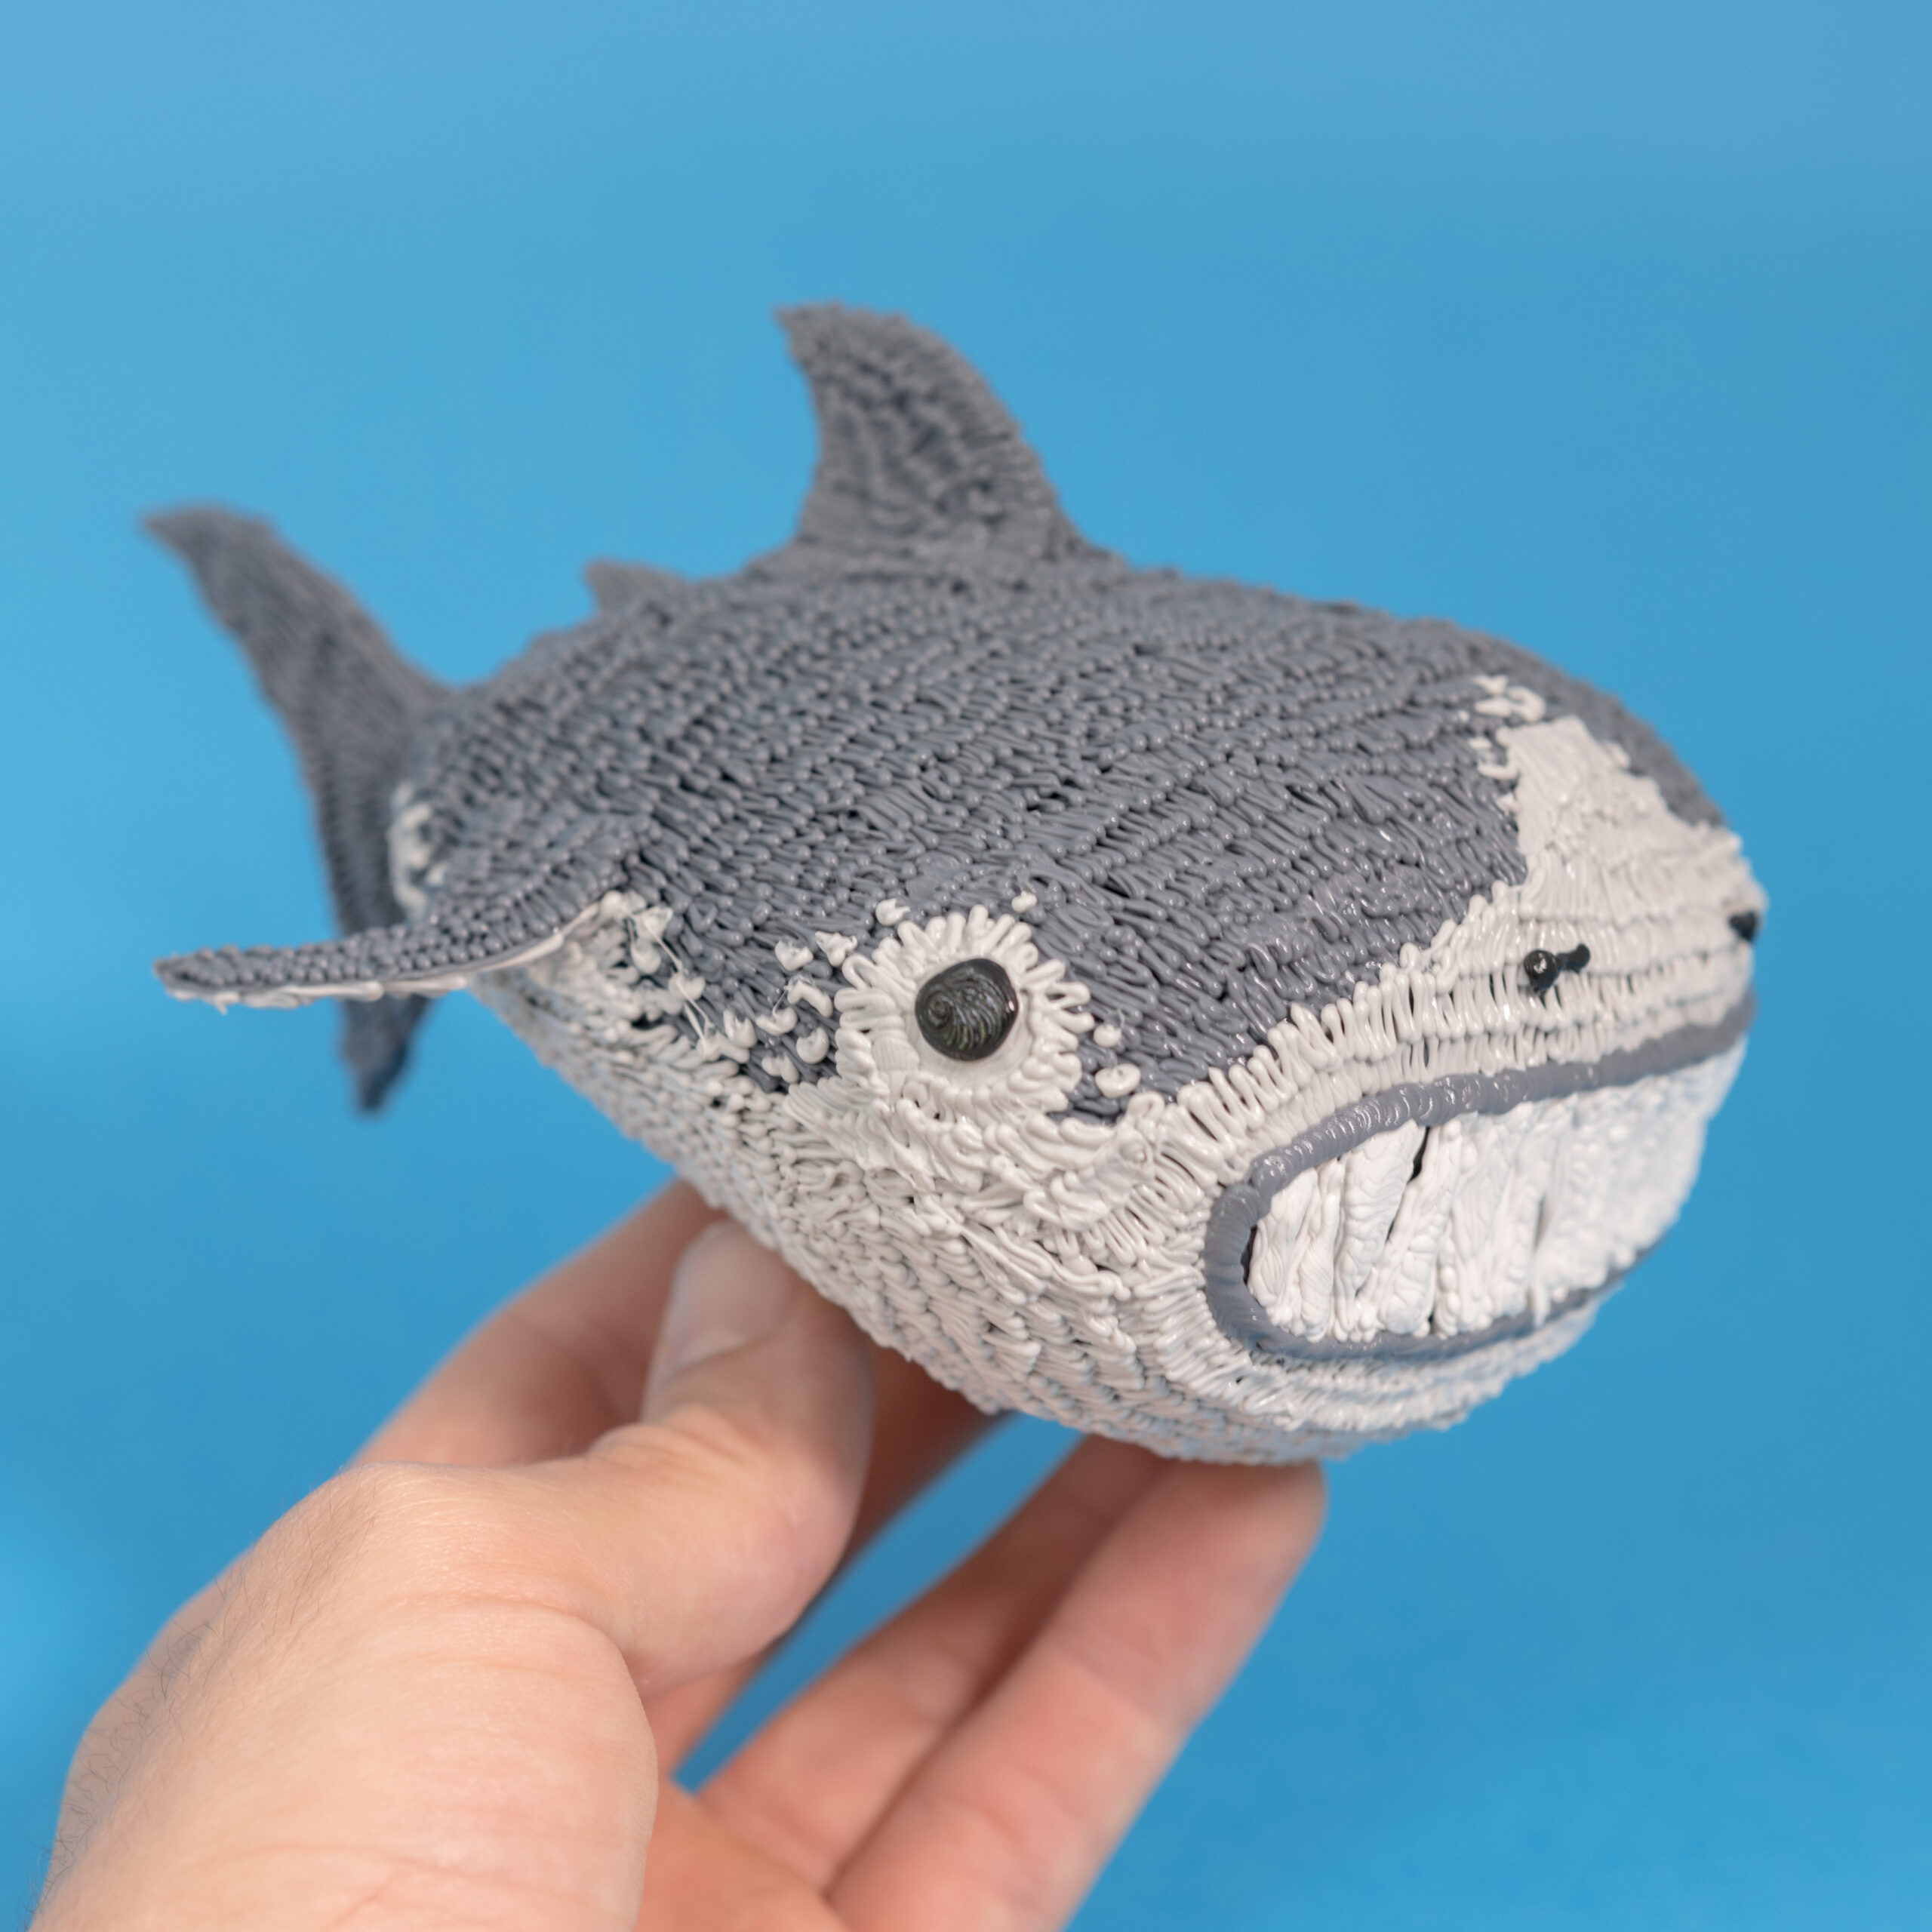
These models give you an idea of the variety of creations that can be made with 3D pens using the same basic technique that can be broken down into a few simple steps. Below I’ll show you how to apply the technique to make a real model, but first here are the 6 steps in my subdivision technique :
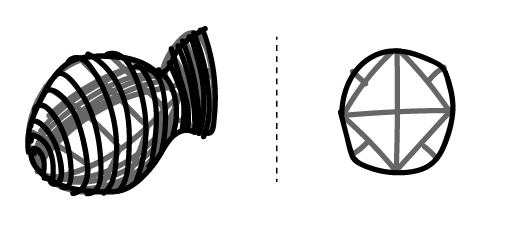
Subdivision Technique
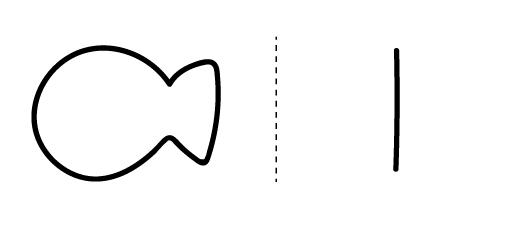
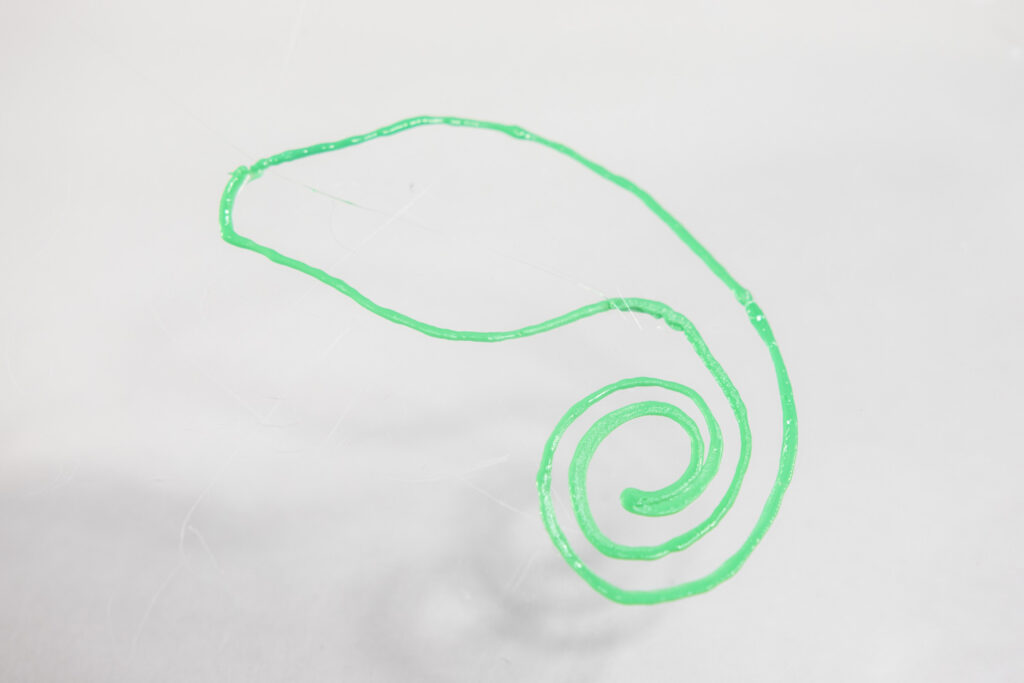
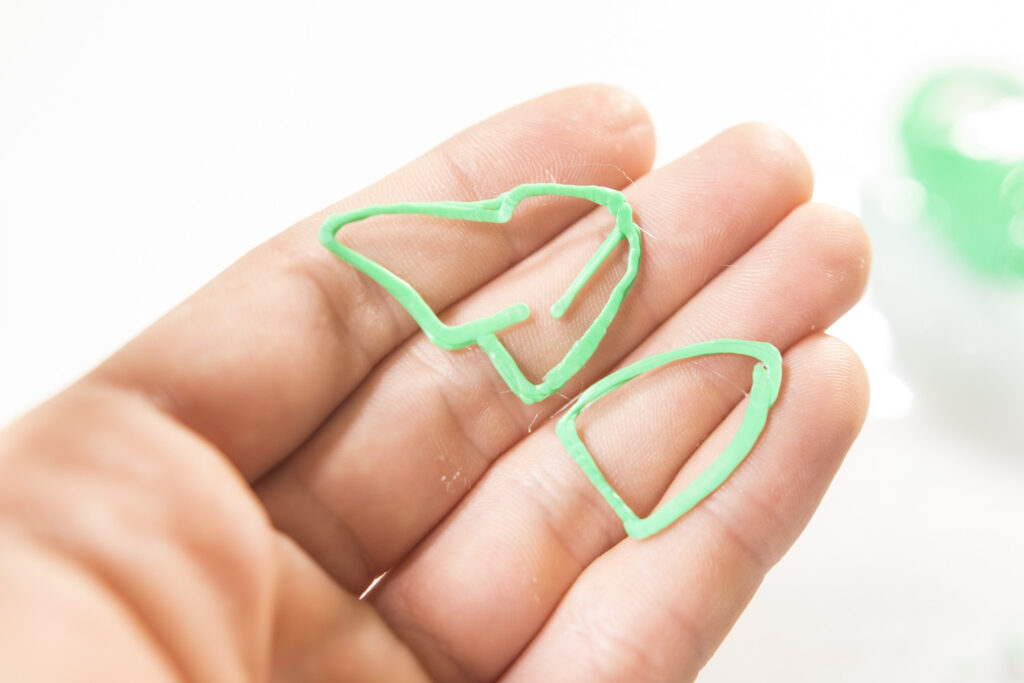
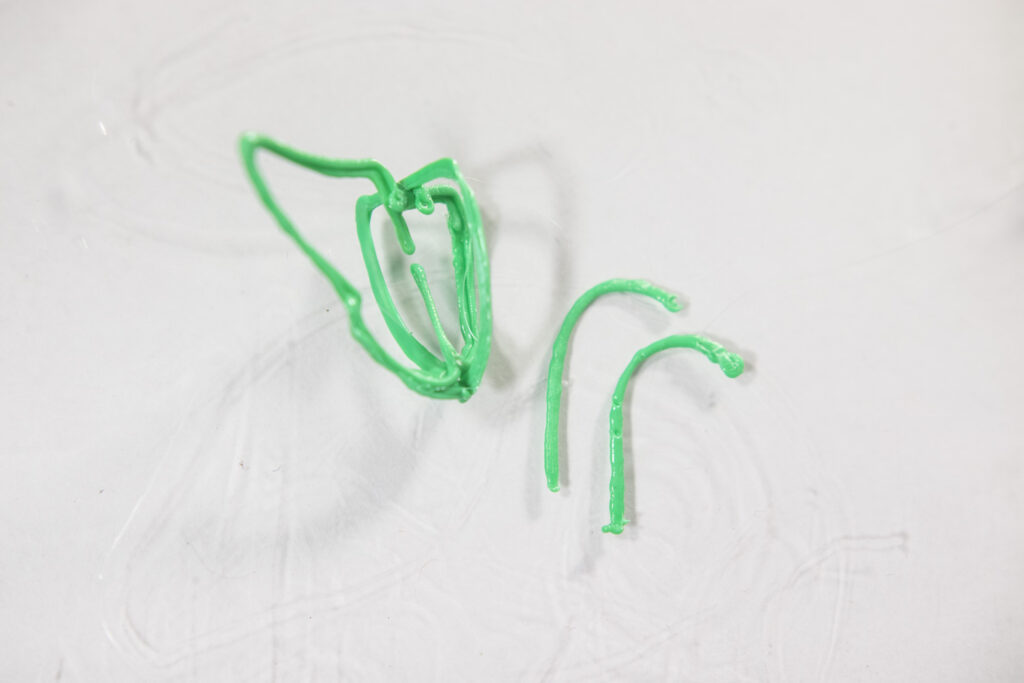
1. Draw the profile
The first thing you need to do is establish the main shape of what you’re making. Do this by drawing a flat profile of your model.
2. Add the cross-section
Draw another flat section to give your profile width.
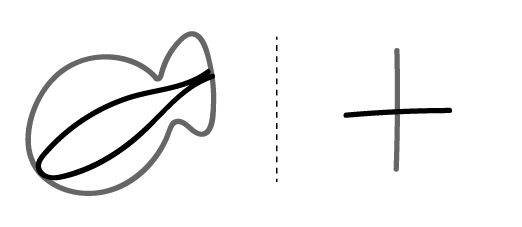
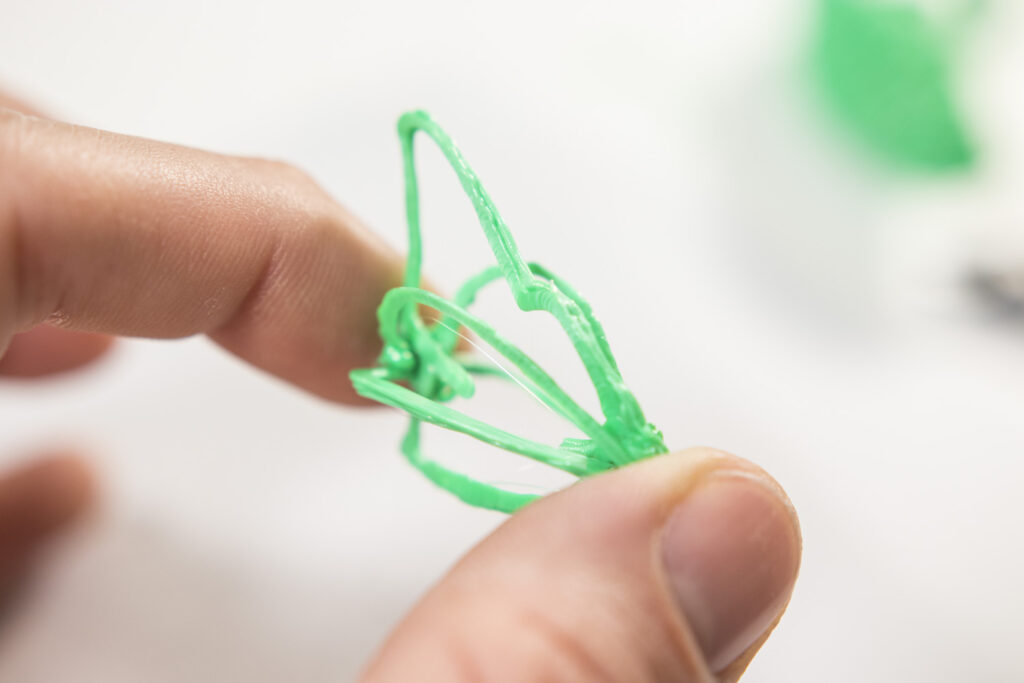
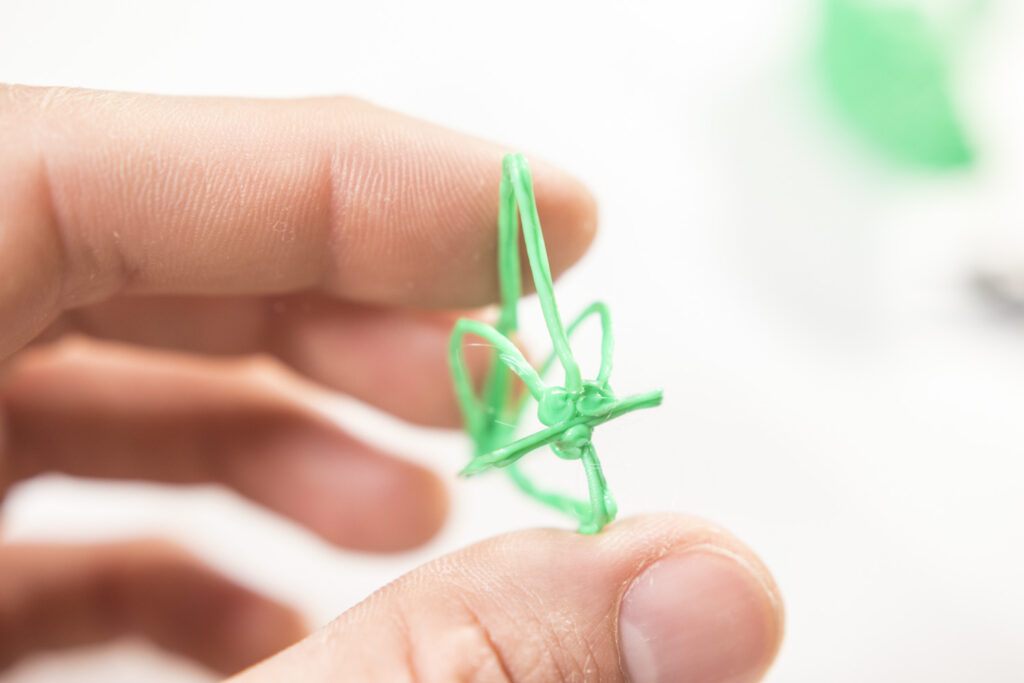
3. Light fill
Now we’re going to bridge the gap between the two sections with a light fill. This will give volume to your model, and prepare us for the next step.
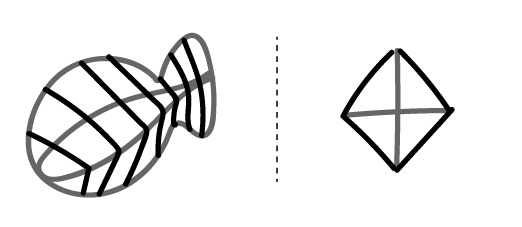
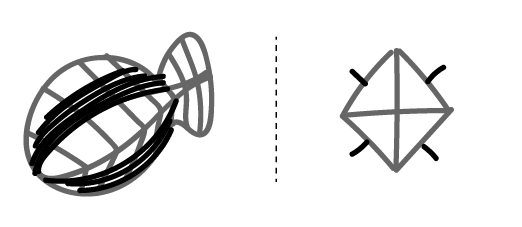
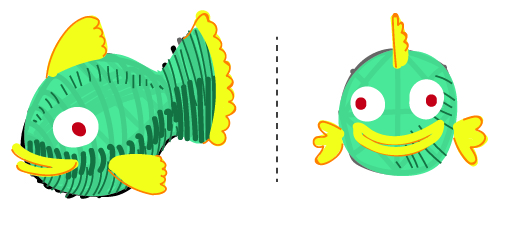
4. Subdivide
Round out the shape by adding a ‘wall’ between sections. You can keep subdividing into smaller sections by repeating steps 3 and 4.
5. Solid Fill
Now that we have enough structure to define our shape, we can fill all the gaps to create a solid looking shape.
6. Add details
Finally it’s time for the most fun part! Go crazy and add all the details you want on the surface of your shape until you’re happy
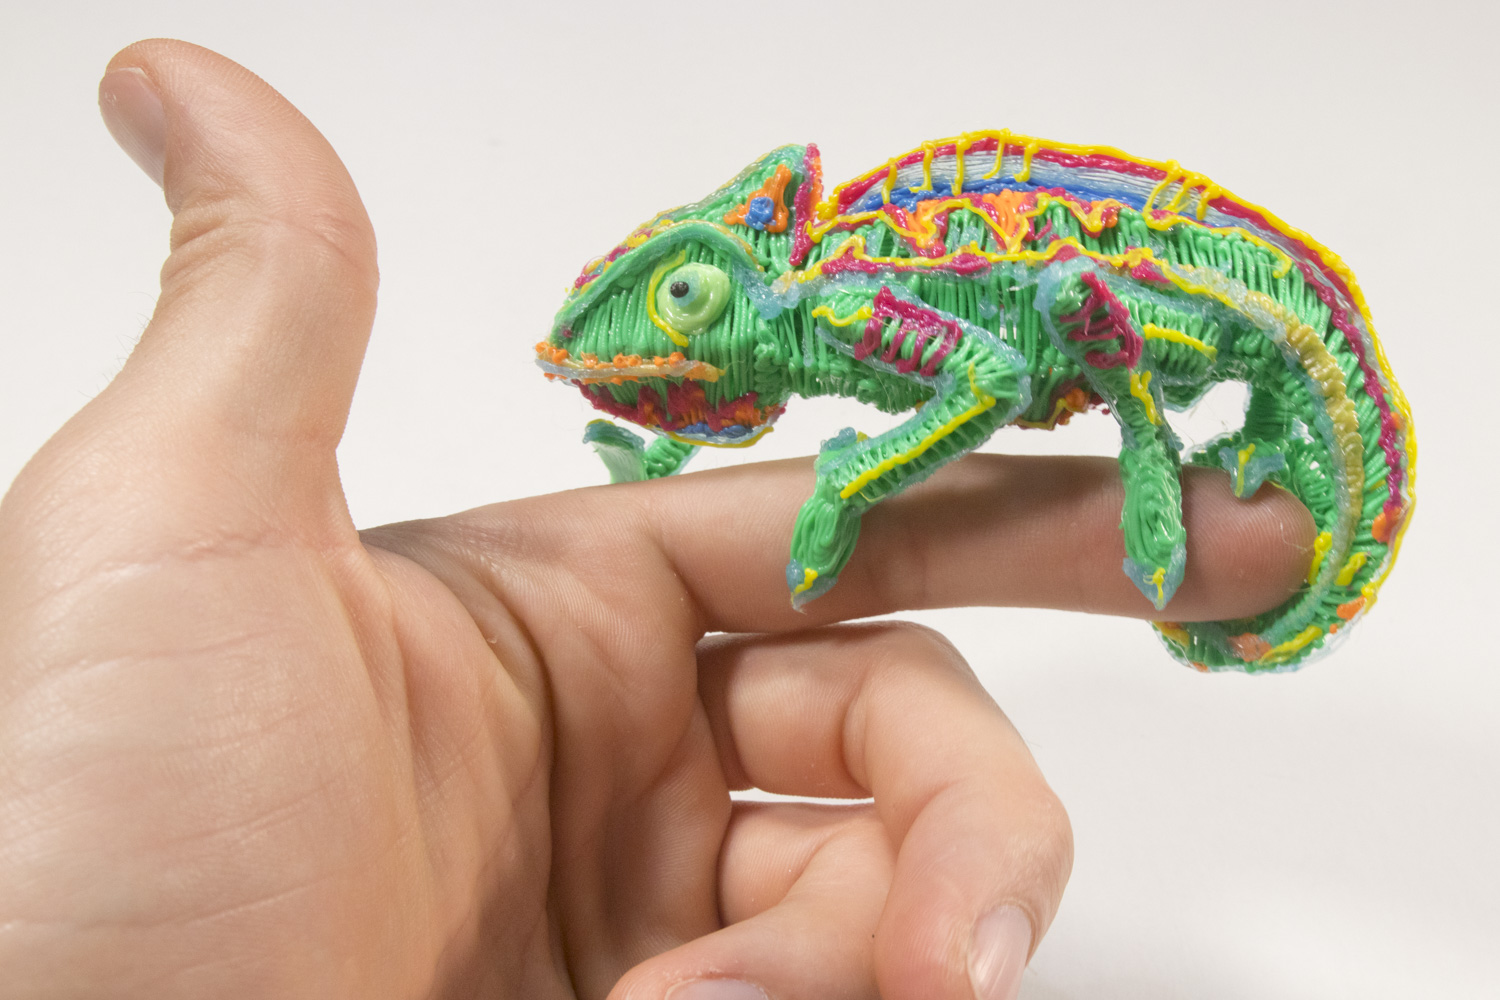
Creating a Colorful Chameleon
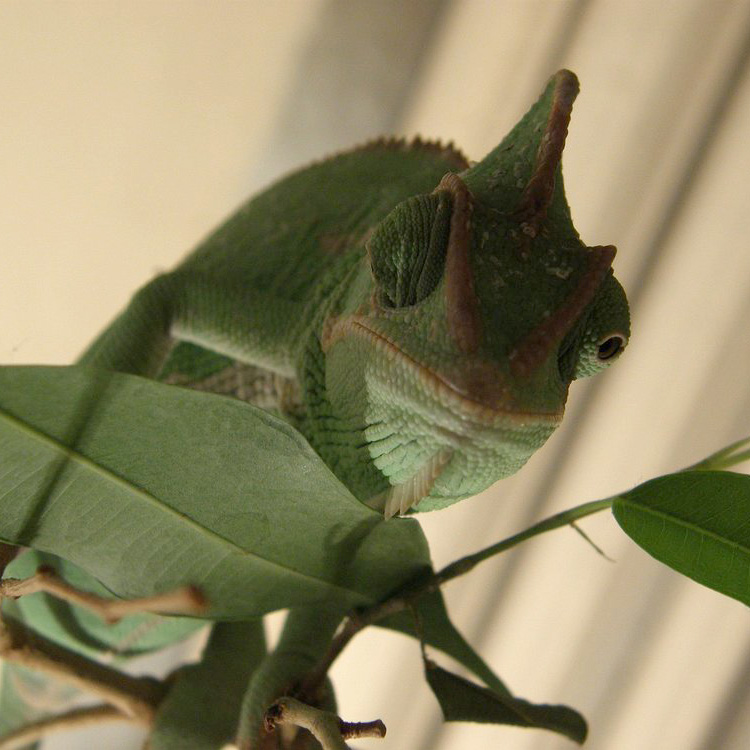
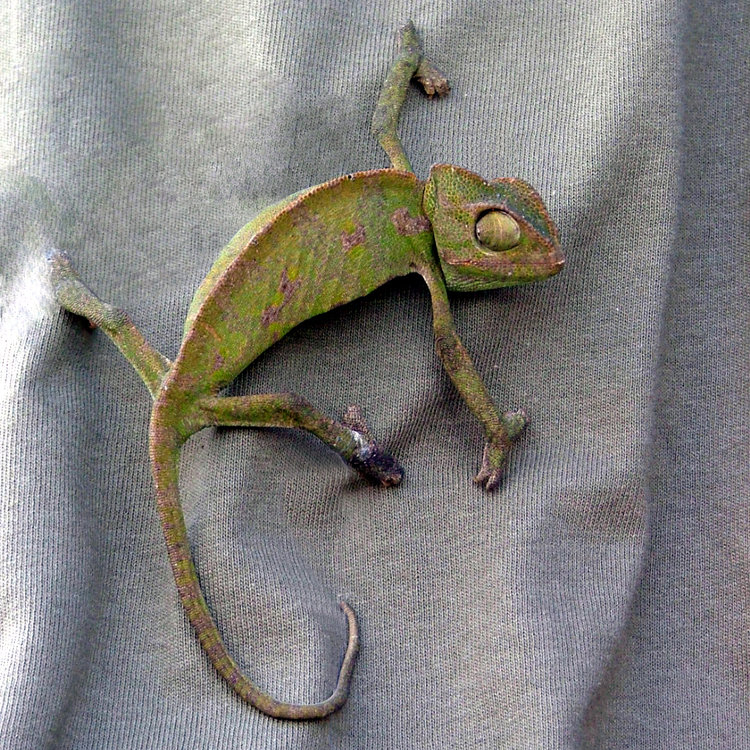
Let’s see how this subdivision technique can be used to make a more complex model. I decided to make a chameleon, so I’ll start by looking up some reference photos. The more reference images you collect, the easier it will be to recreate. Try getting several angles, like direct side and front views.
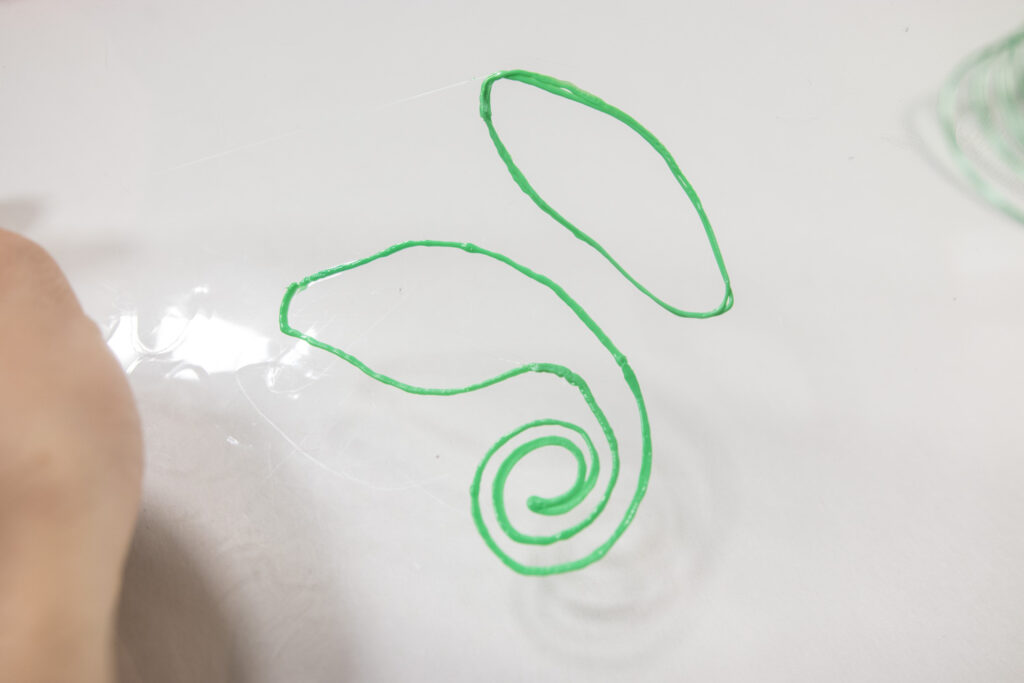
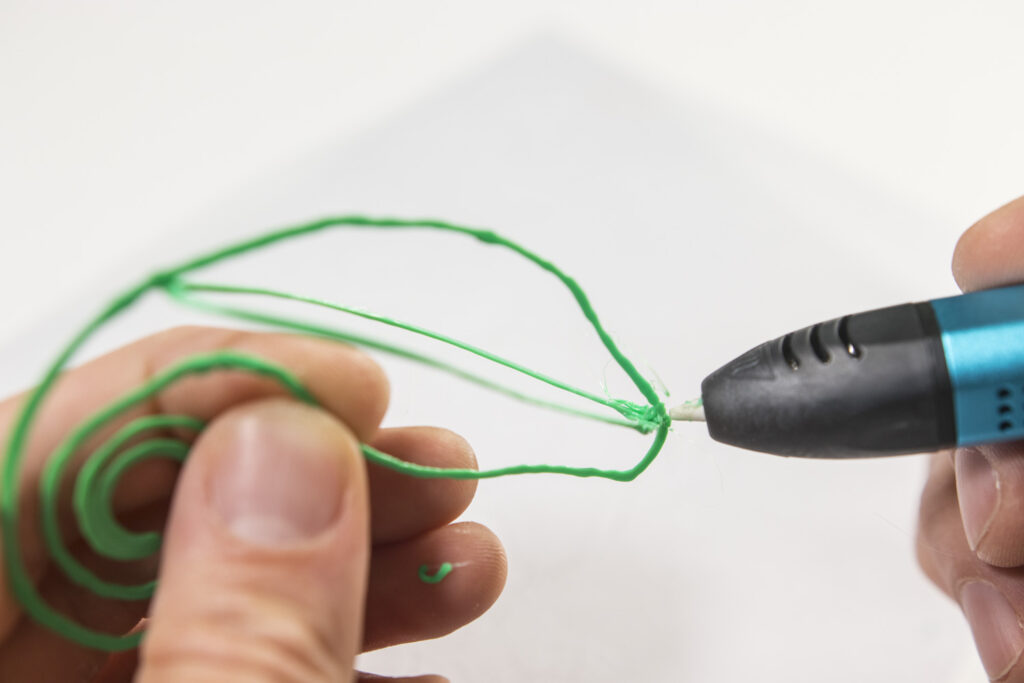
The subdivision technique works best when breaking up your model into smaller main shapes. Here I will do the body first and later add the head and limbs. I started with a side profile since it’s the view that best captures my chameleon. Then I drew my cross section to add width to the body.
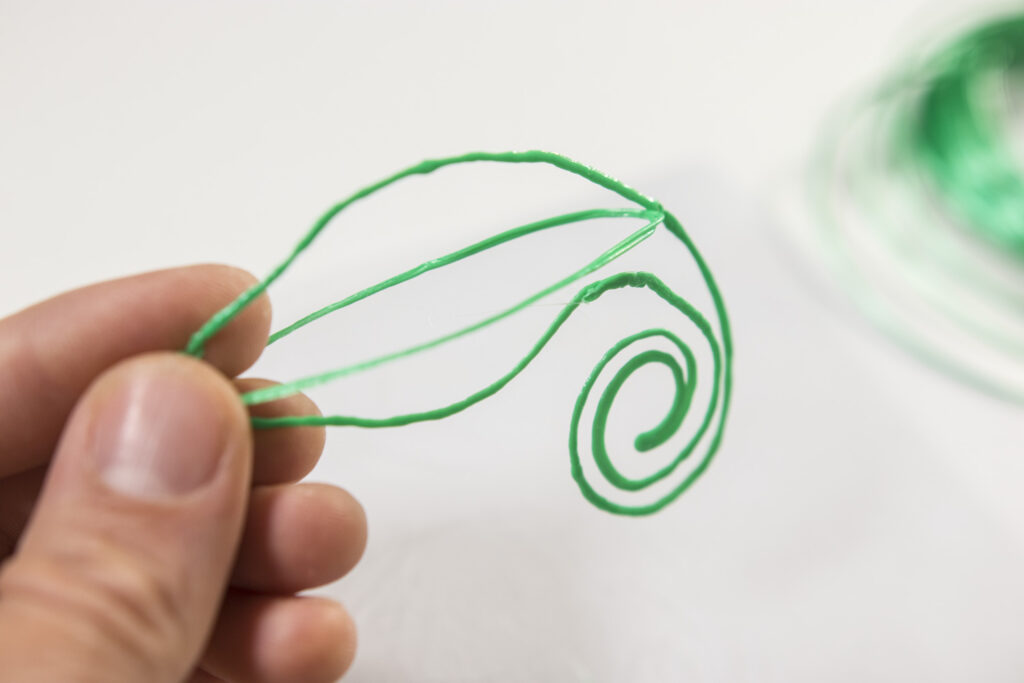
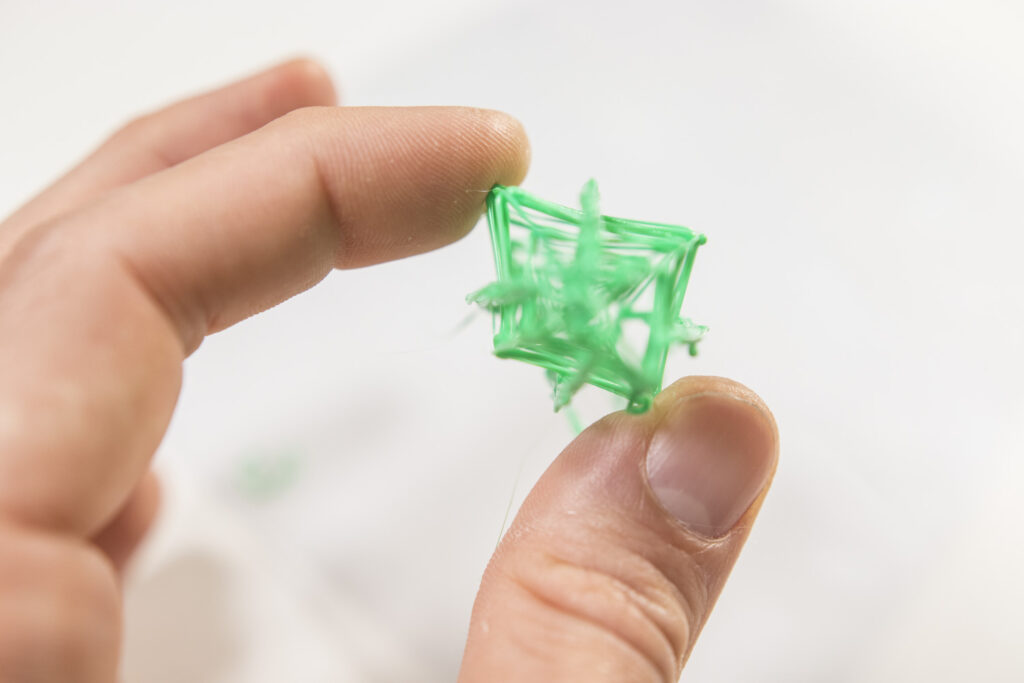
I know it’s called a ‘3D’ pen, but working flat and then sticking parts together is much more precise than trying to draw in the air. Here I connected my profile and cross-section with little dots of plastic.
Now we’re at step 3 of my technique. I used a zig-zag motion to quickly build struts between my sections. This helps hold things into place and starts defining the volume, but most importantly it gives us something to draw on for the subdividing step.
Here’s a front view so you can get a better idea of how my light fill connects the sections.
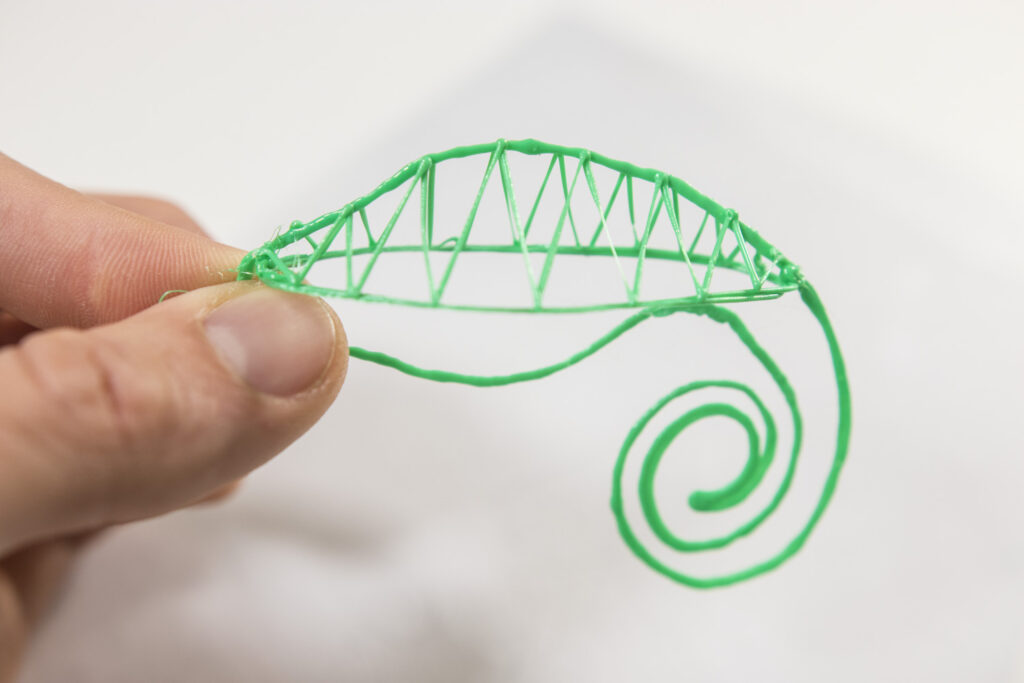
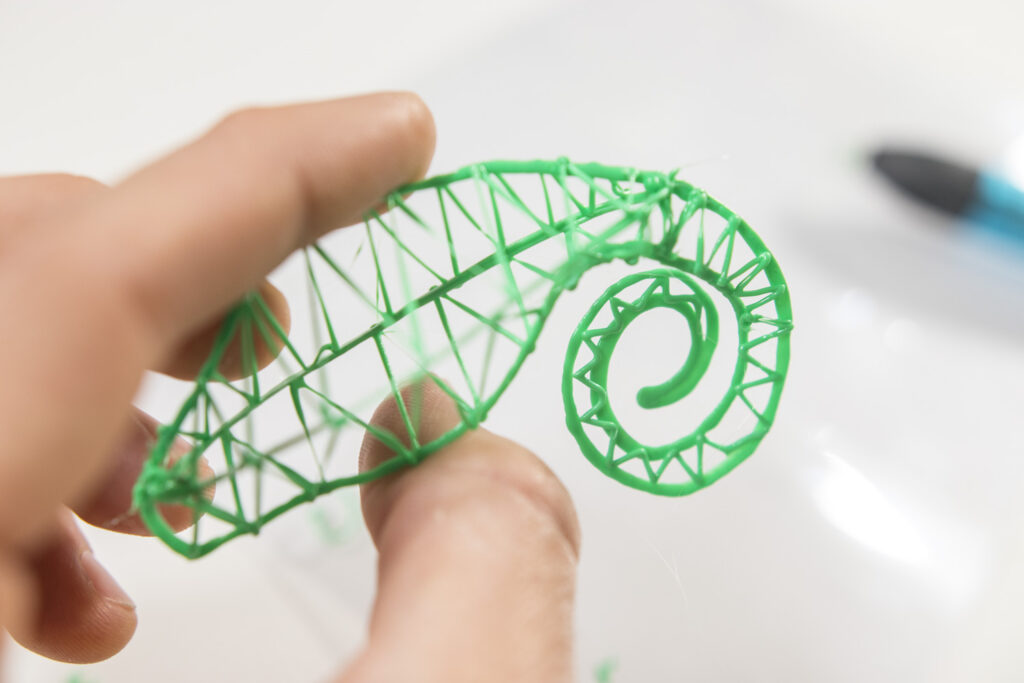
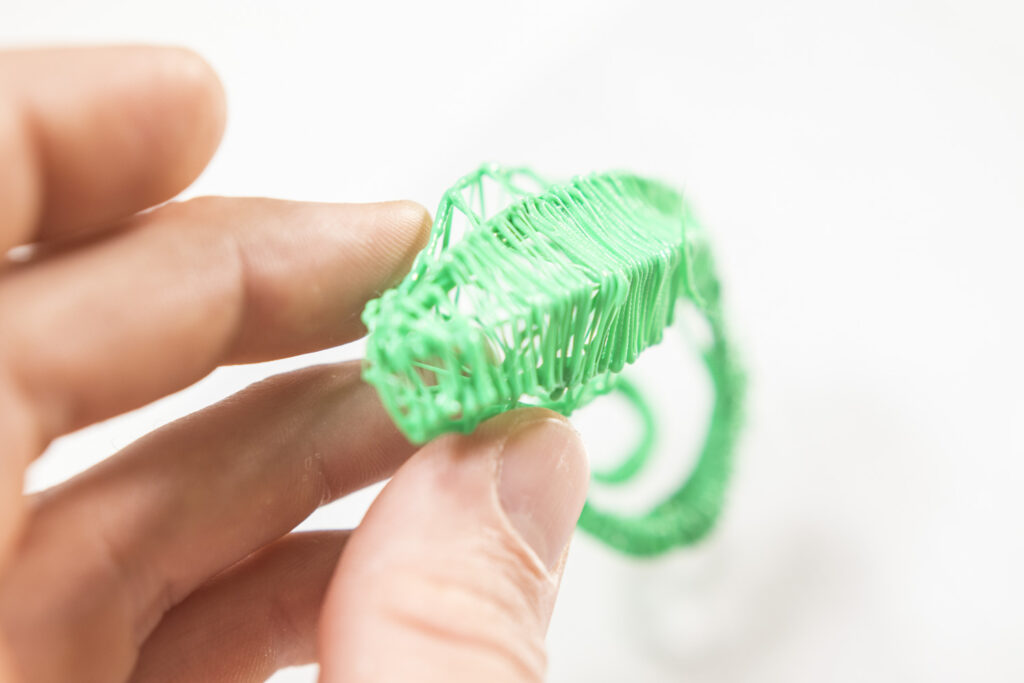
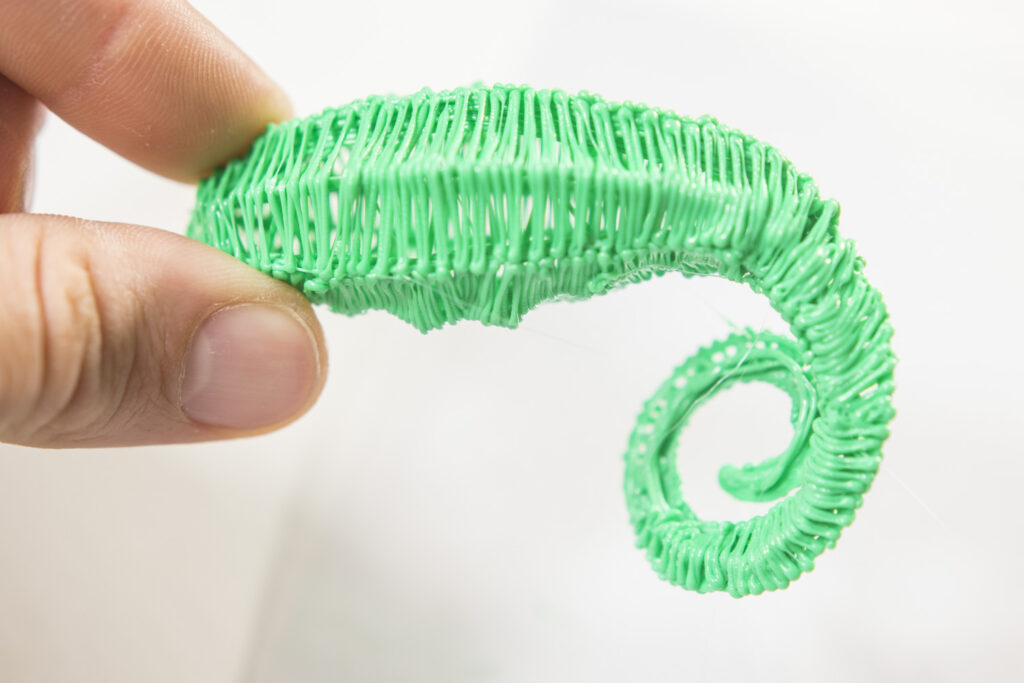
Now it’s time to subdivide. We don’t want our chameleon looking so ‘square’ so we’ll build up some walls to draw over.
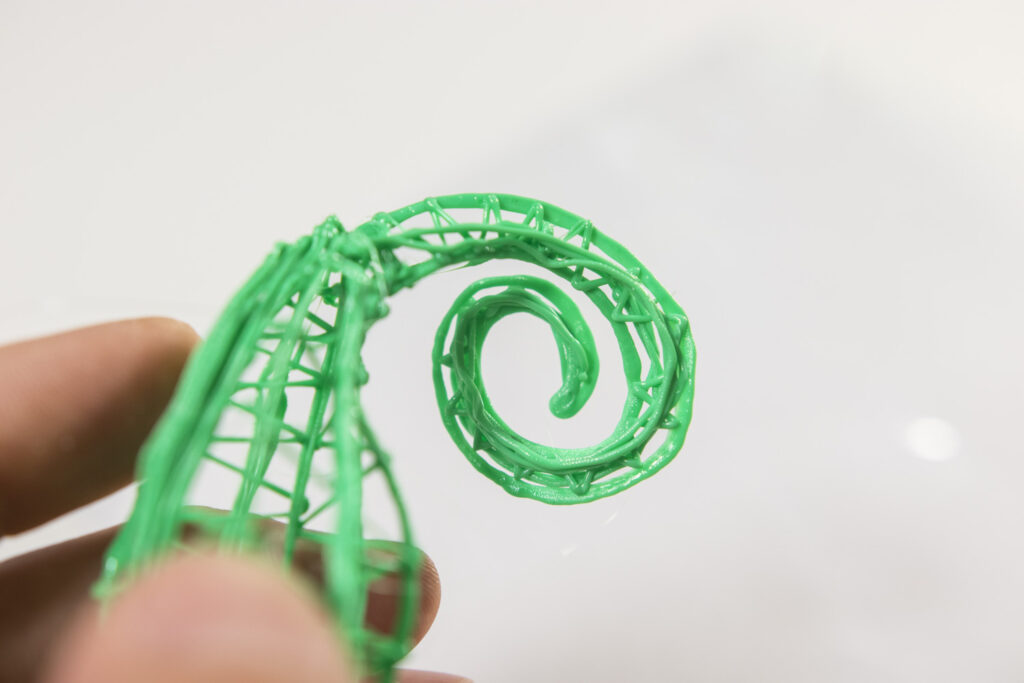
The chameleons tail doesn’t have too much thickness, but I still added a wall along the spiraling tail. This actually warmed the model up enough that I was able to bend it a bit and add some more movement to the tail.
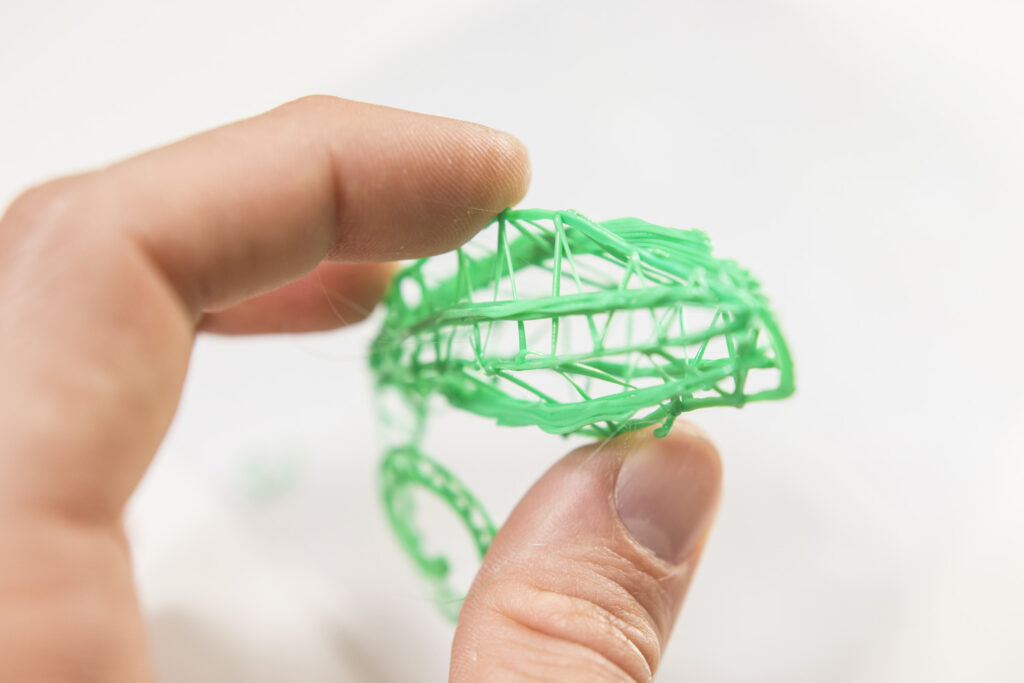
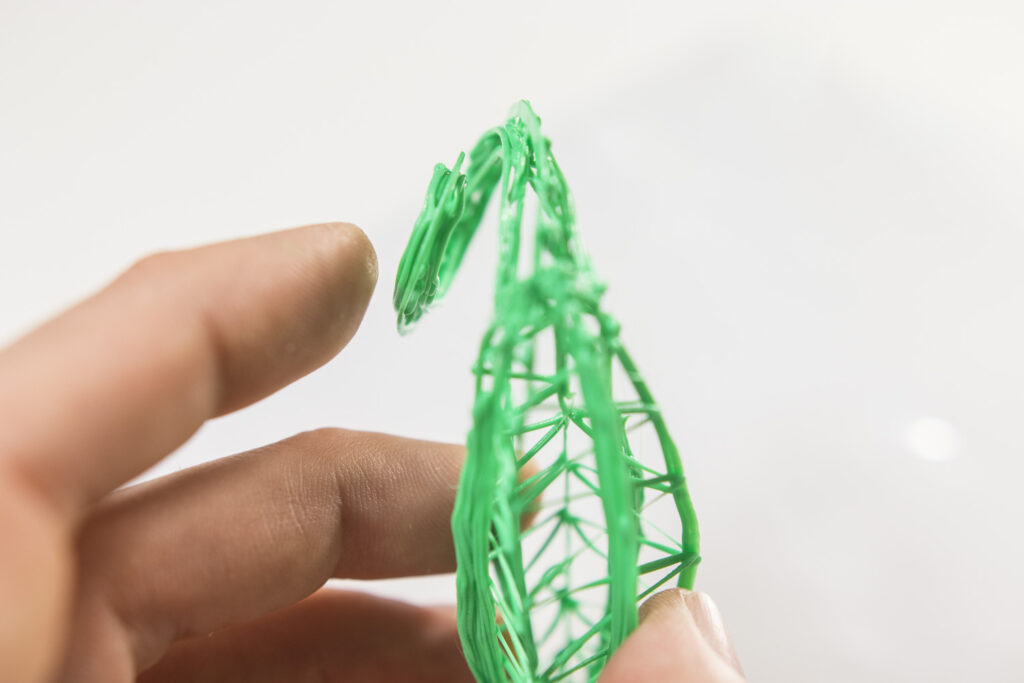
Now that I have enough sections built up I can do a solid fill over the skeleton I built up. You can see my fill isn’t actually ‘solid’, but how much you fill in is just a matter of style (a lot of it will be covered up in details later anyways!).
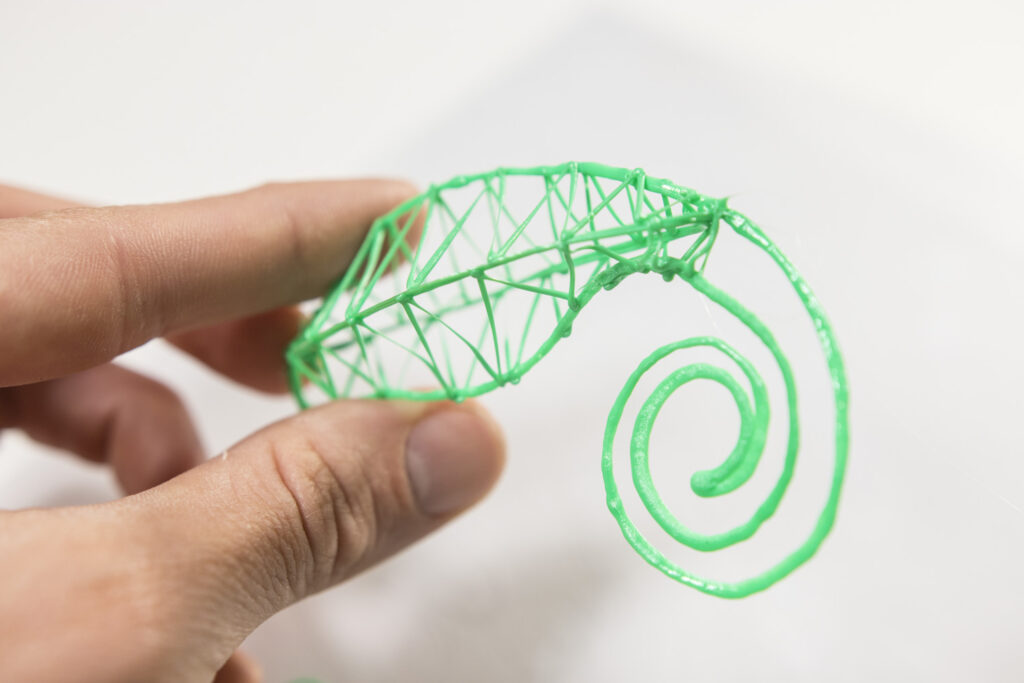
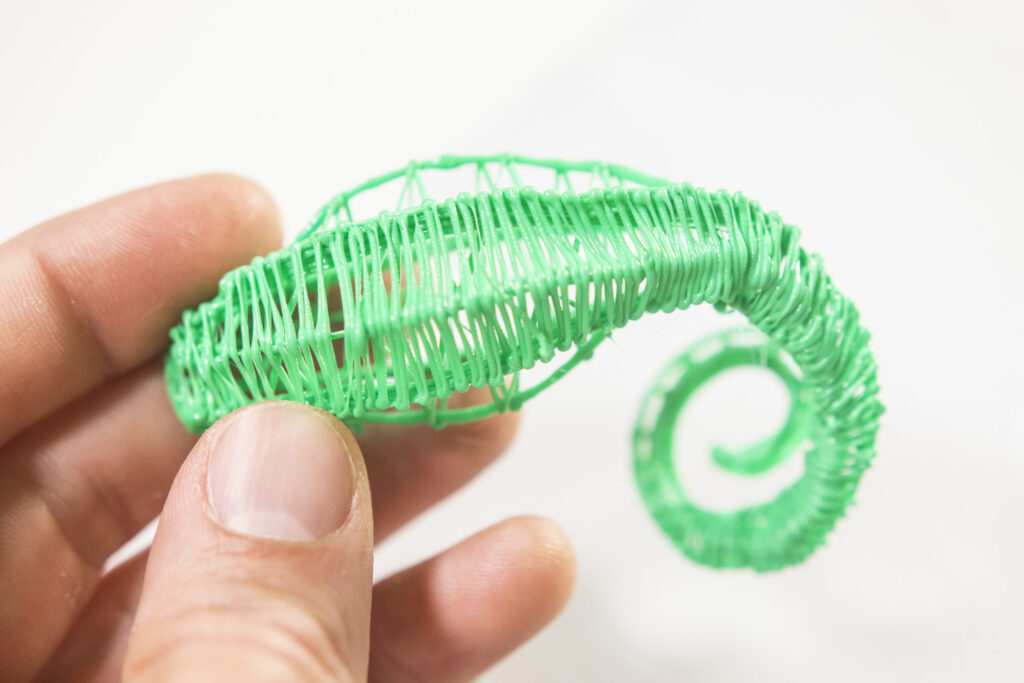
Here is the body all filled in. Now it’s time to draw the head using the same technique.
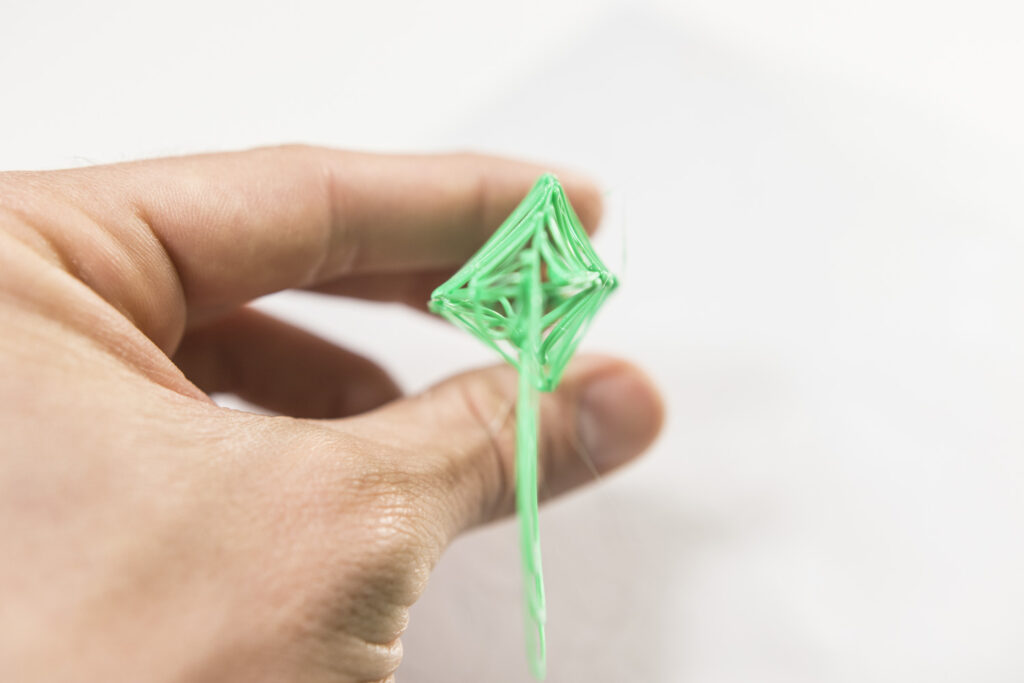
Here is my profile and cross section for the head.
You can also skip a few steps and subdivide earlier without filling in, like I did here. The chameleons eyebrows are pretty defined, so I drew those out.
I stuck those extra sections in place and then did the light fill step.
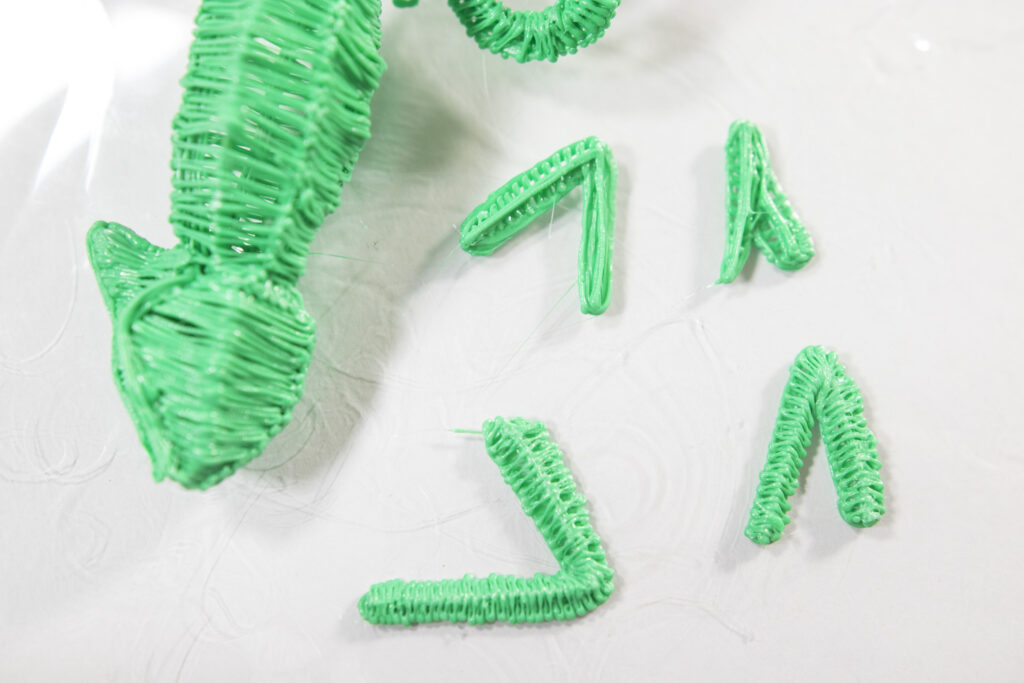
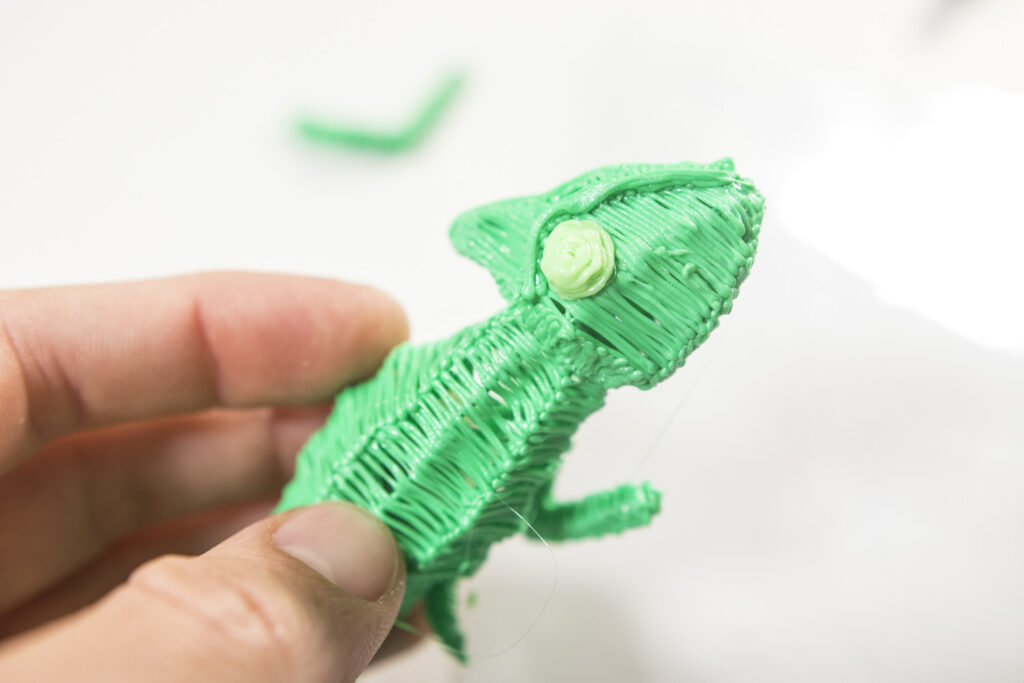
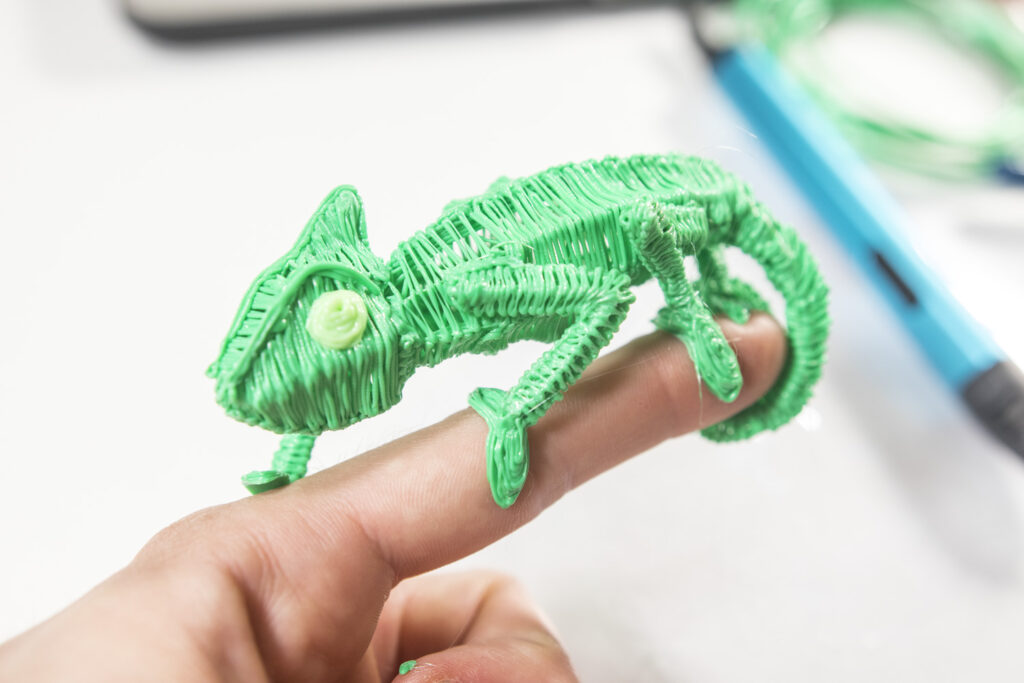
Here we are a bit further along. I filled in the head and made little arms and legs to stick into place.
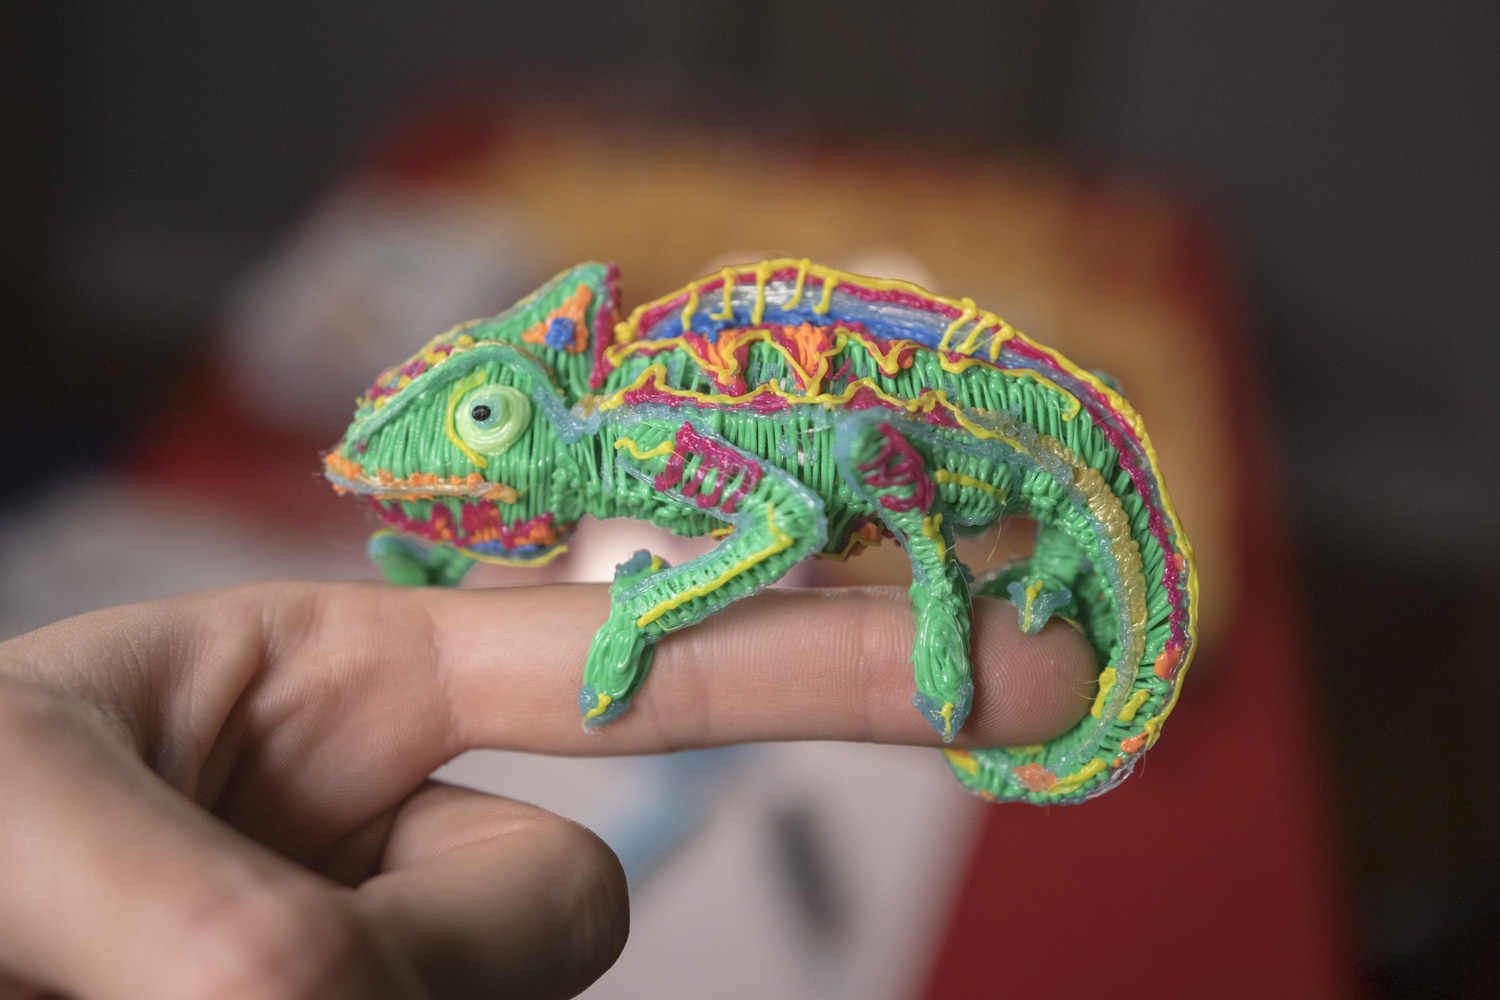
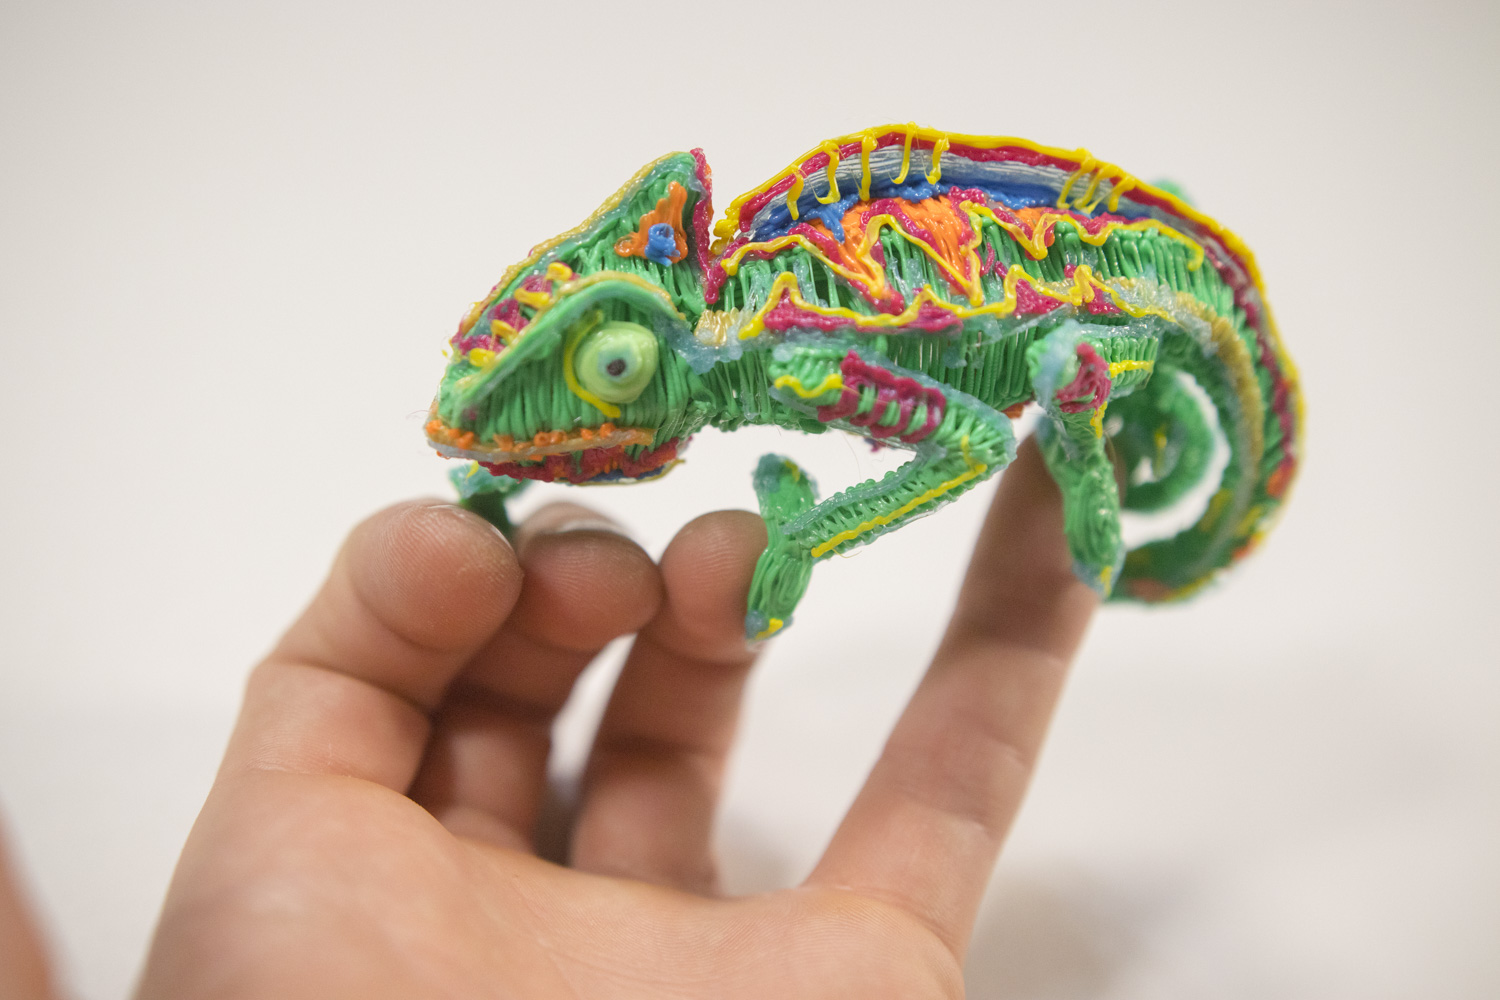
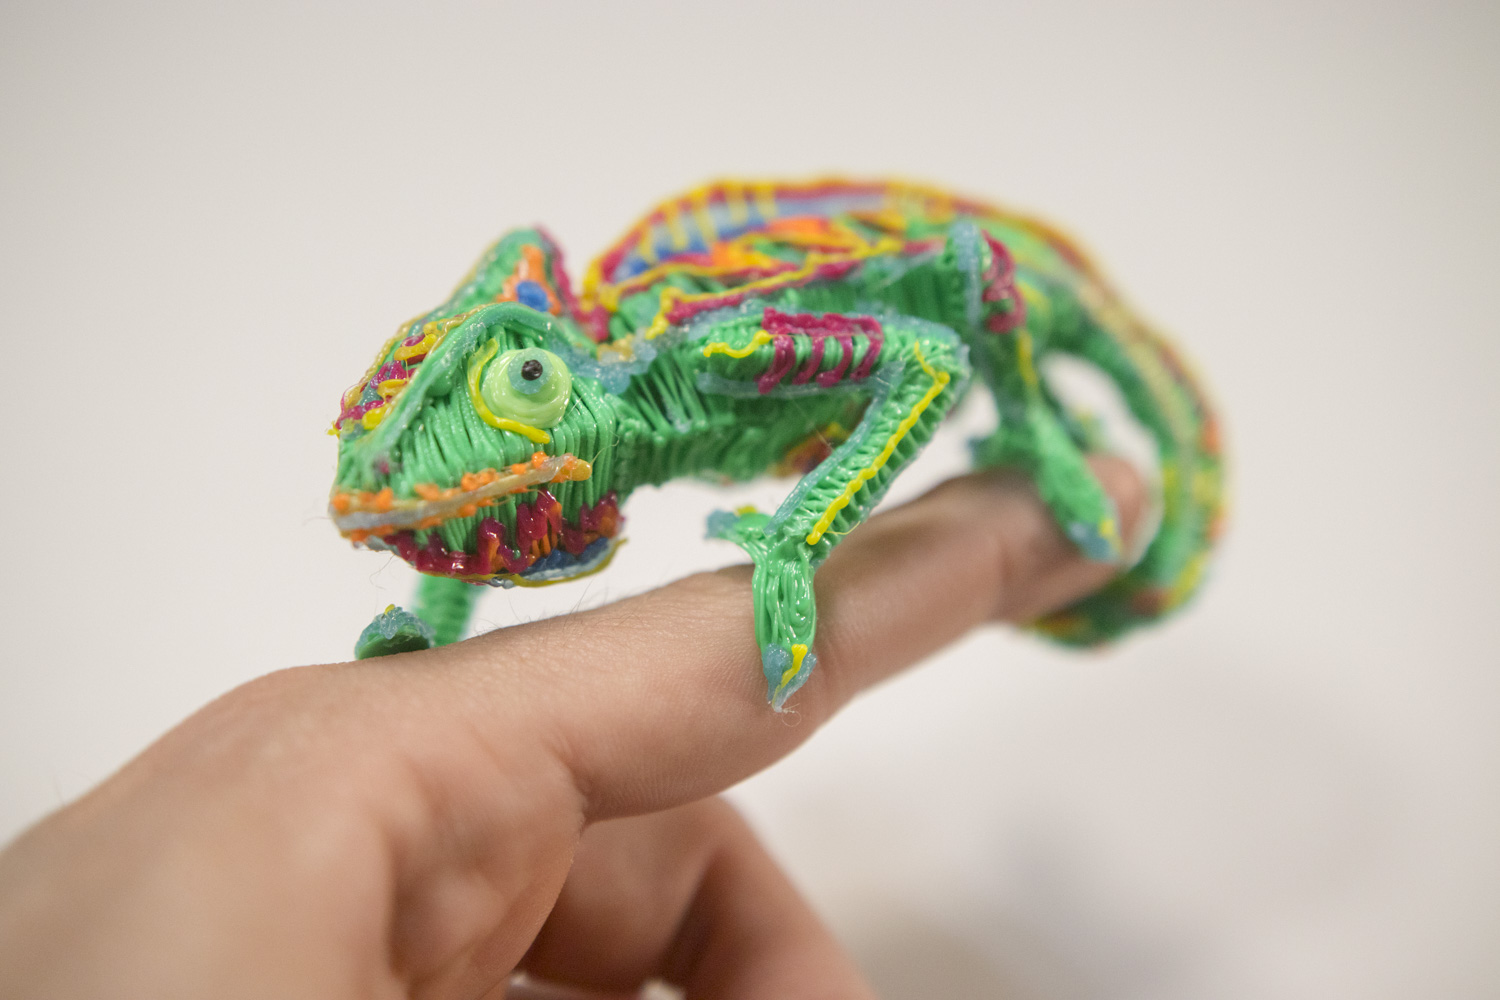
After ‘welding’ all the parts together with hot globs of plastic all that’s left to do is add more colors and details until we have a proper chameleon!
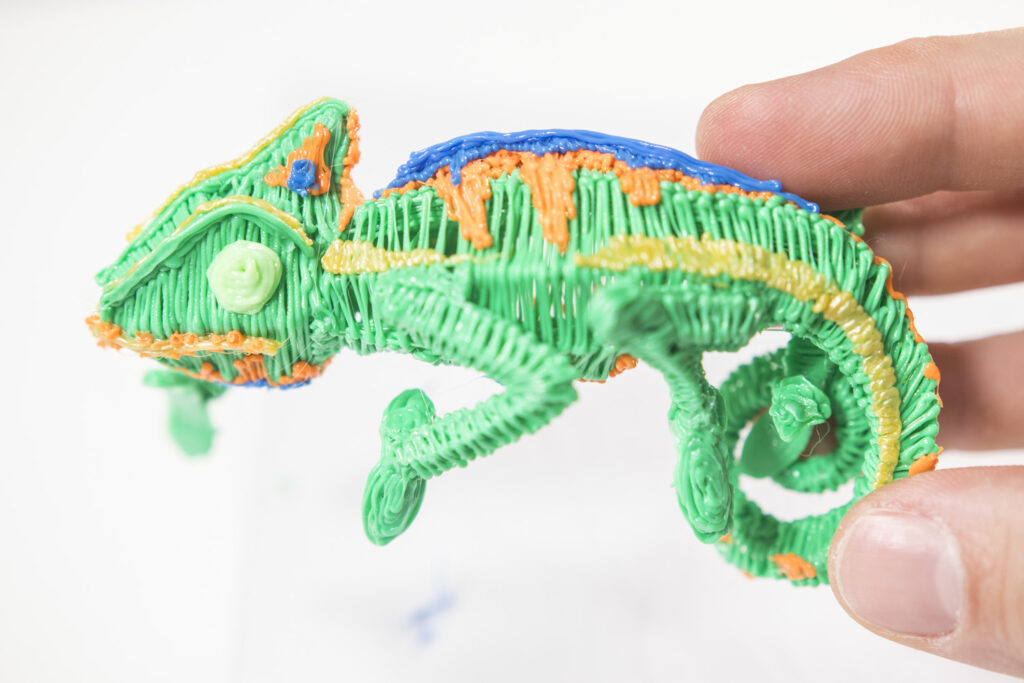
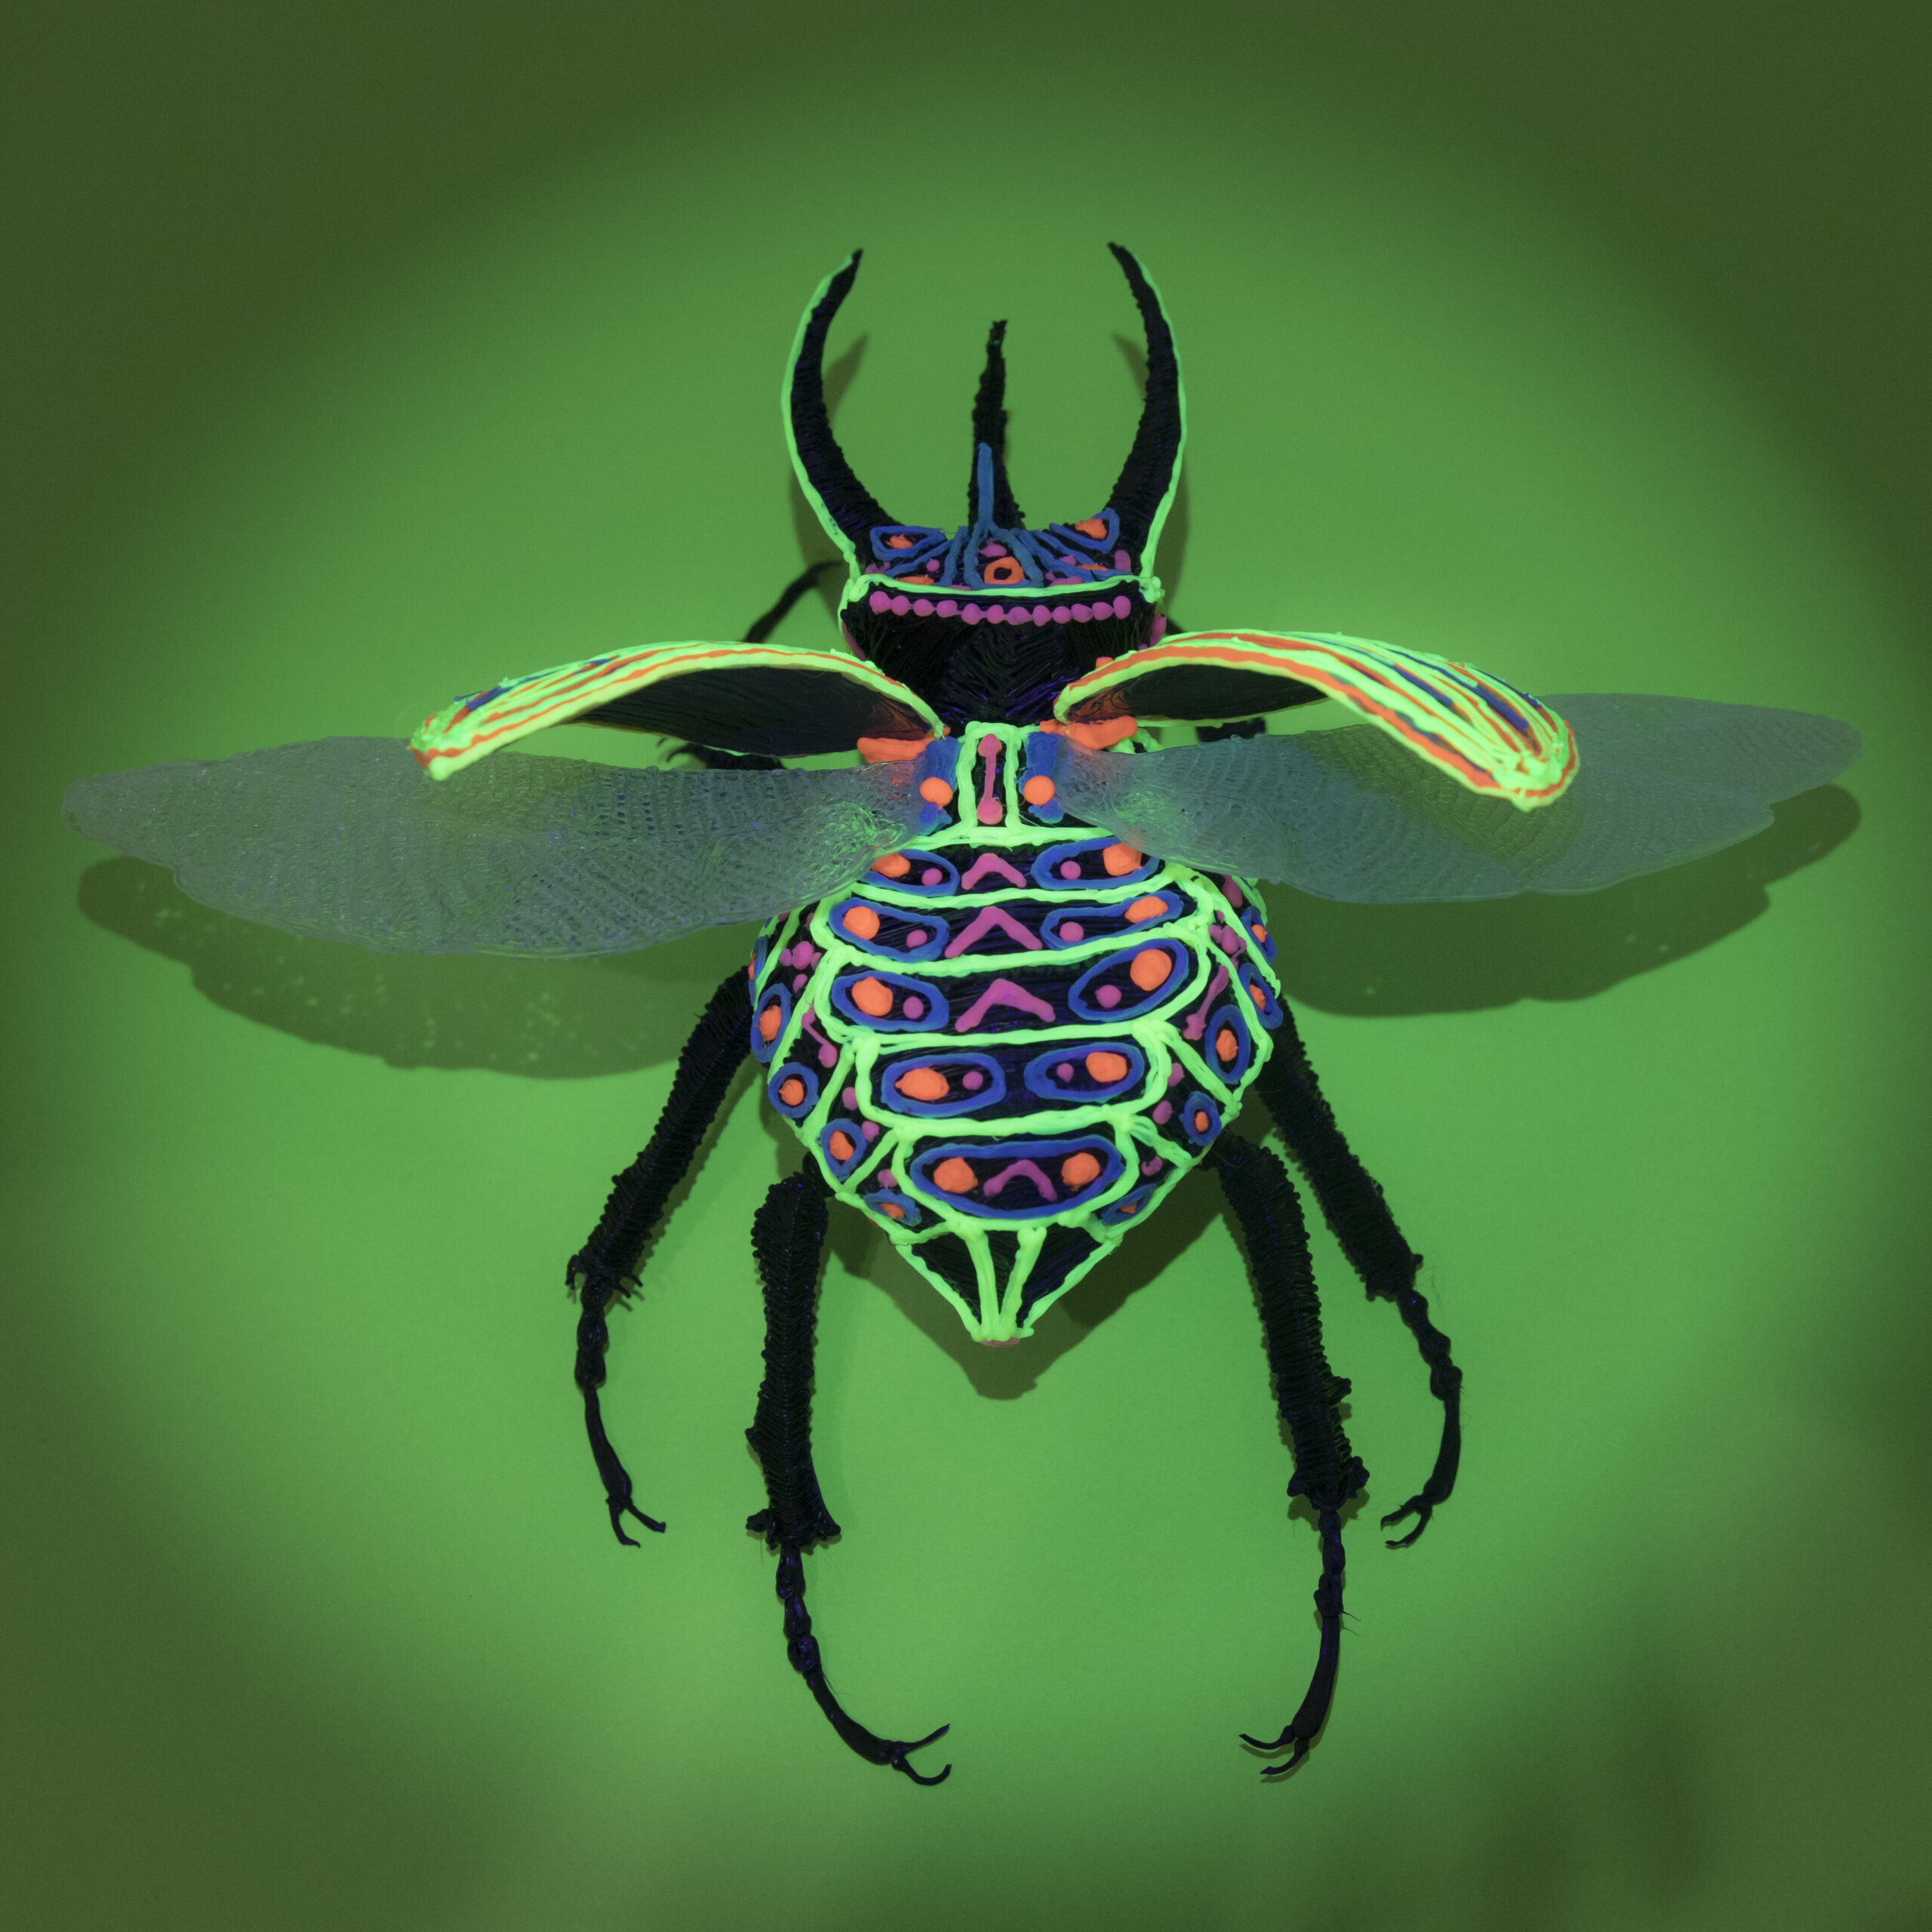
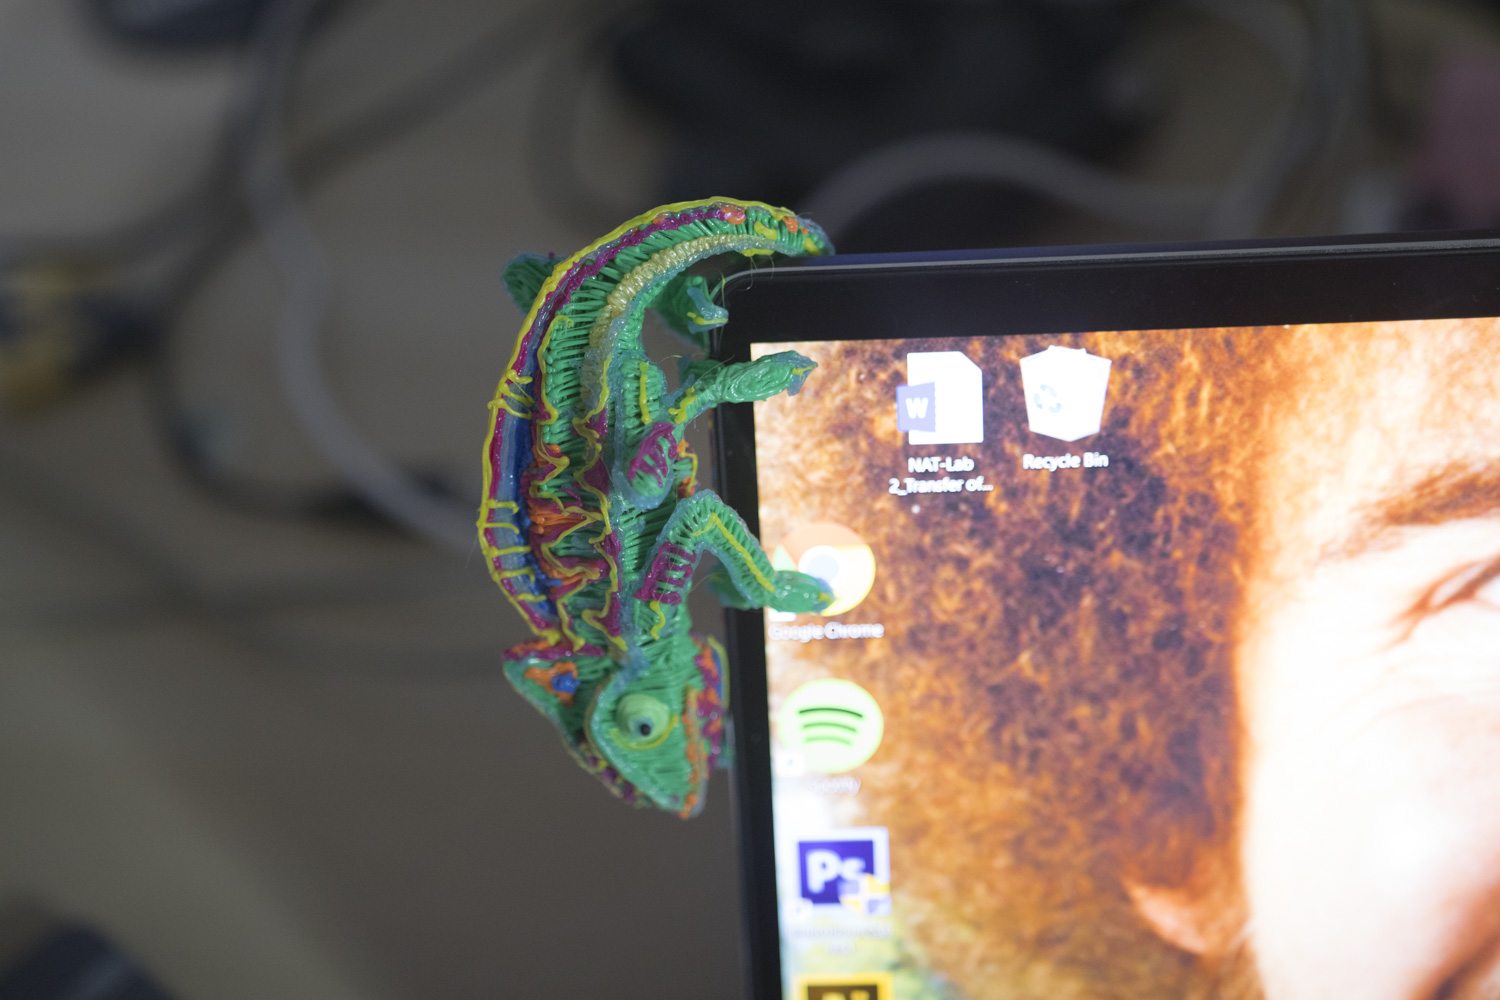
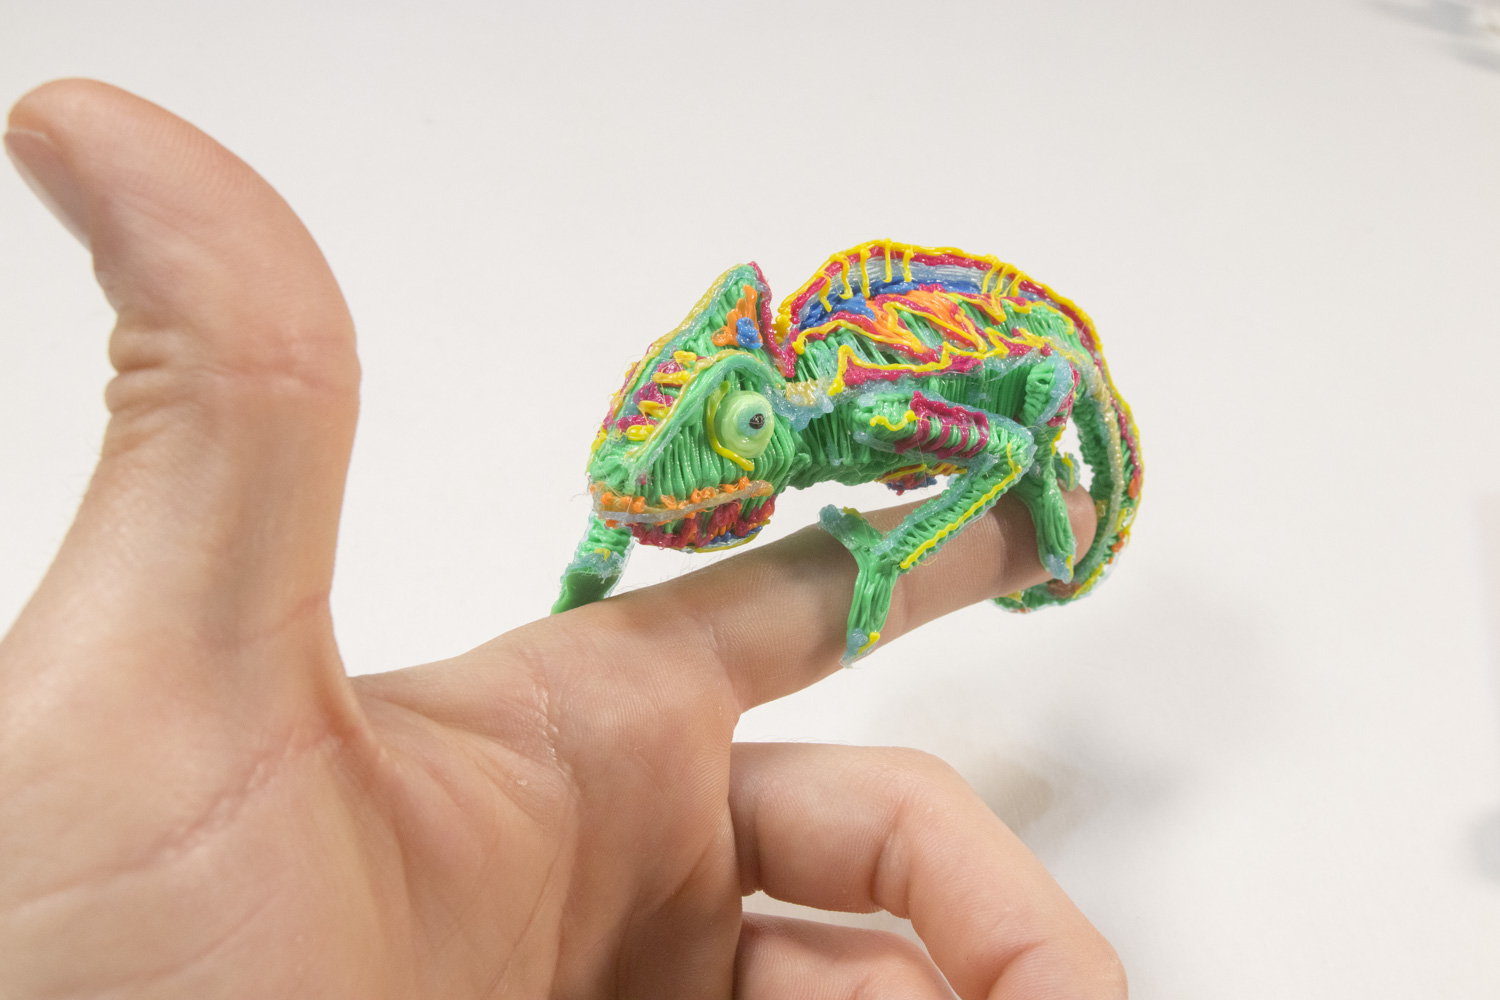
Here’s my finished piece! I used lots of colors, including some neon and glow in the dark filaments to make this little guy glow bright under a black light.
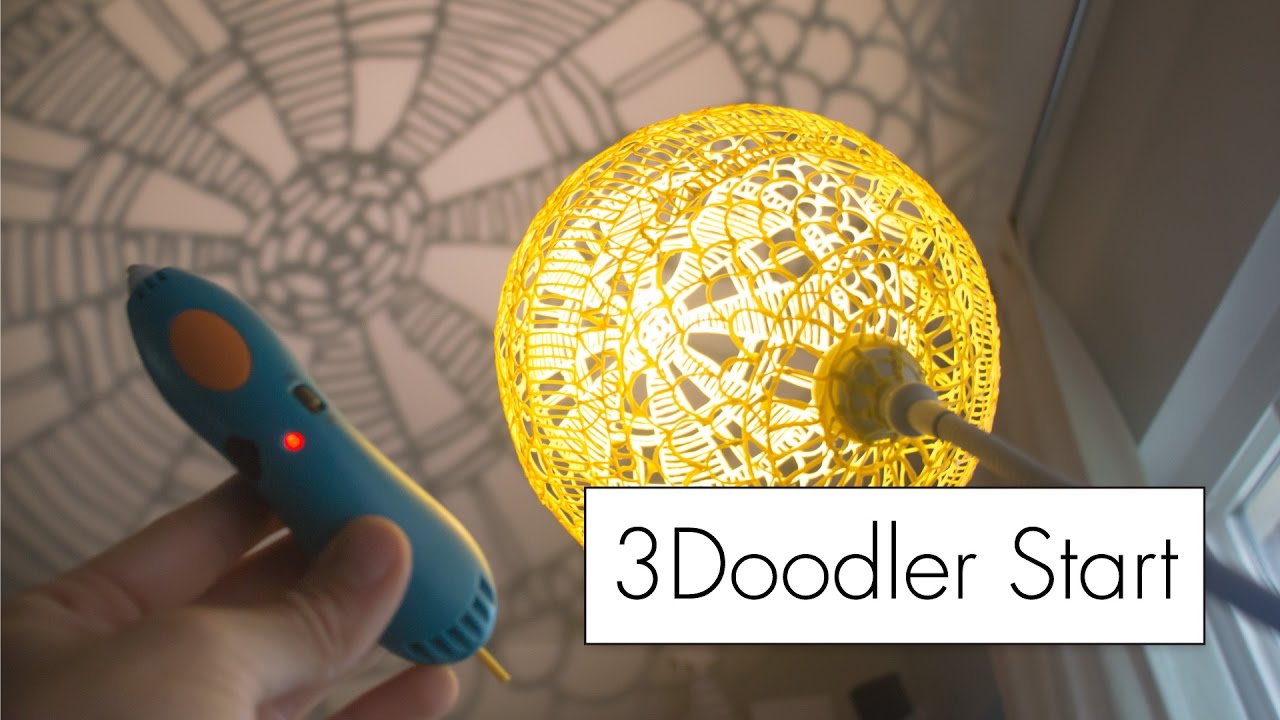
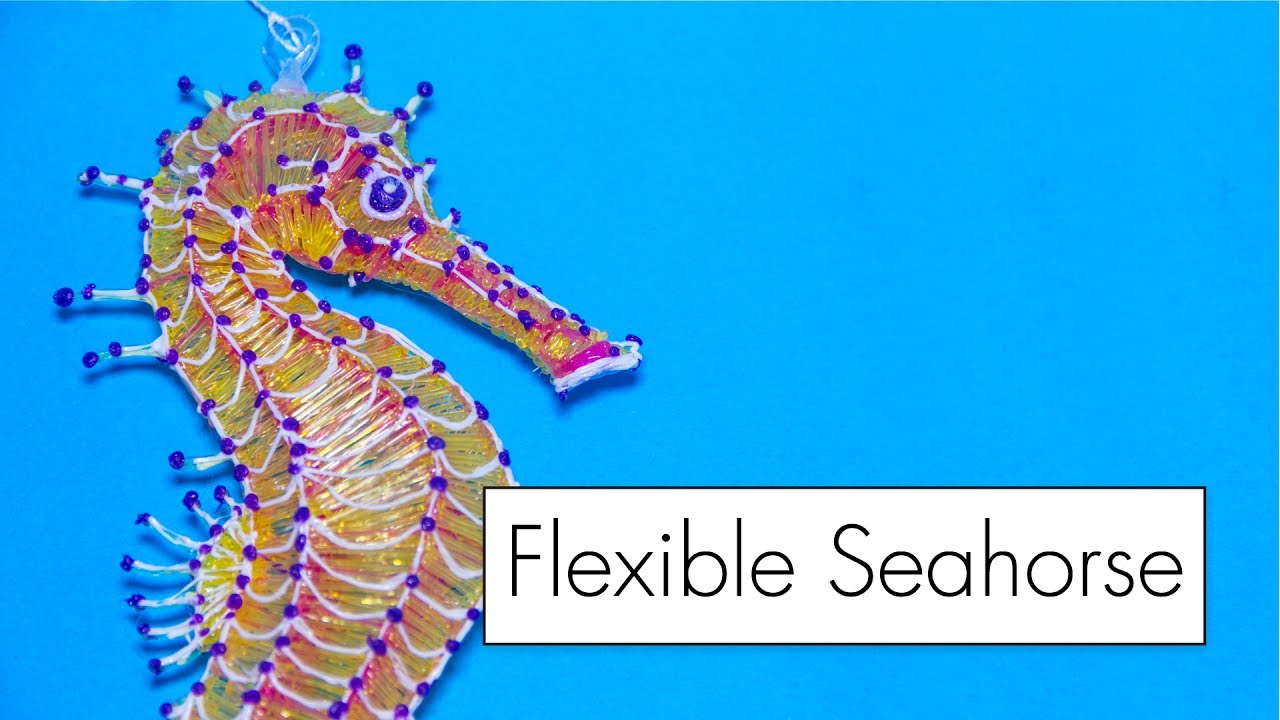
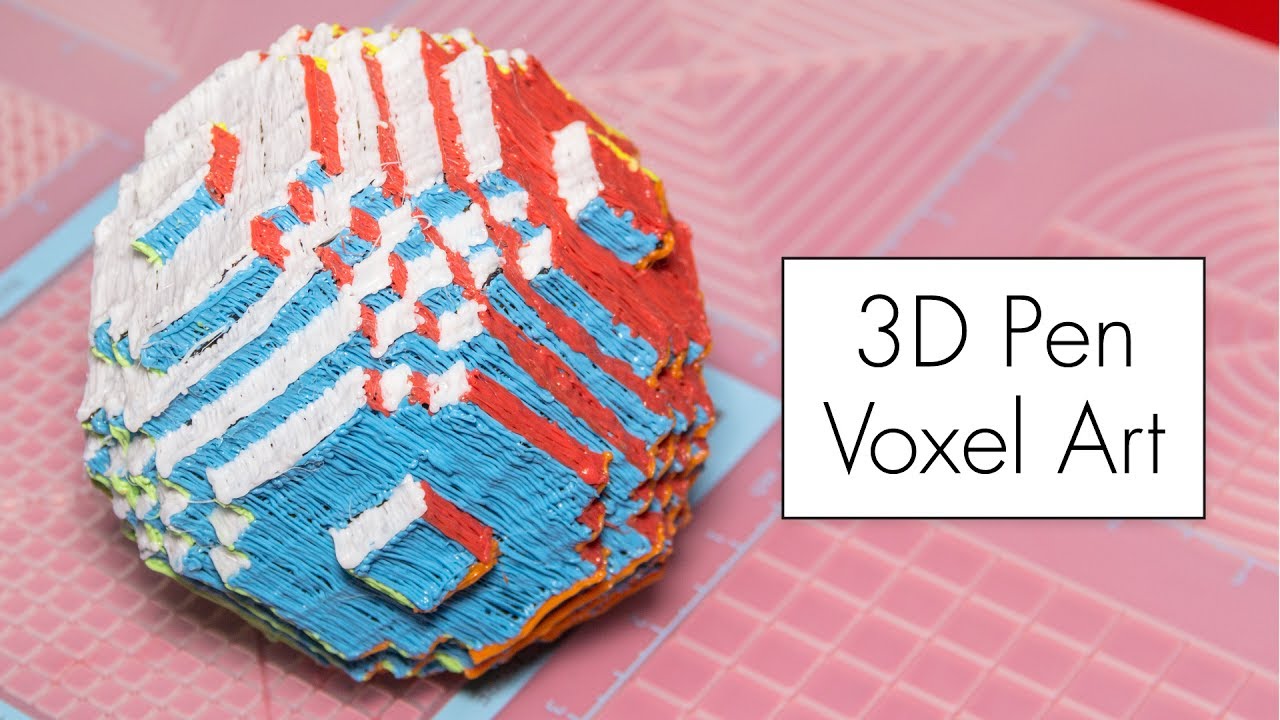
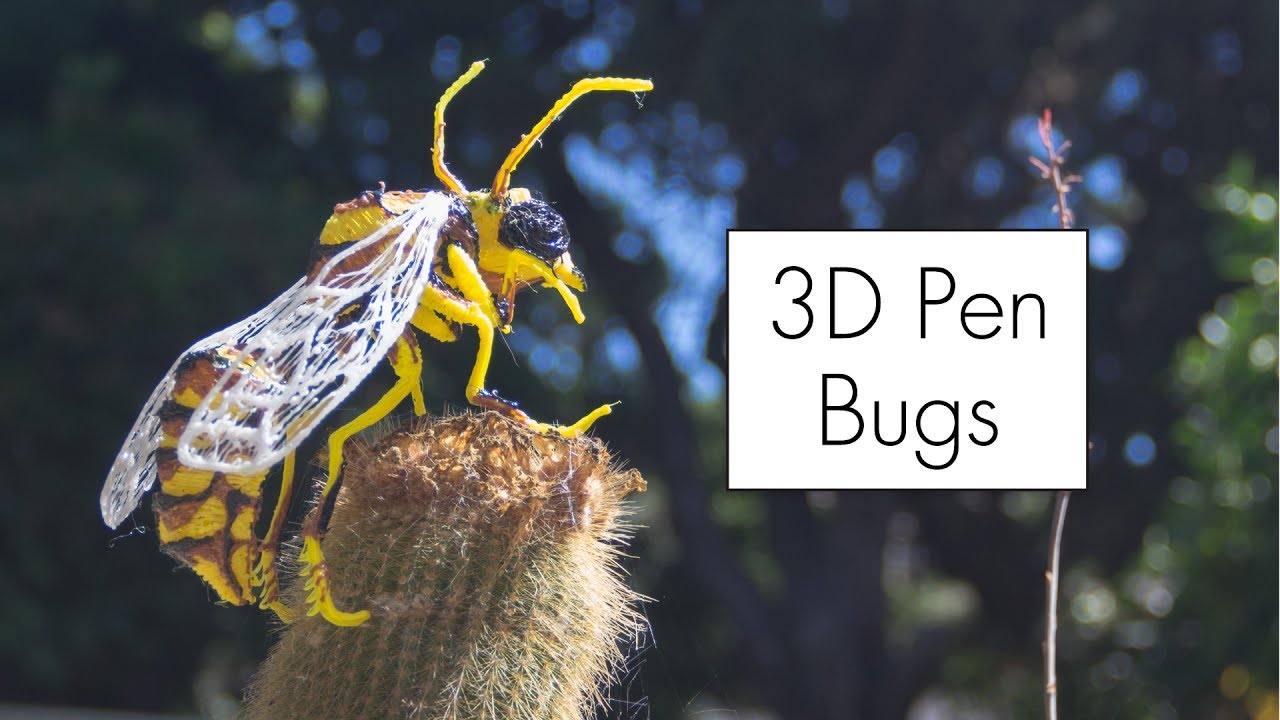
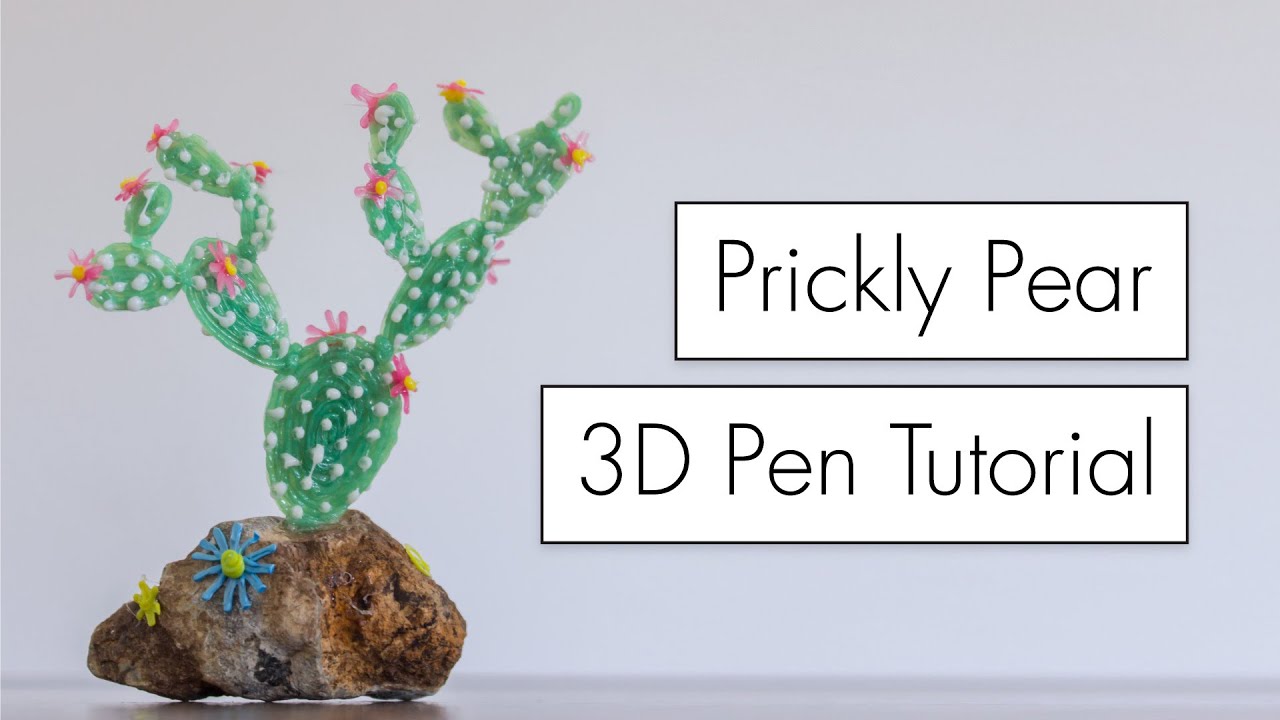
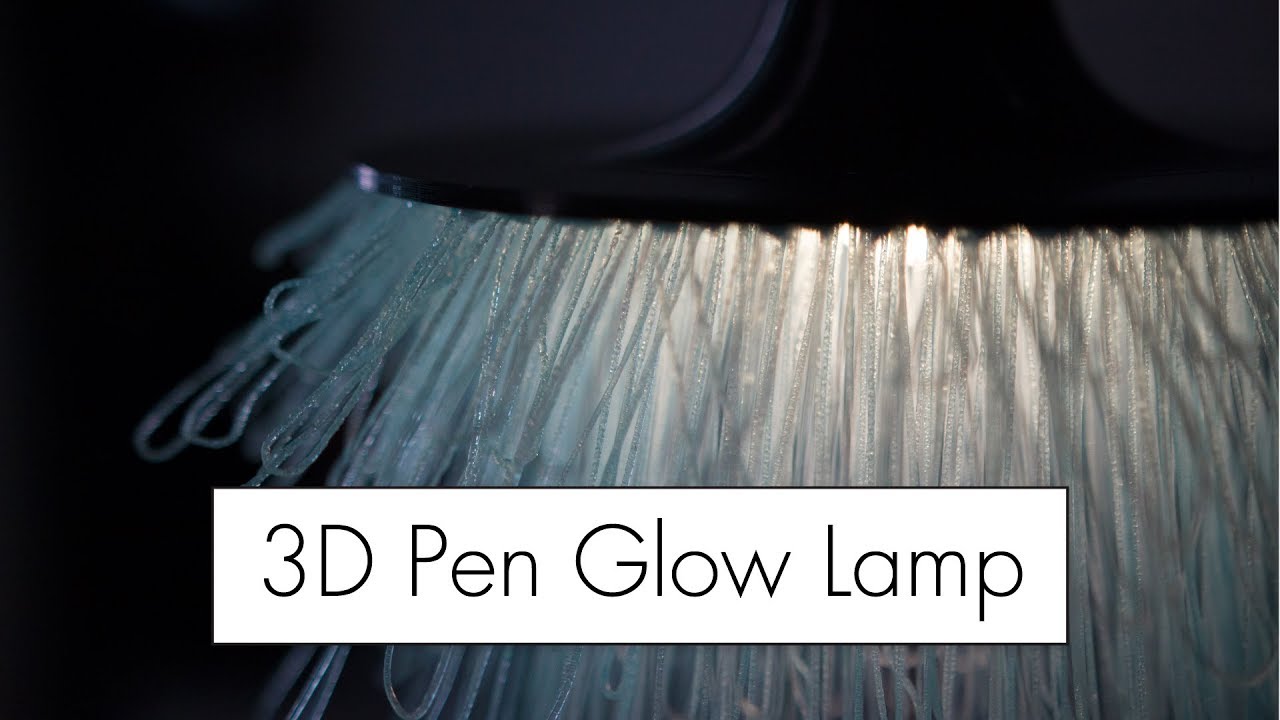
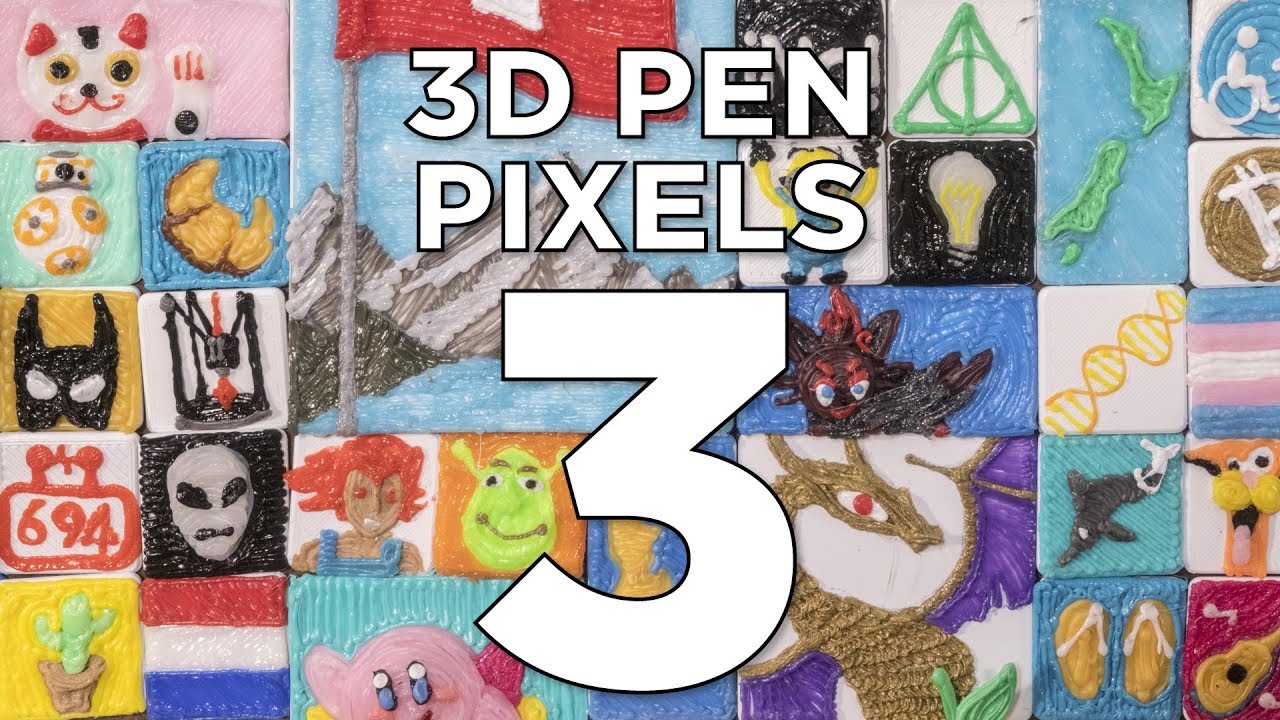
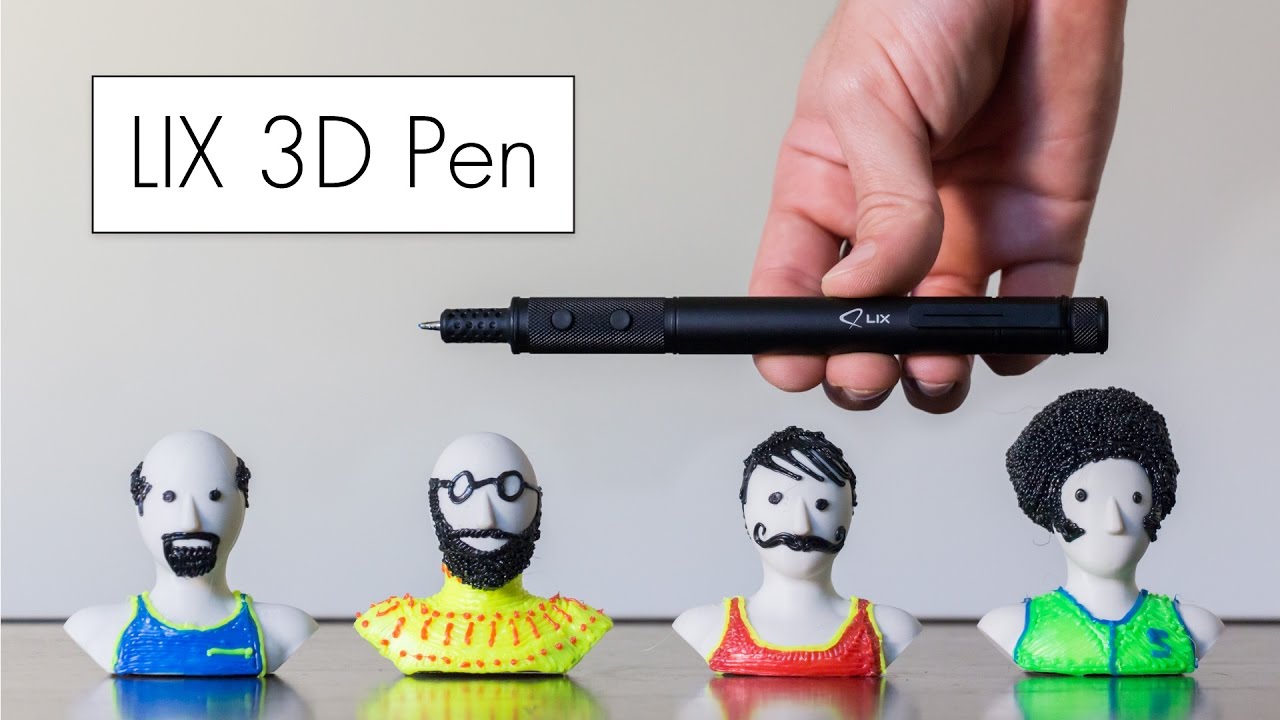
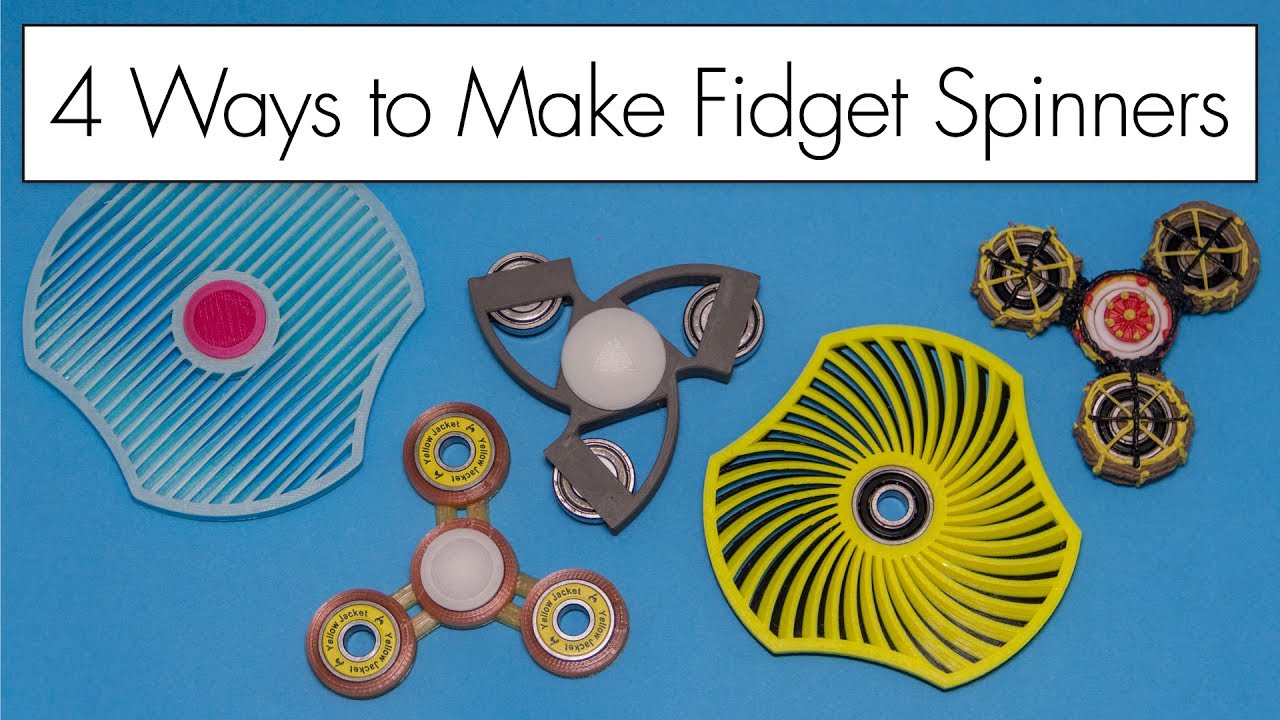
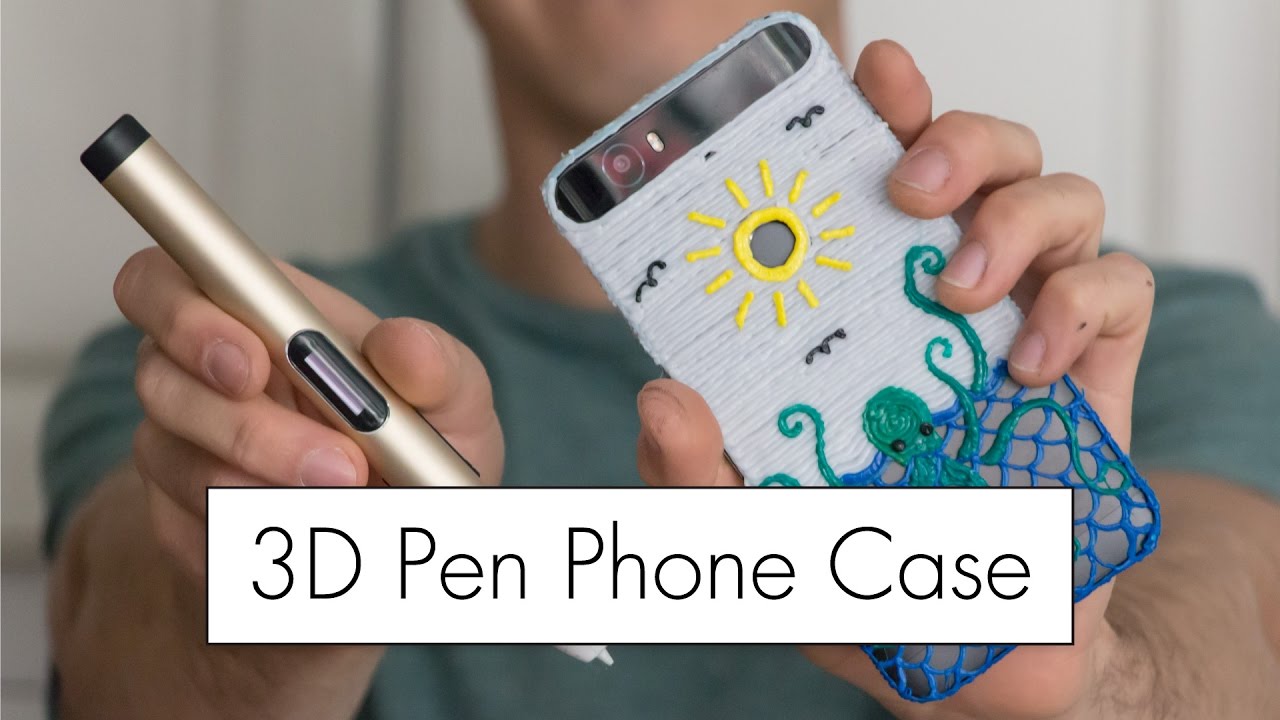
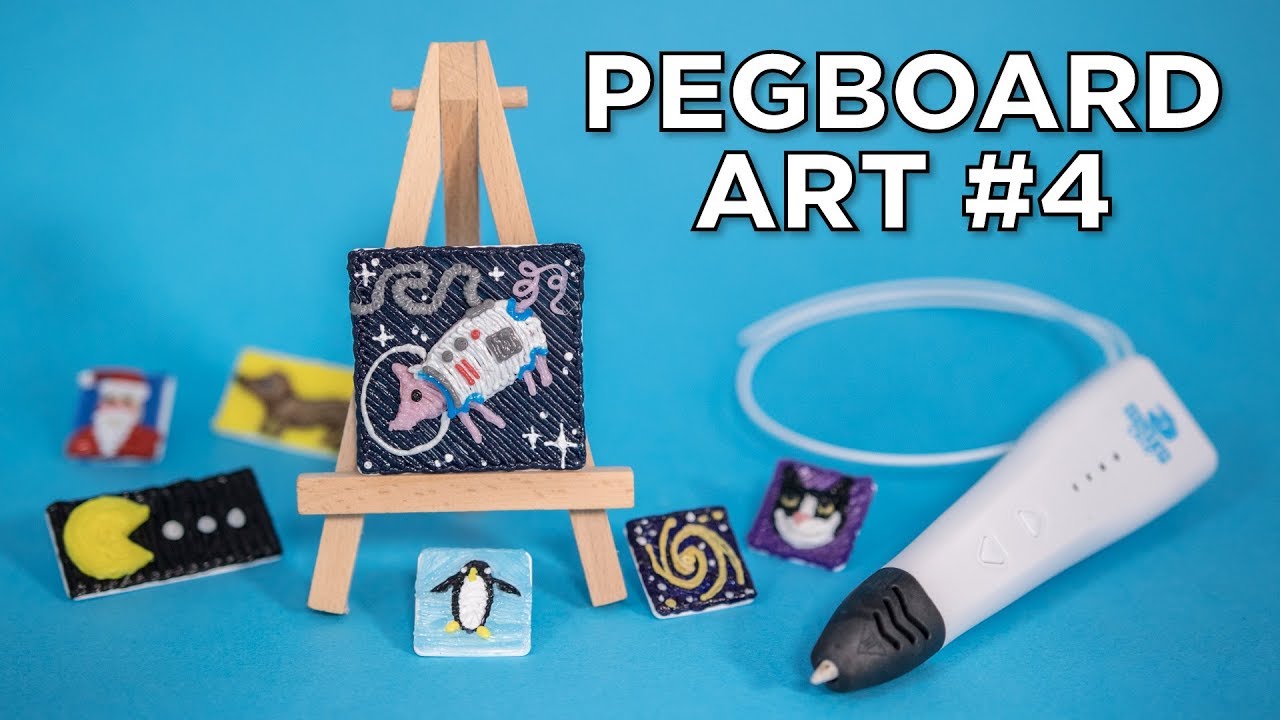
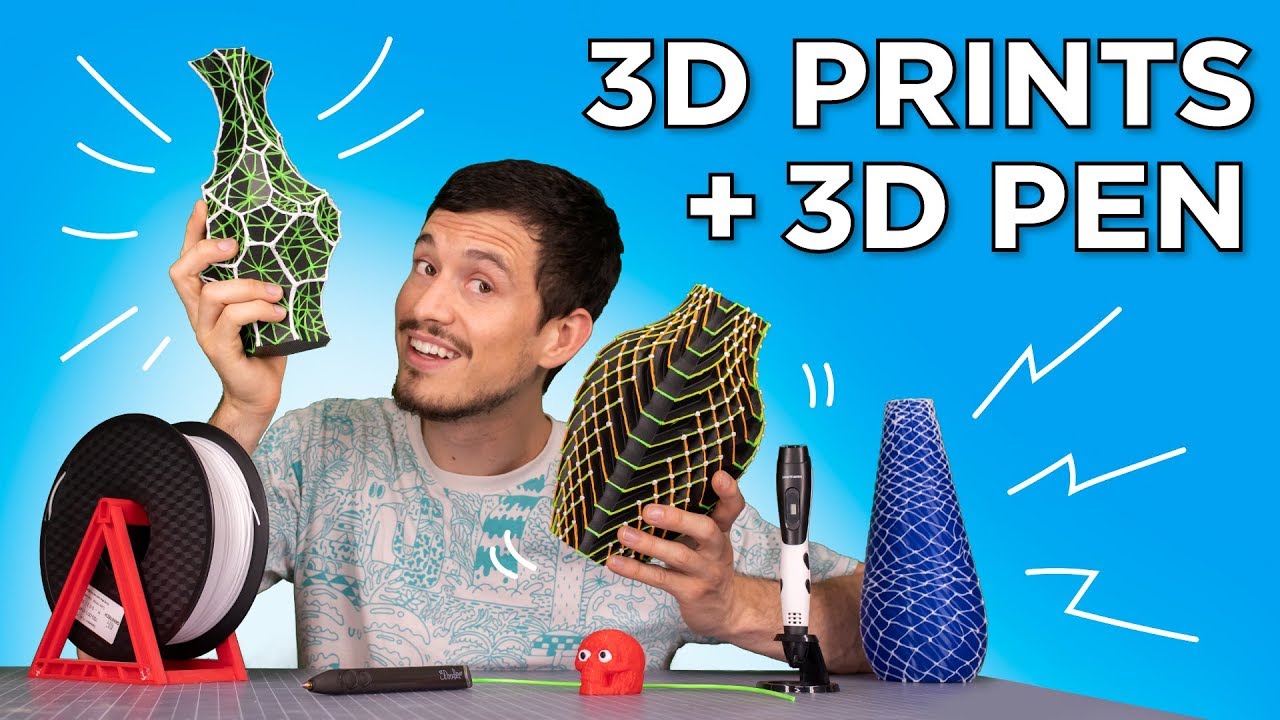
Beyond!
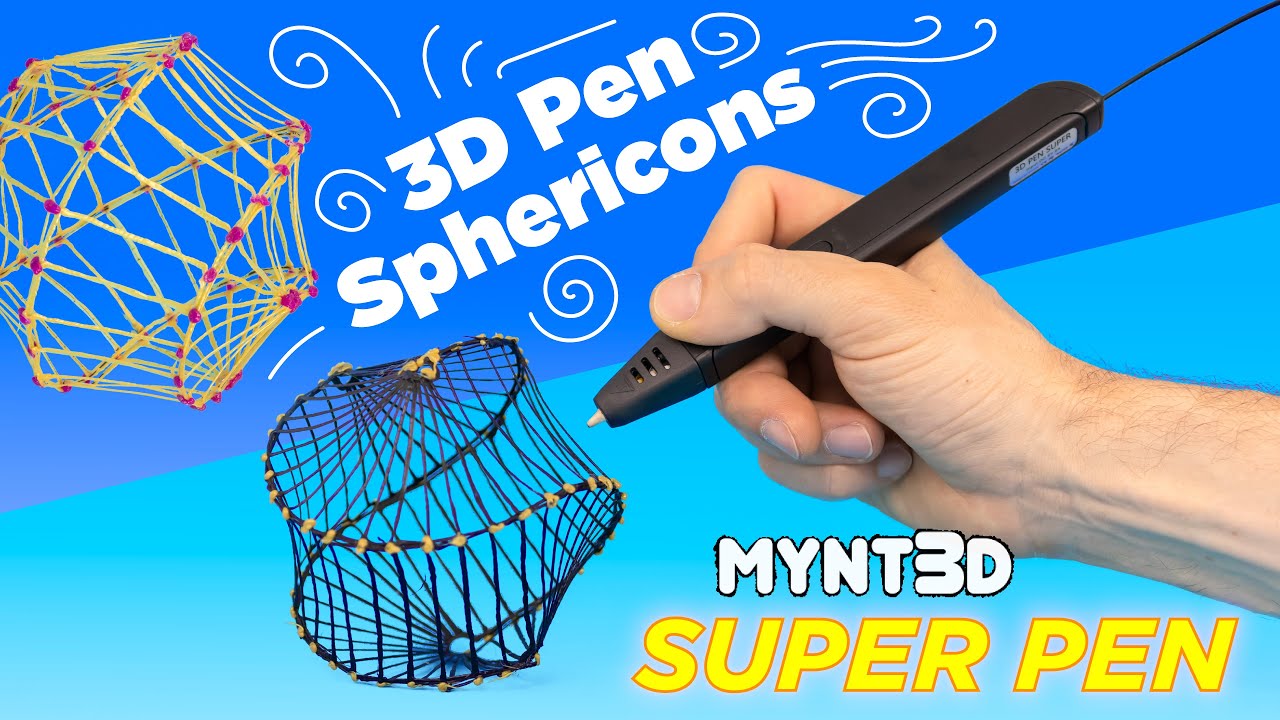
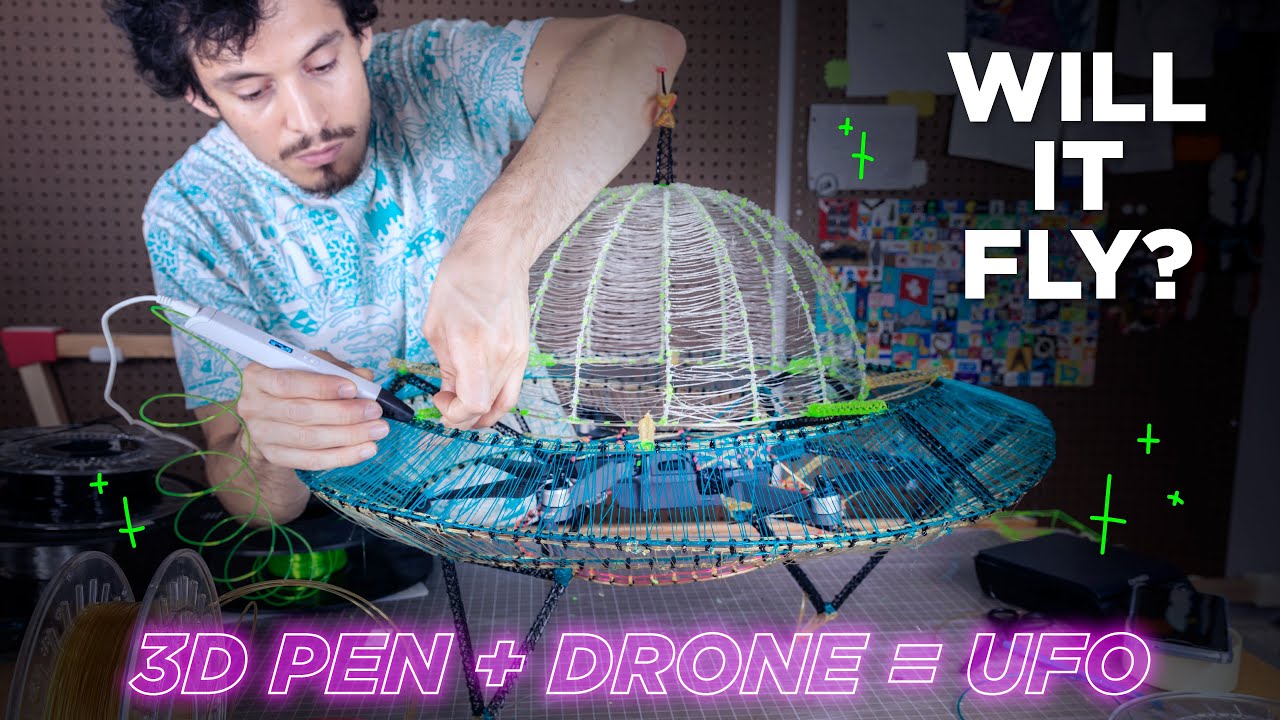
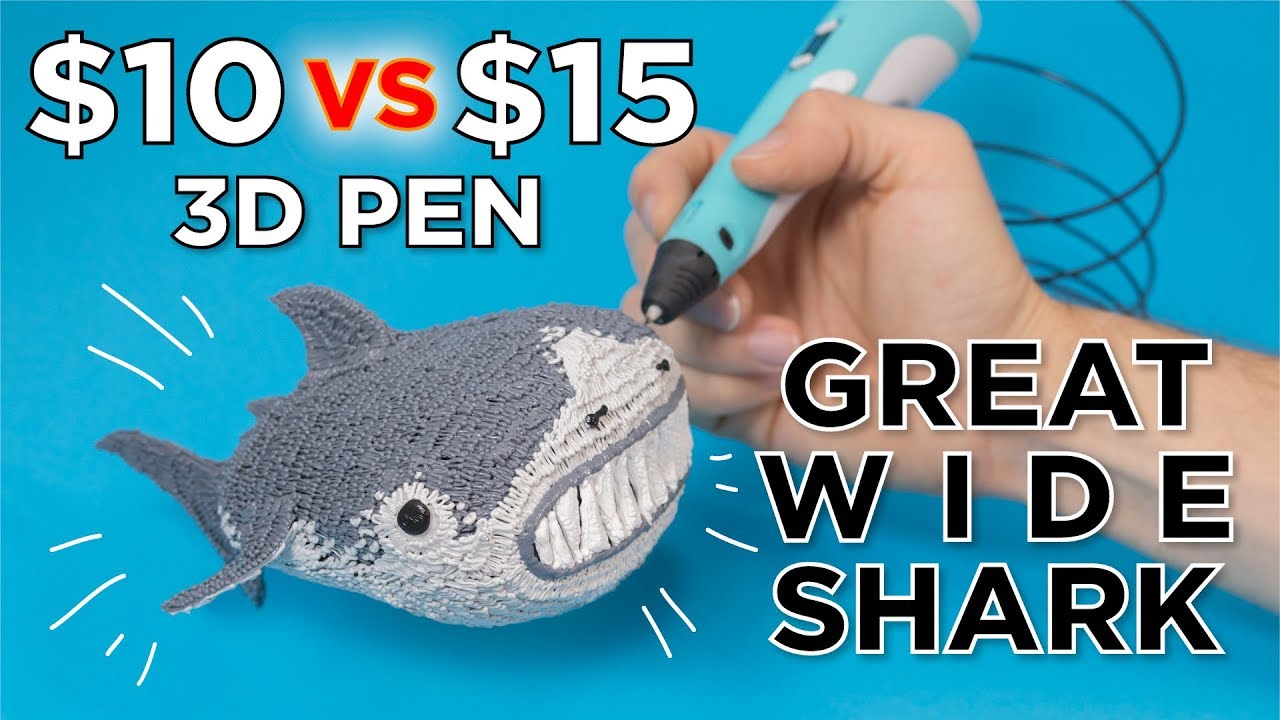
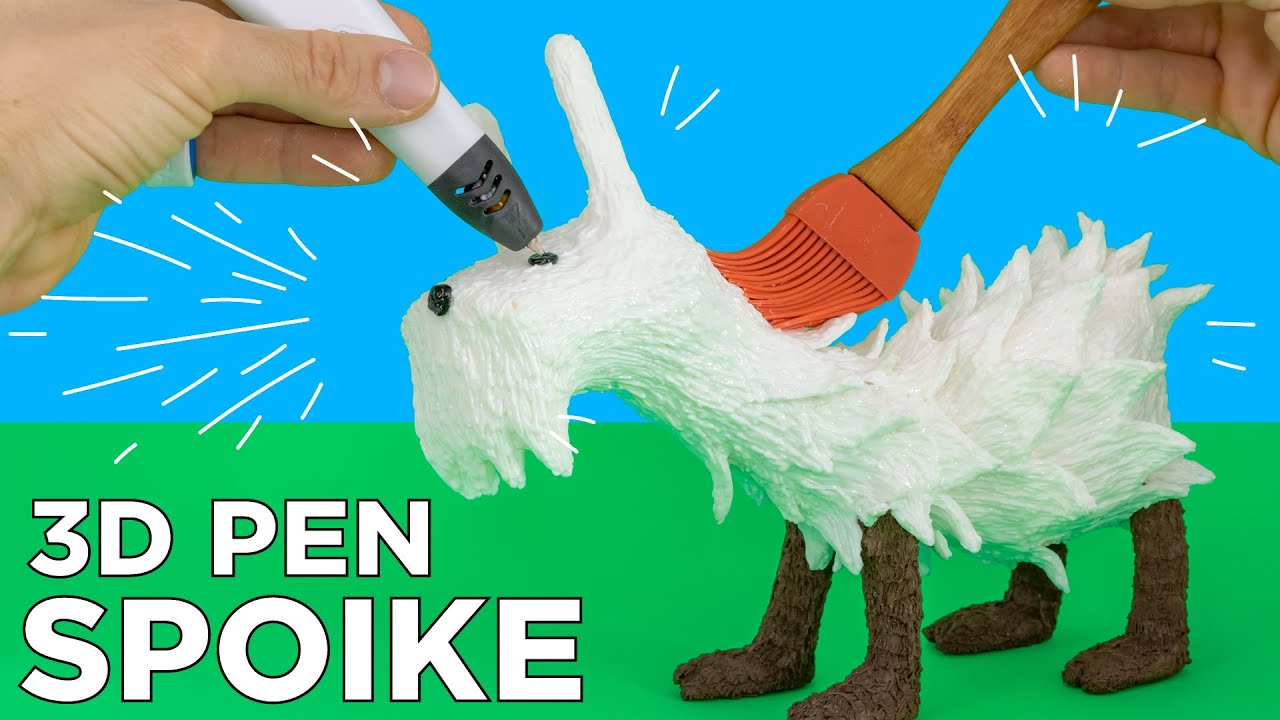
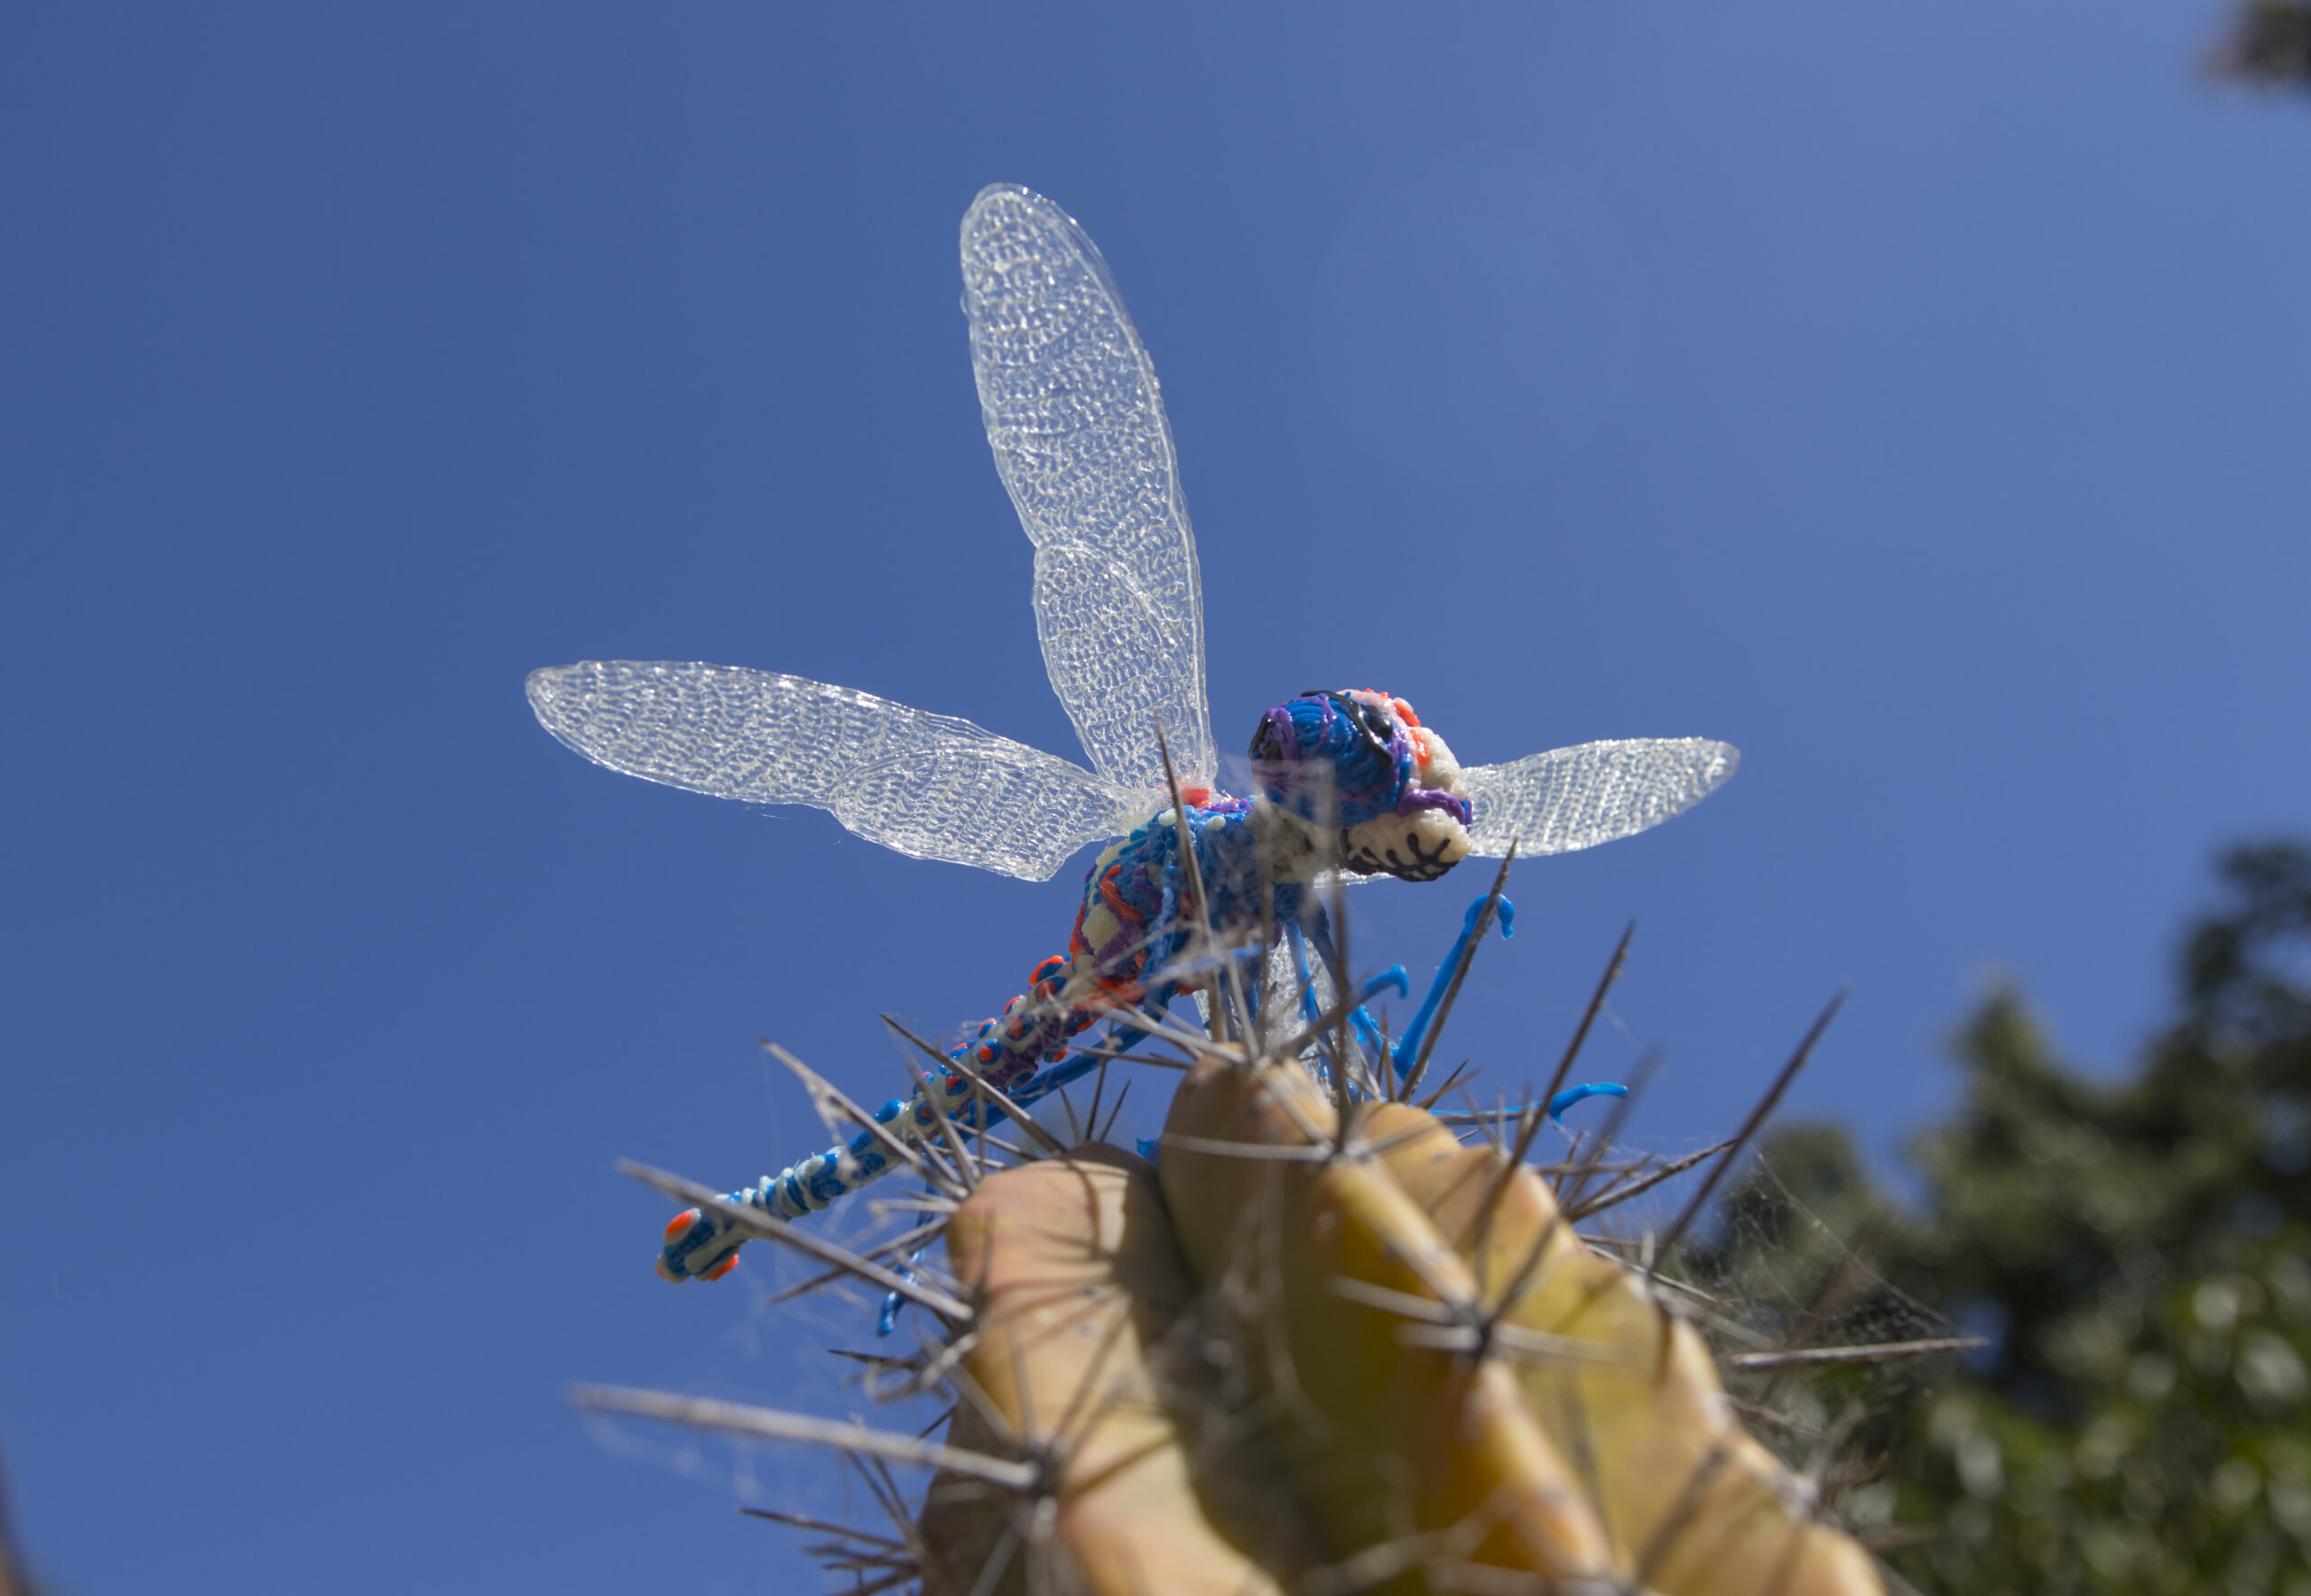
Here is a playlist full of 3D pen projects using the techniques outlines above, as well as some completely different ways to use the tool. Don’t be afraid to try something new!


